
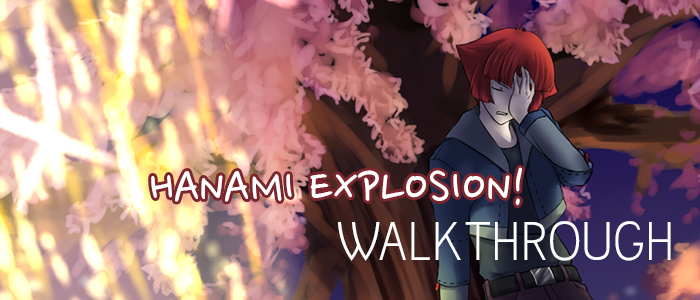
Today I want to share with you how I created a picture in my artbook called “Hanami Explosion”. Let’s get started!
Program: Paint Tool SAI (Windows)
Canvas size: 4708×5800 px (11.77×14.5″) (400 ppi)
OS: I run SAI on a virtual Windows machine using VirtualBox (free program) with a Mac as the host.
Brush settings: For sketching I use the standard brush tool.
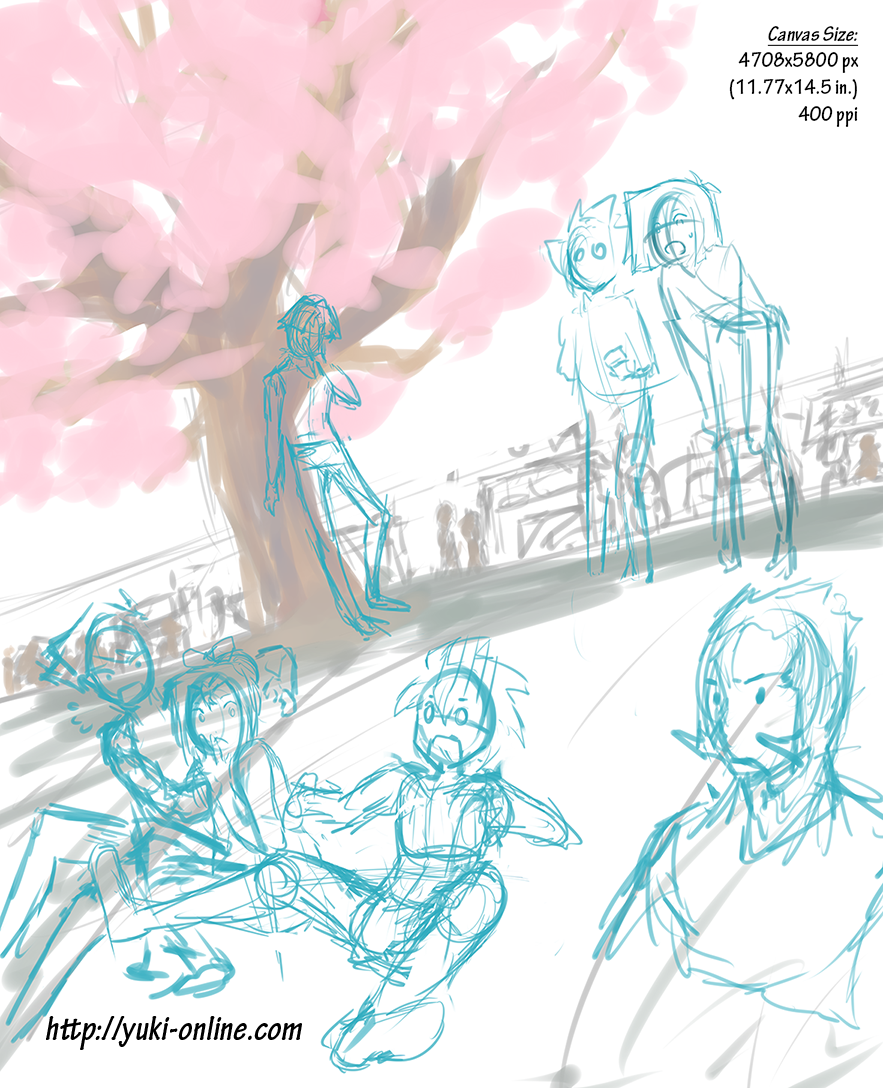
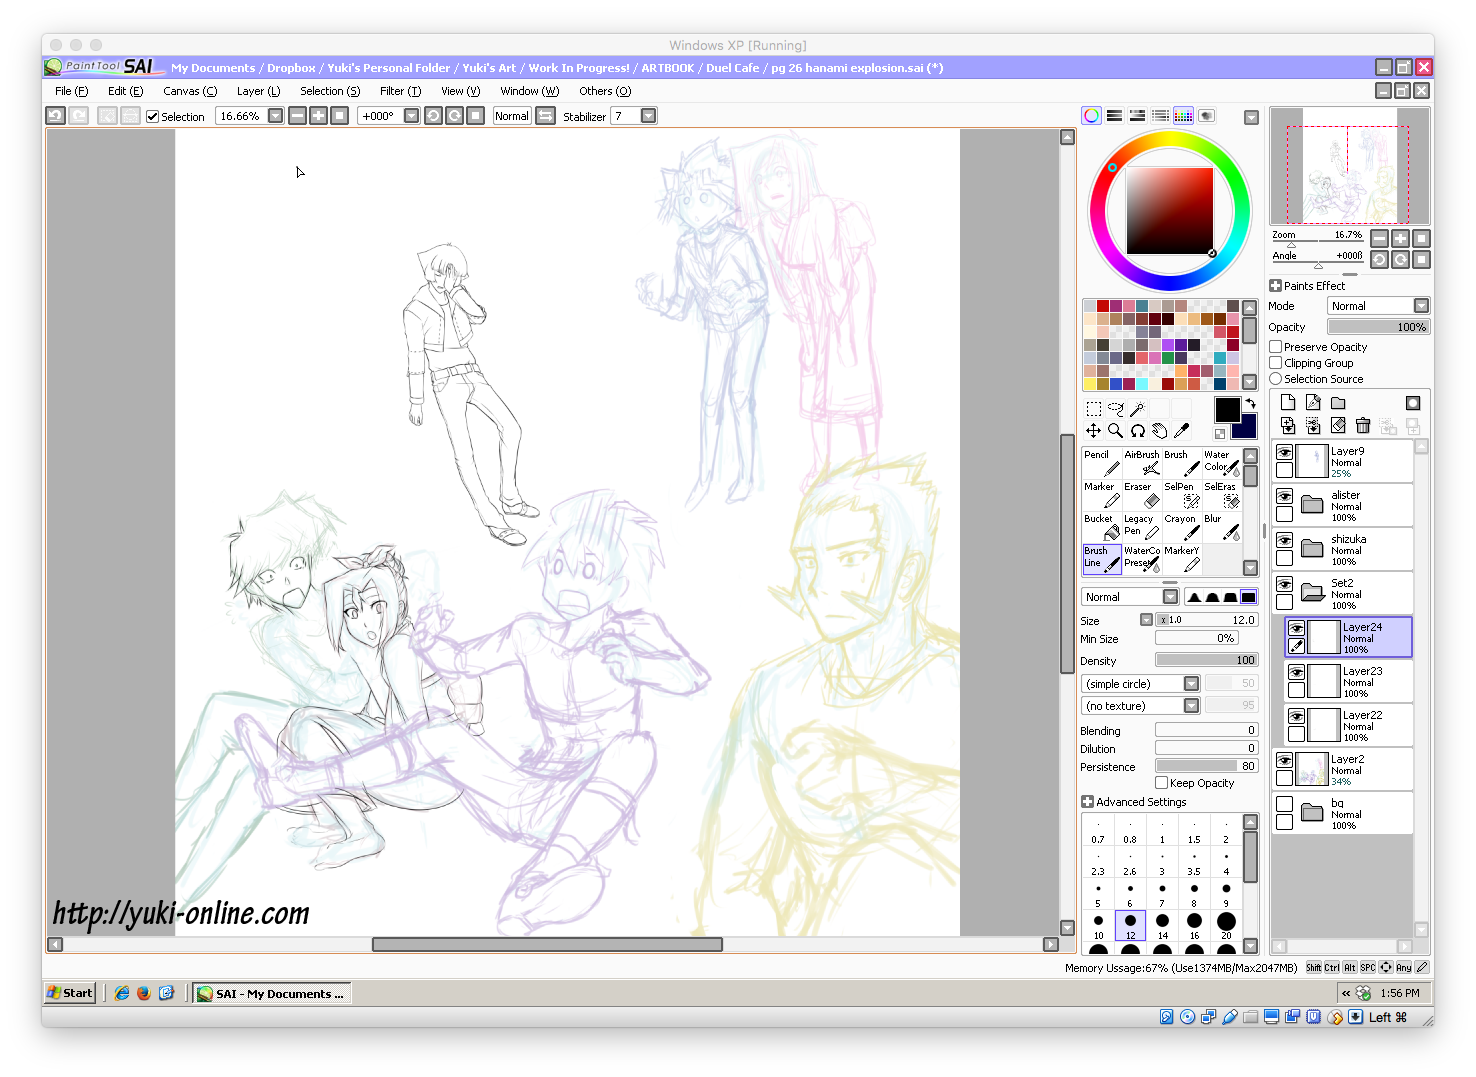
My first sketches are always super messy! At this stage I’m just figuring out what I’m going to draw, so there’s a great lack of detail, form without clothing, and just basic expressions. It ends up being just clean enough for me to know what’s going on. The characters are sketched on a separate layer from the background.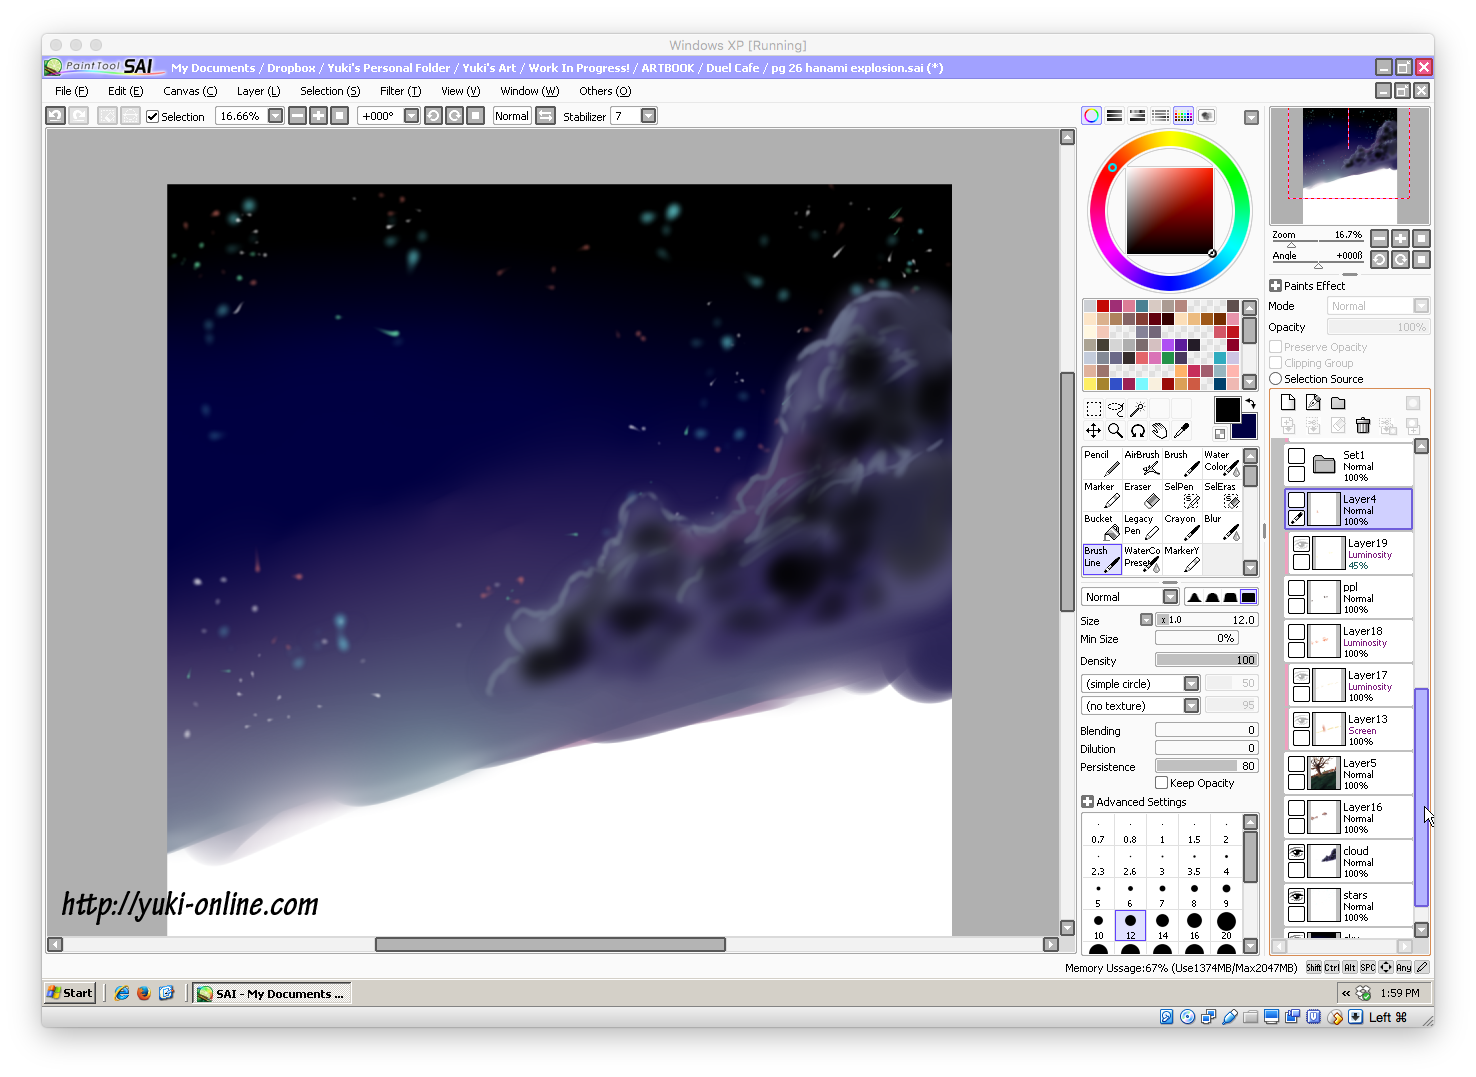
Tip: Click on each picture to see a larger size!
Though I usually do the characters first, for this picture I decided to do the background first. I did it in layers, starting with the sky:
- sky – laid down plain color with the pencil tool and blurred with the blur tool
- stars – used the pencil and airbrush tool to make stars of various colors
- clouds – mostly the brush, airbrush, and blur tools
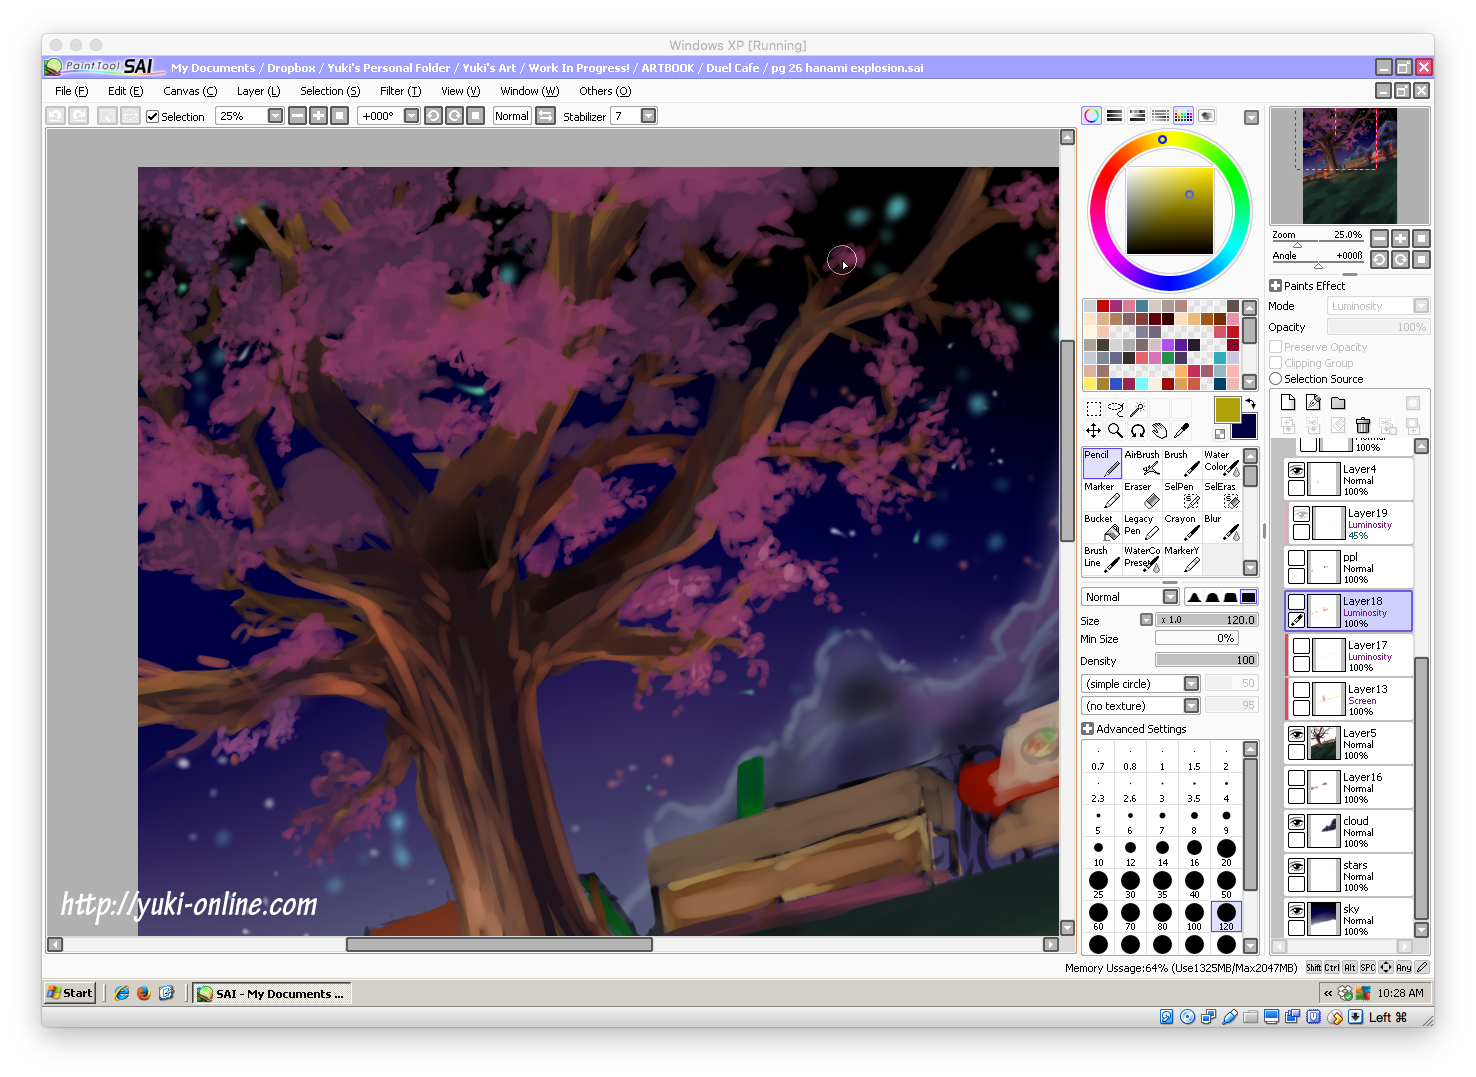
Next it’s time for the tree! I started by drawing a dead/wintering tree and painted clumps of flowers over top of it, alternating two colors using SAI’s standard brush tool. I spent a lot of time on this, taking depth and light source into account.
(I took the screenshots after I’d already done most of the background, so you can see the yatai behind the tree already.)
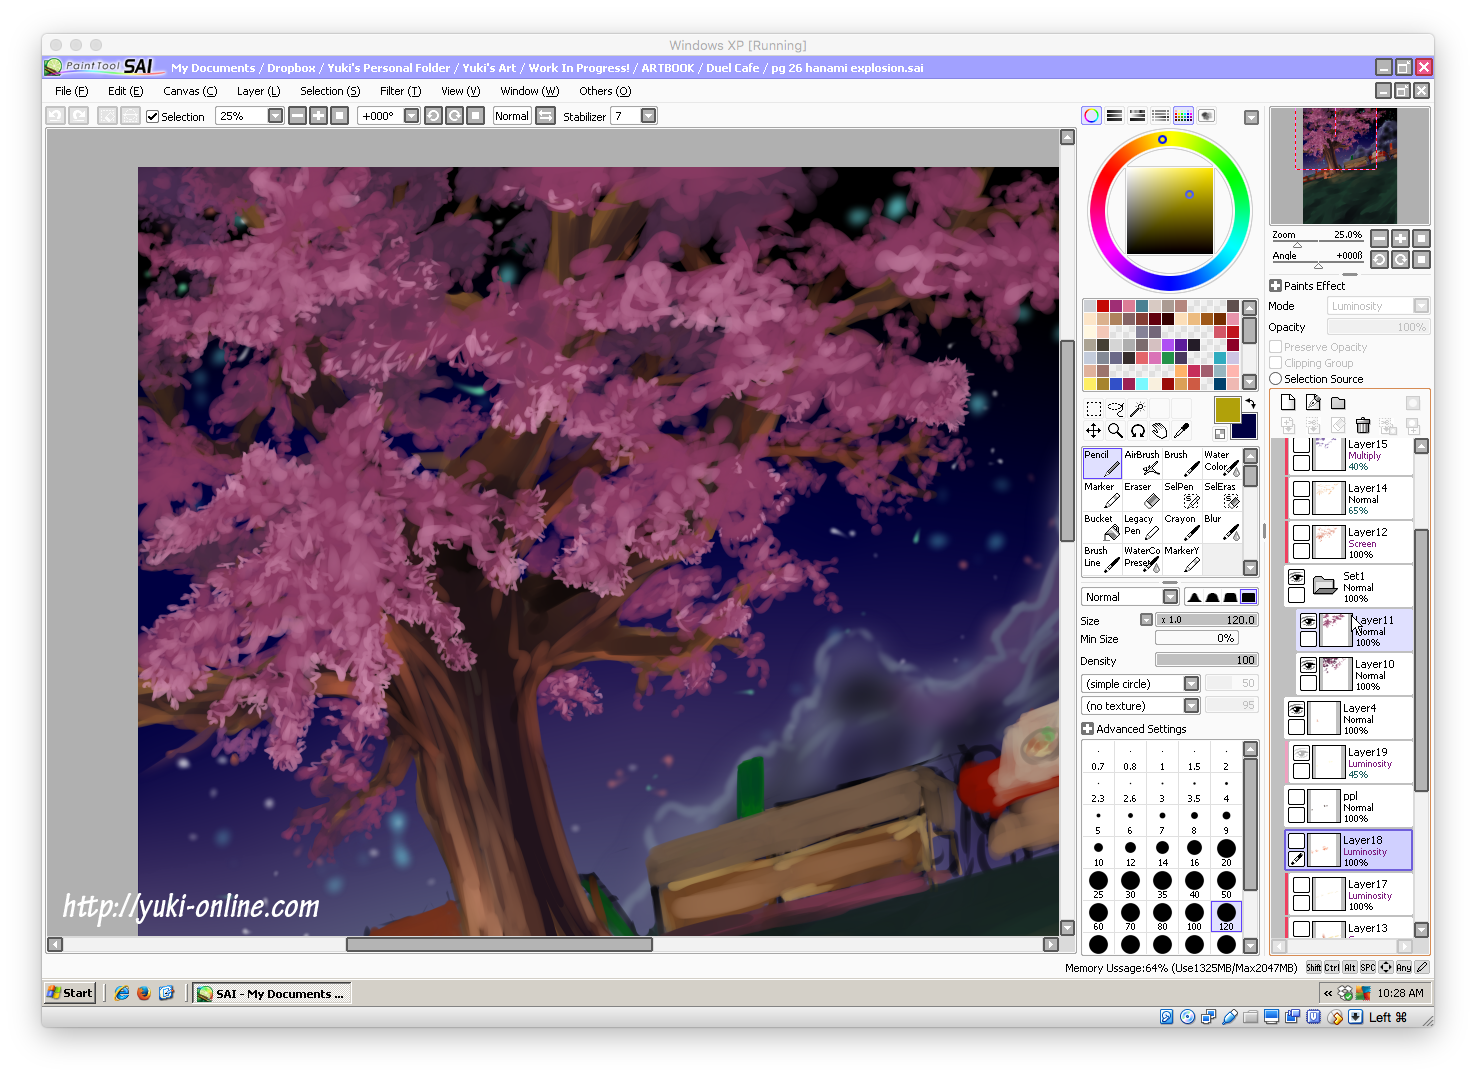
Here I added another layer and painted in some lighter pink.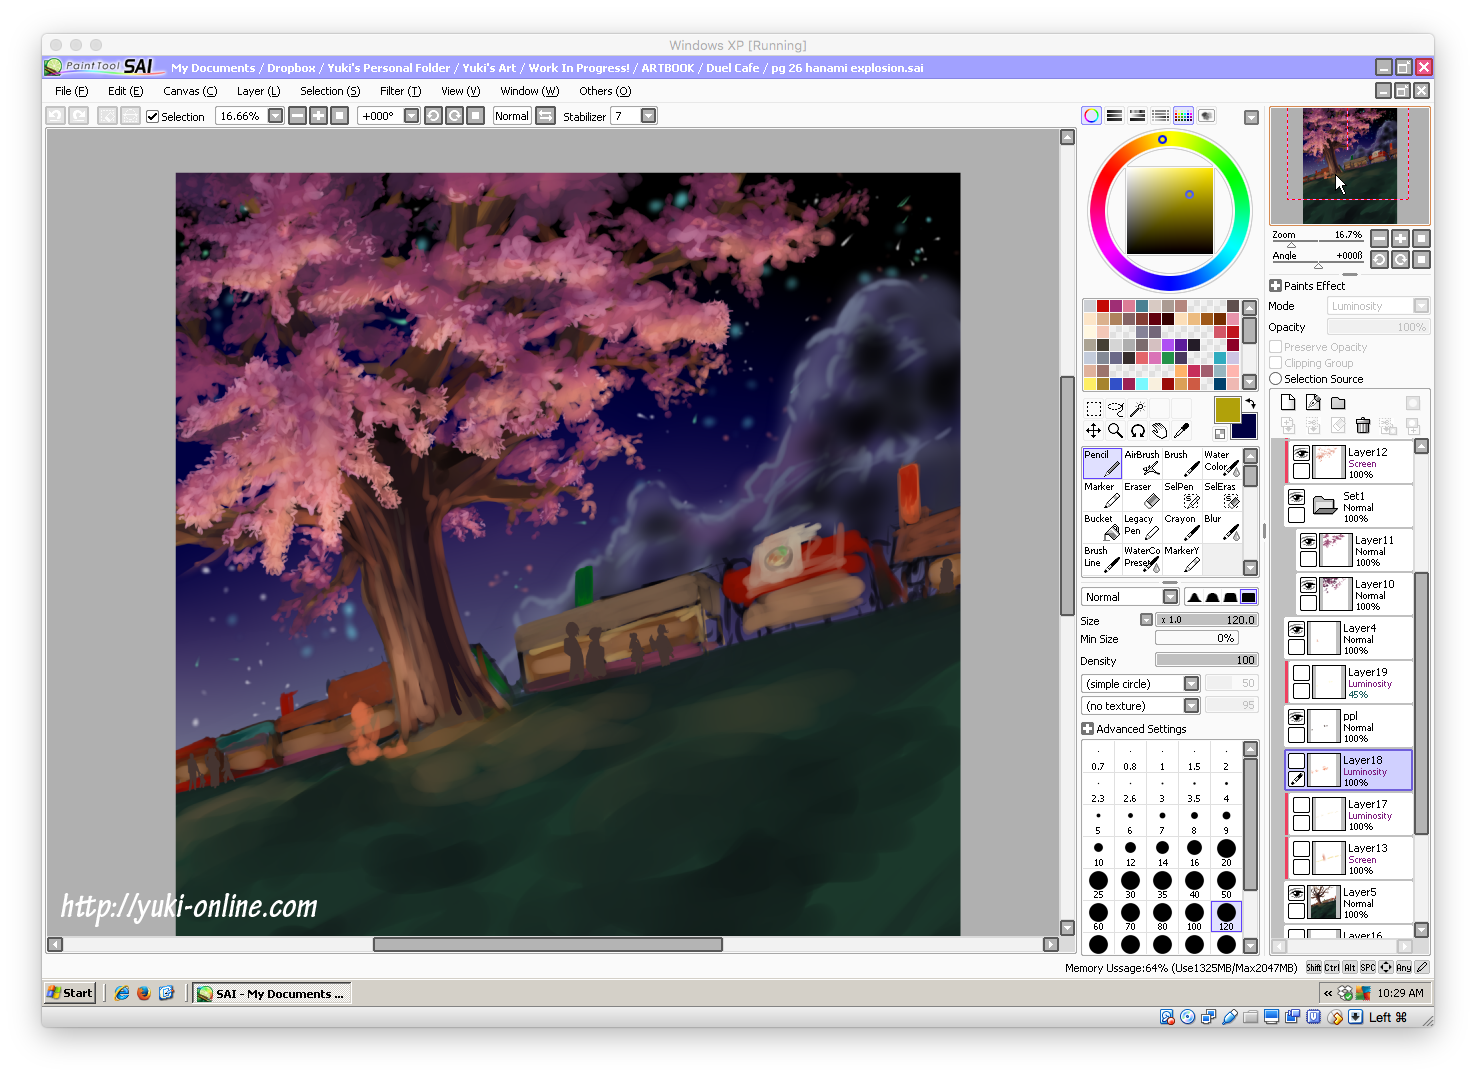
The flowers were in their own layer set, so I clipped a layer to that and added some orange light, set to “Screen”.
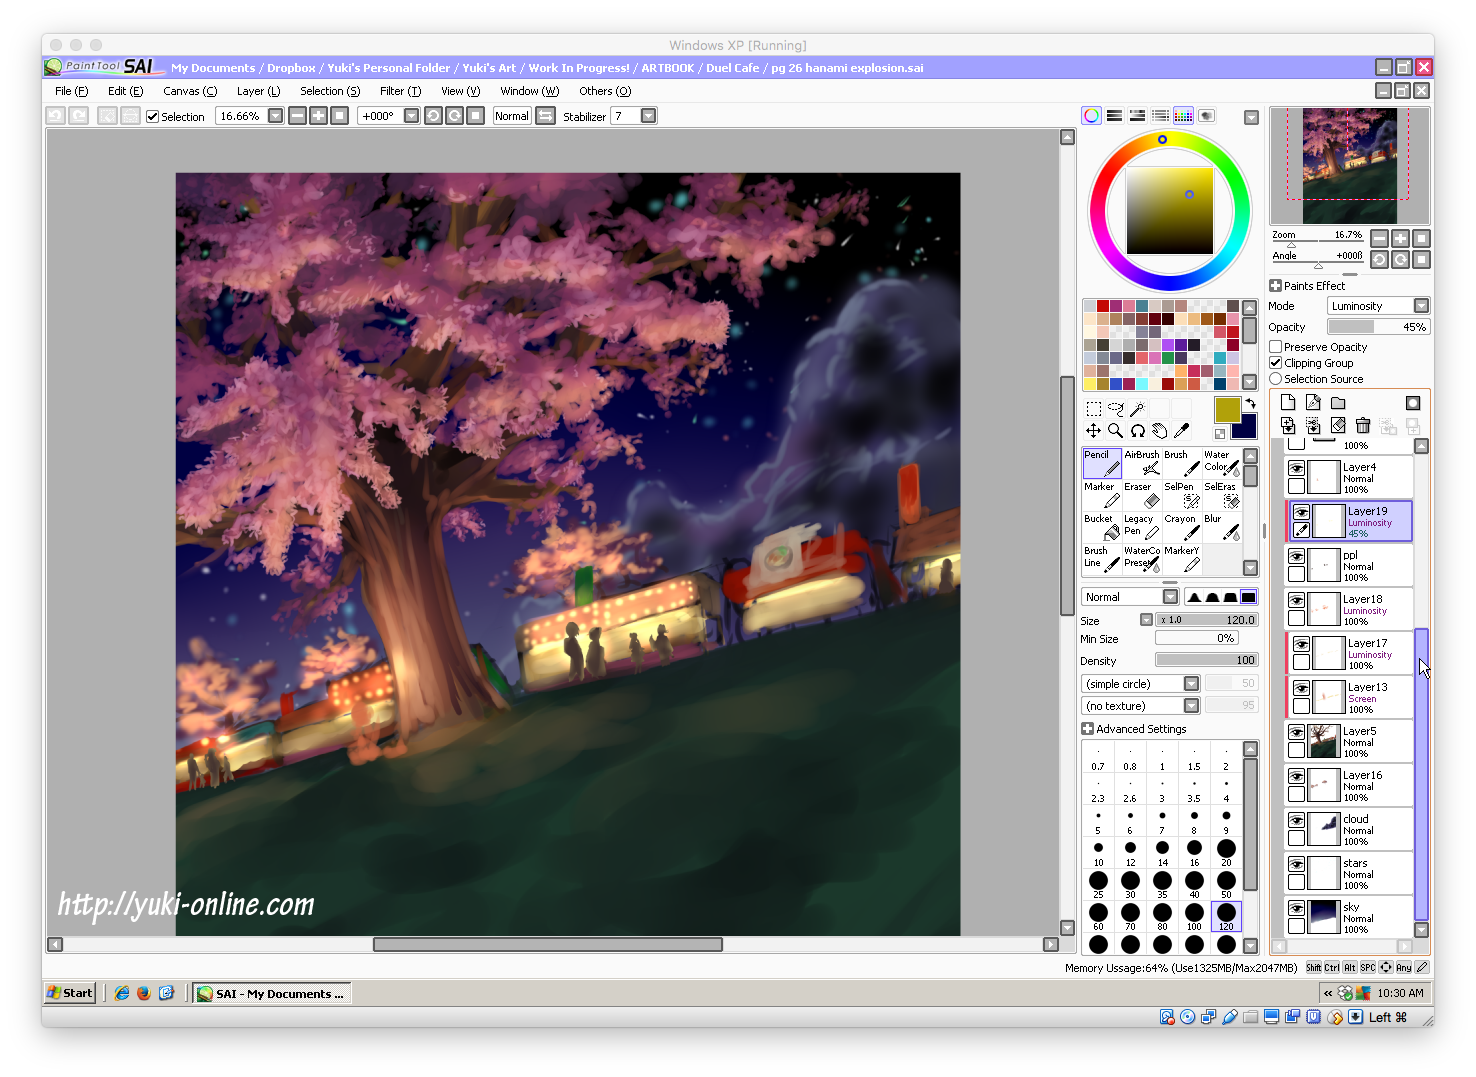
The yatai in the background were done using blobs of color with the brush tool. Yellow-orange painted over them gives the illusion of light when the layer is set to Luminosity and/or Screen.
At this point the background really starts to come together! As you can see, I didn’t bother putting details in some areas because they will be covered by the characters later.
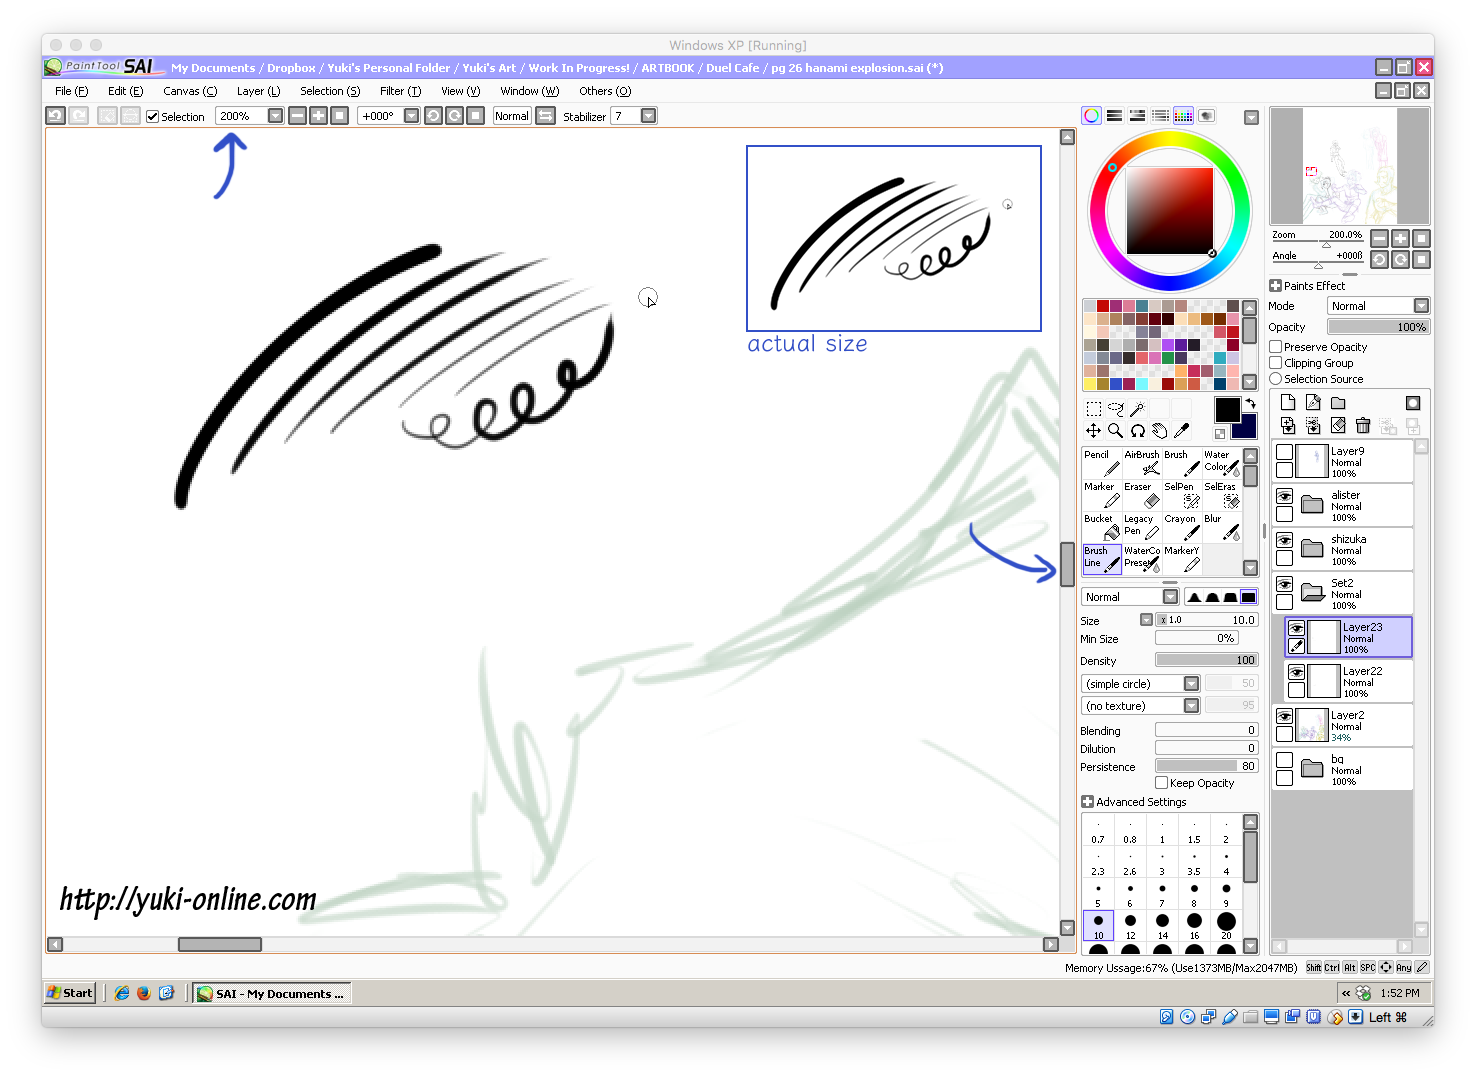
Here are my brush settings for lineart. The size ranges from 8-12 pt., but is usually 10 pt.
Now for the characters! I always refine my sketches before starting to line them, since the first ones are so rough. This means making things like facial features clearer and adding clothes.
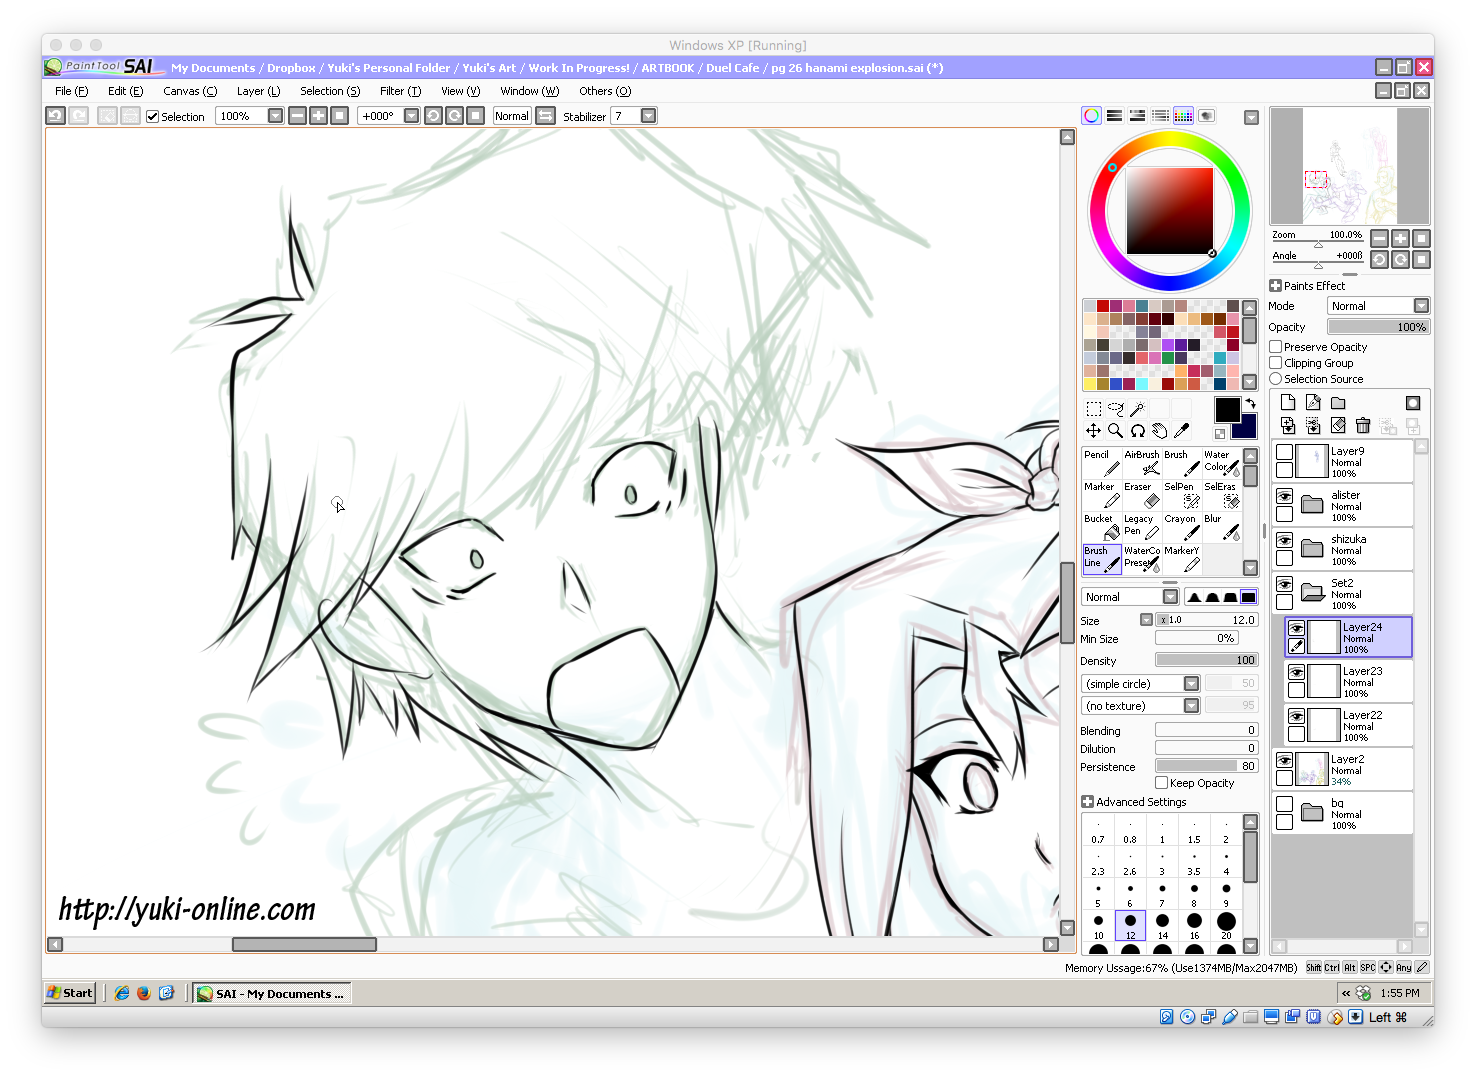
I like to reference my own art if I’ve already drawn the character, so I can have some semblance of consistency XD I do this a lot for colors, specifically.
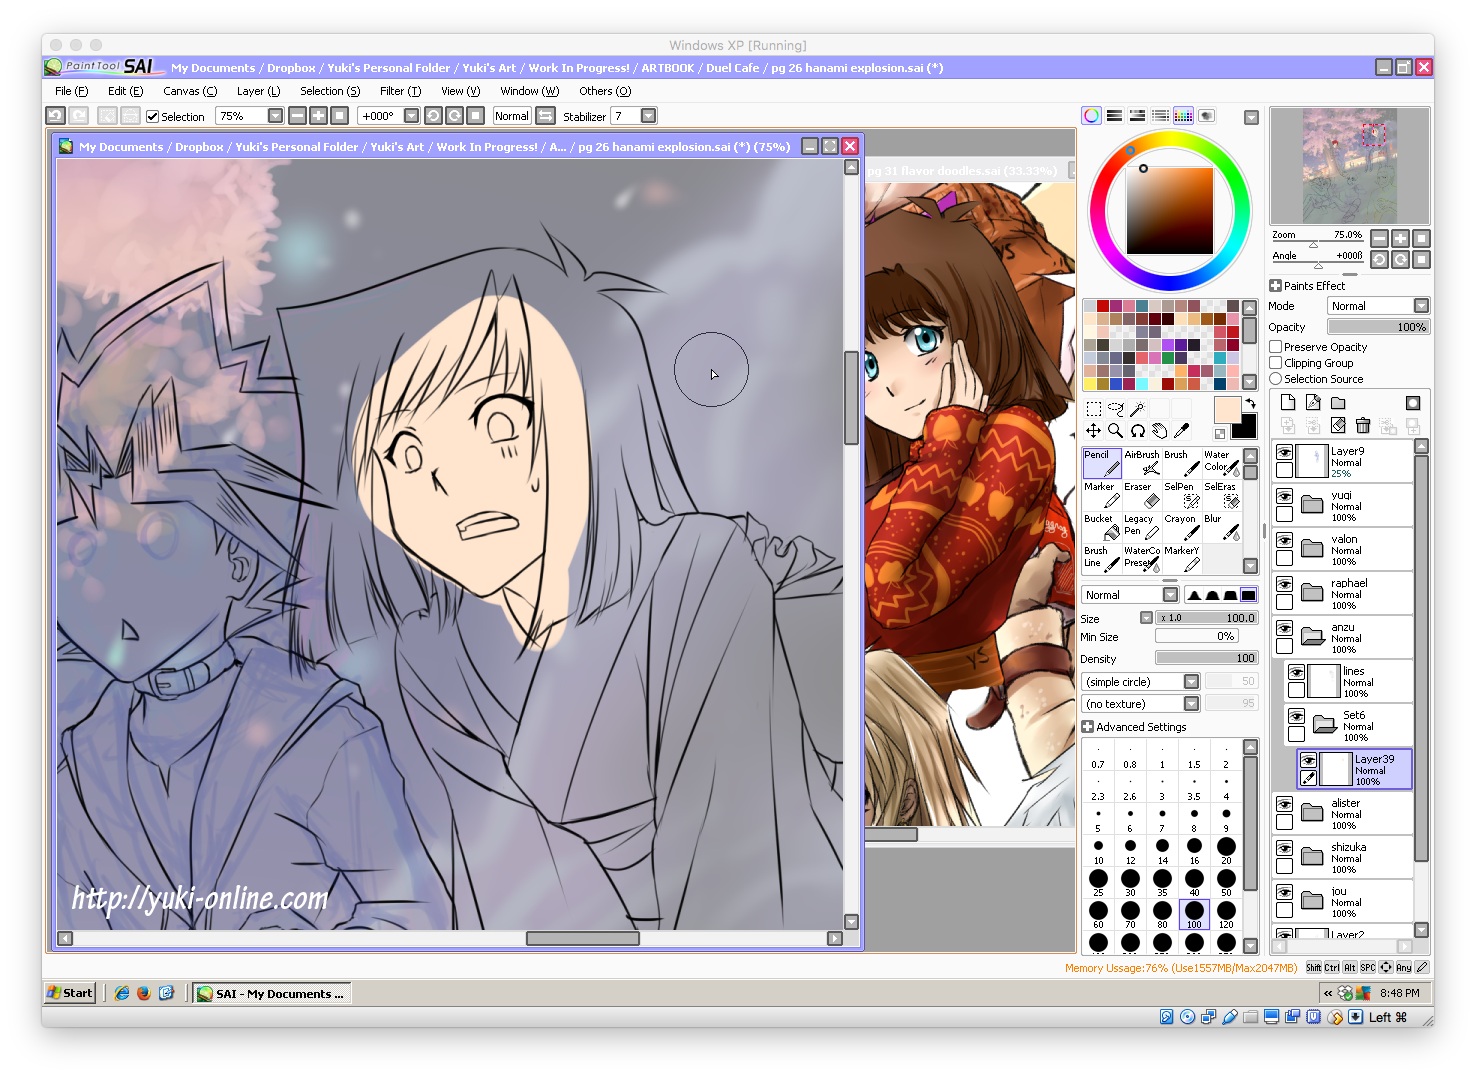
Each character gets their own folder for lineart and coloring, so I can move them around easily if I need to. I fill in color with the pencil and bucket tools.
For this picture, I decided to use “multiply” shading, which means using the layer mode Multiply to create the darker shade I need rather than color-picking for it. This style of shading saves time and works well for pictures with low lighting, such as this one.
Tip: Try to use grays with a little bit of color to them so the picture isn’t dull, but don’t use a base color as a multiply-shade color too often, as it tends to look unnatural (unless that’s what you’re going for, which is totally fine too).
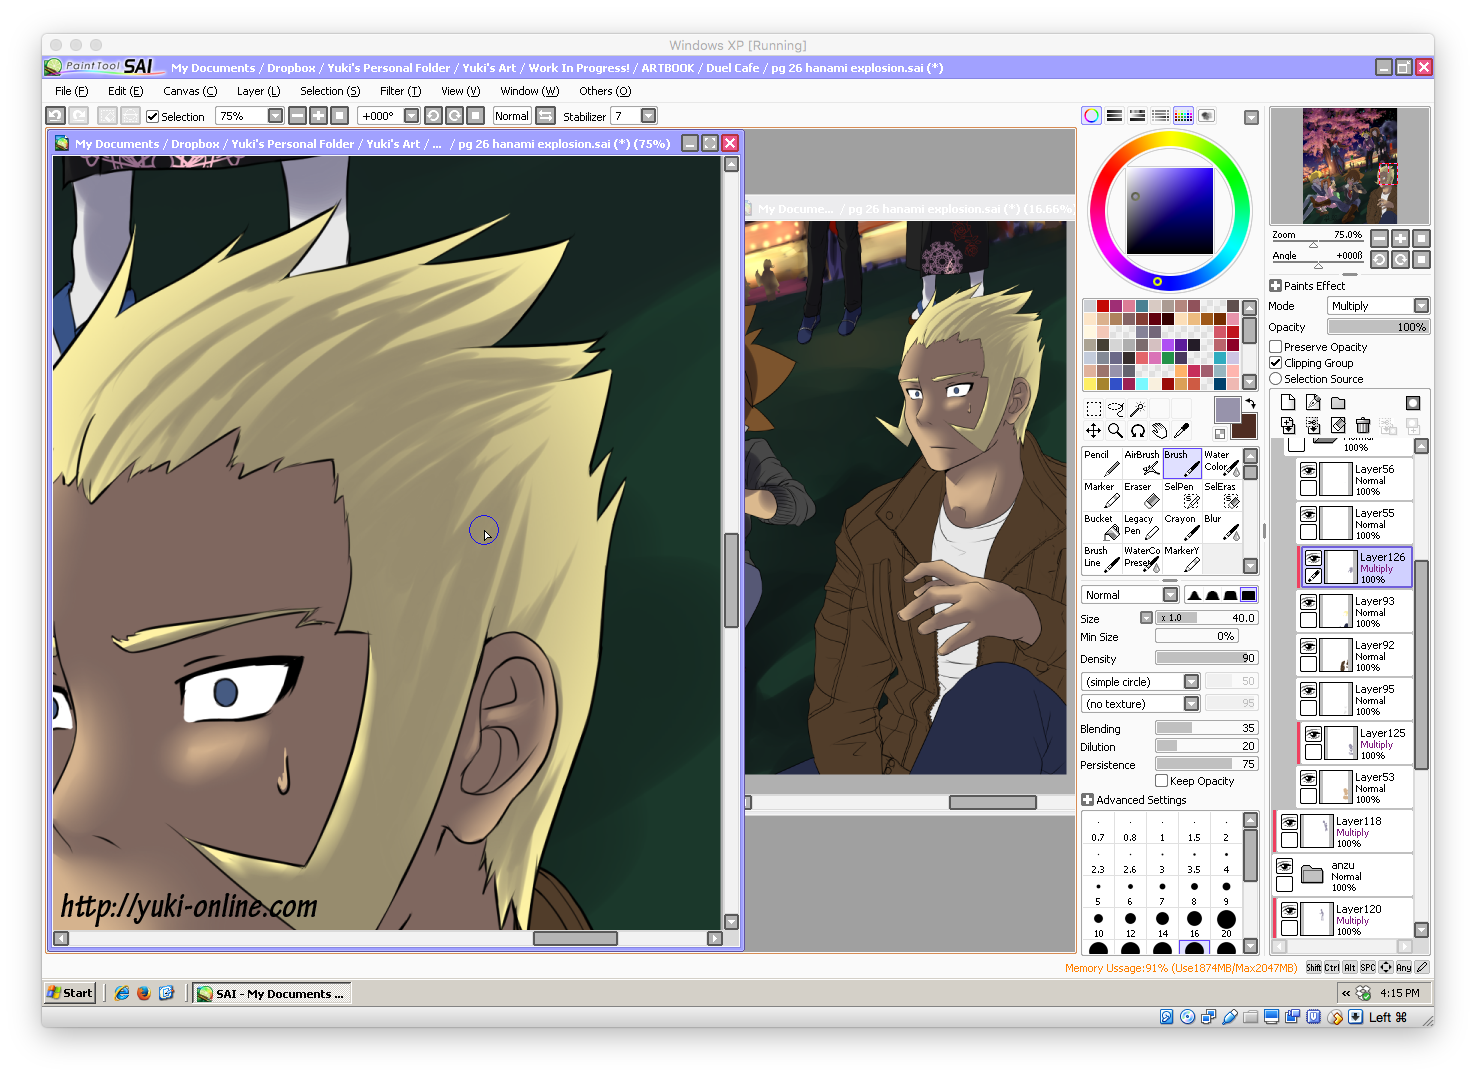
My shading style is typically called soft, or soft-cel combo. This means that I don’t often have a lot of hard edges in my shading unless there is an item present that creates a hard line of shade because of its shape. I often lay down the color with the pencil and/or brush tool, and if I want an especially smooth blend I use the watercolor (sometimes called water) tool and the blur tool to blend them out.
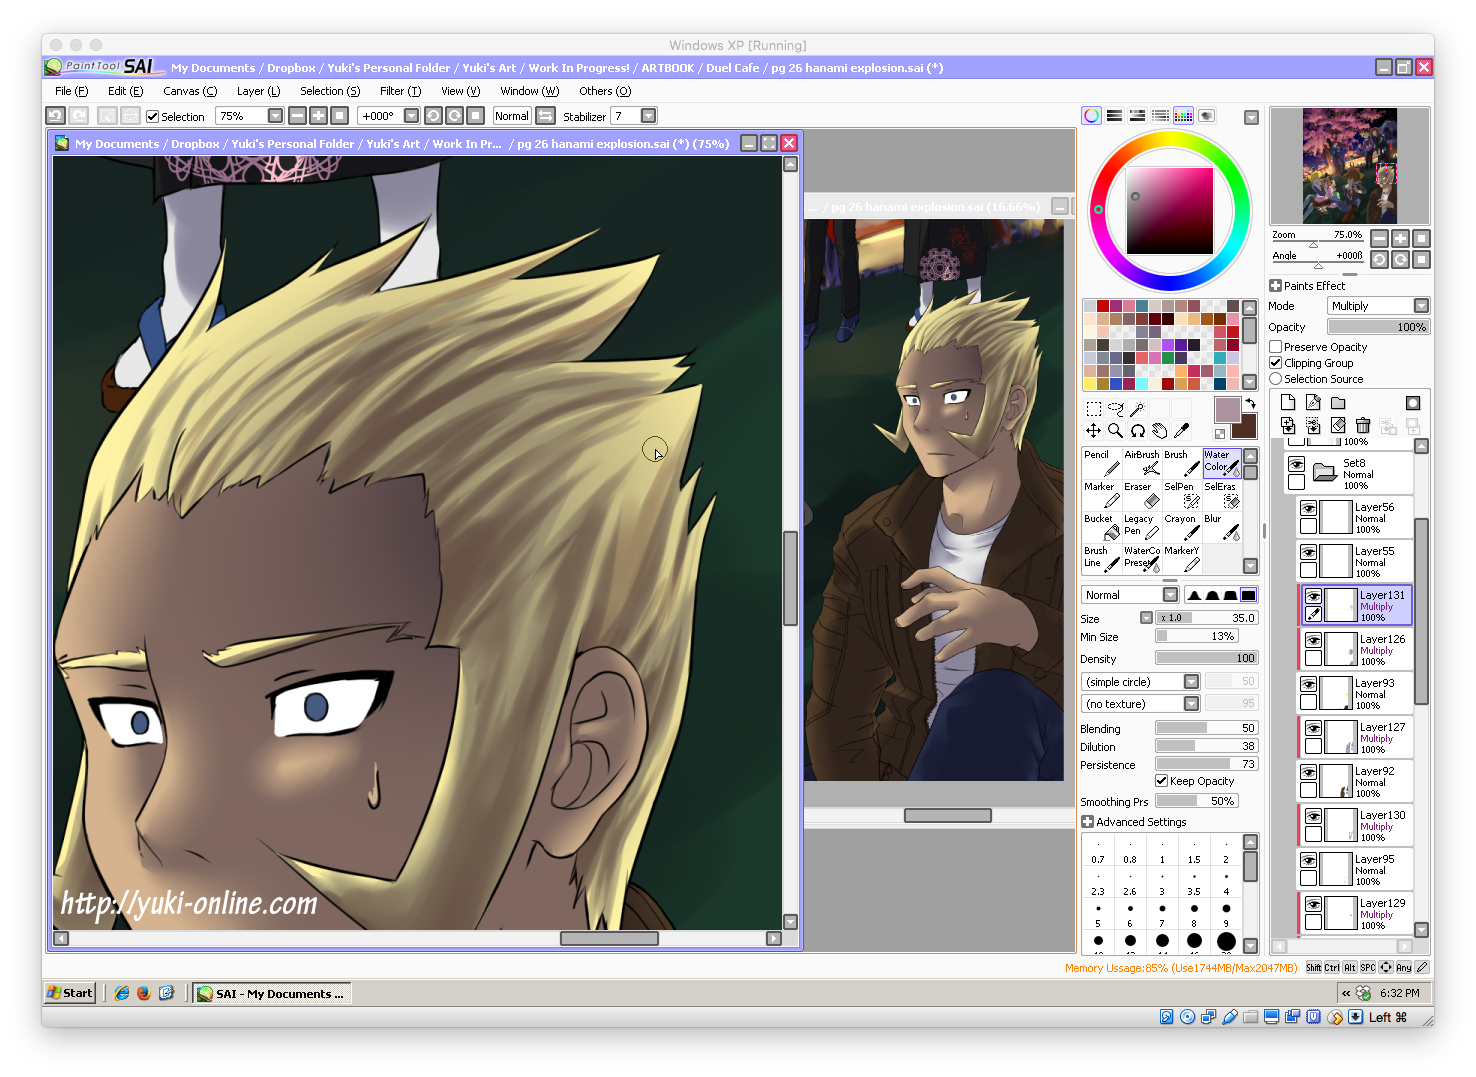
For my shading I mainly used a bluish gray, and a warmer reddish-gray for the darker shadows on blonde hair.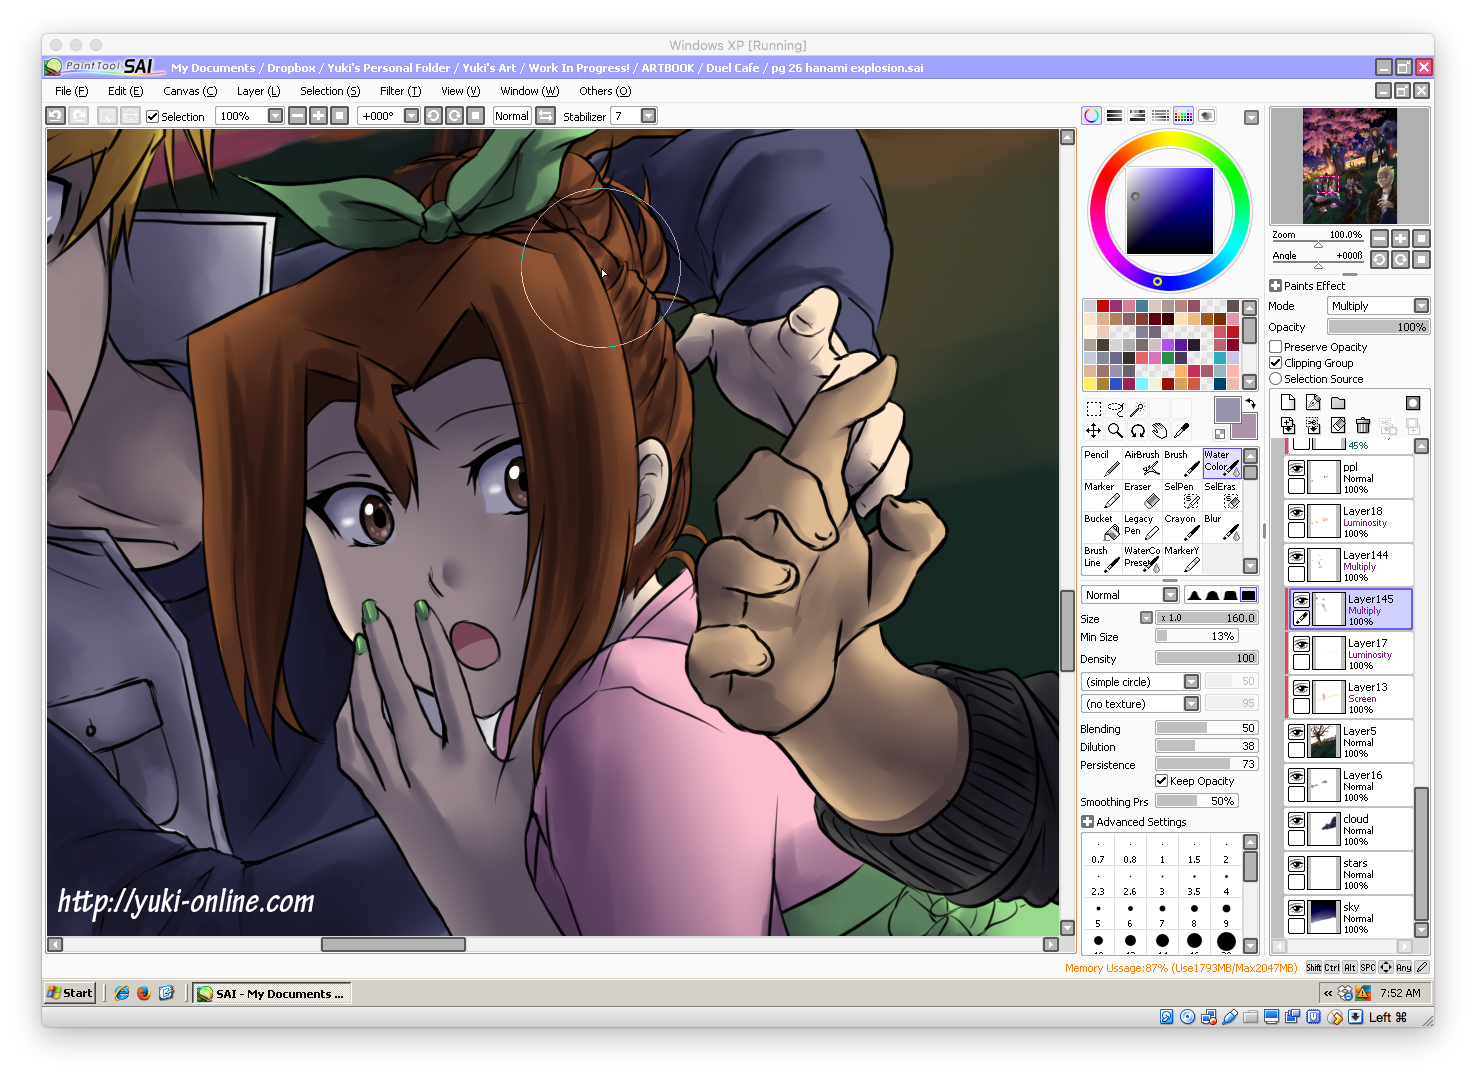
Shading for eyes in dark scenes can be a little tricky, because without some form of highlight, the eyes can look dead and the character distant (or worse, possessed). So in addition to keeping the usual anime-style dot of highlight on the iris itself, I added a soft brush highlight to the white of the eye as well.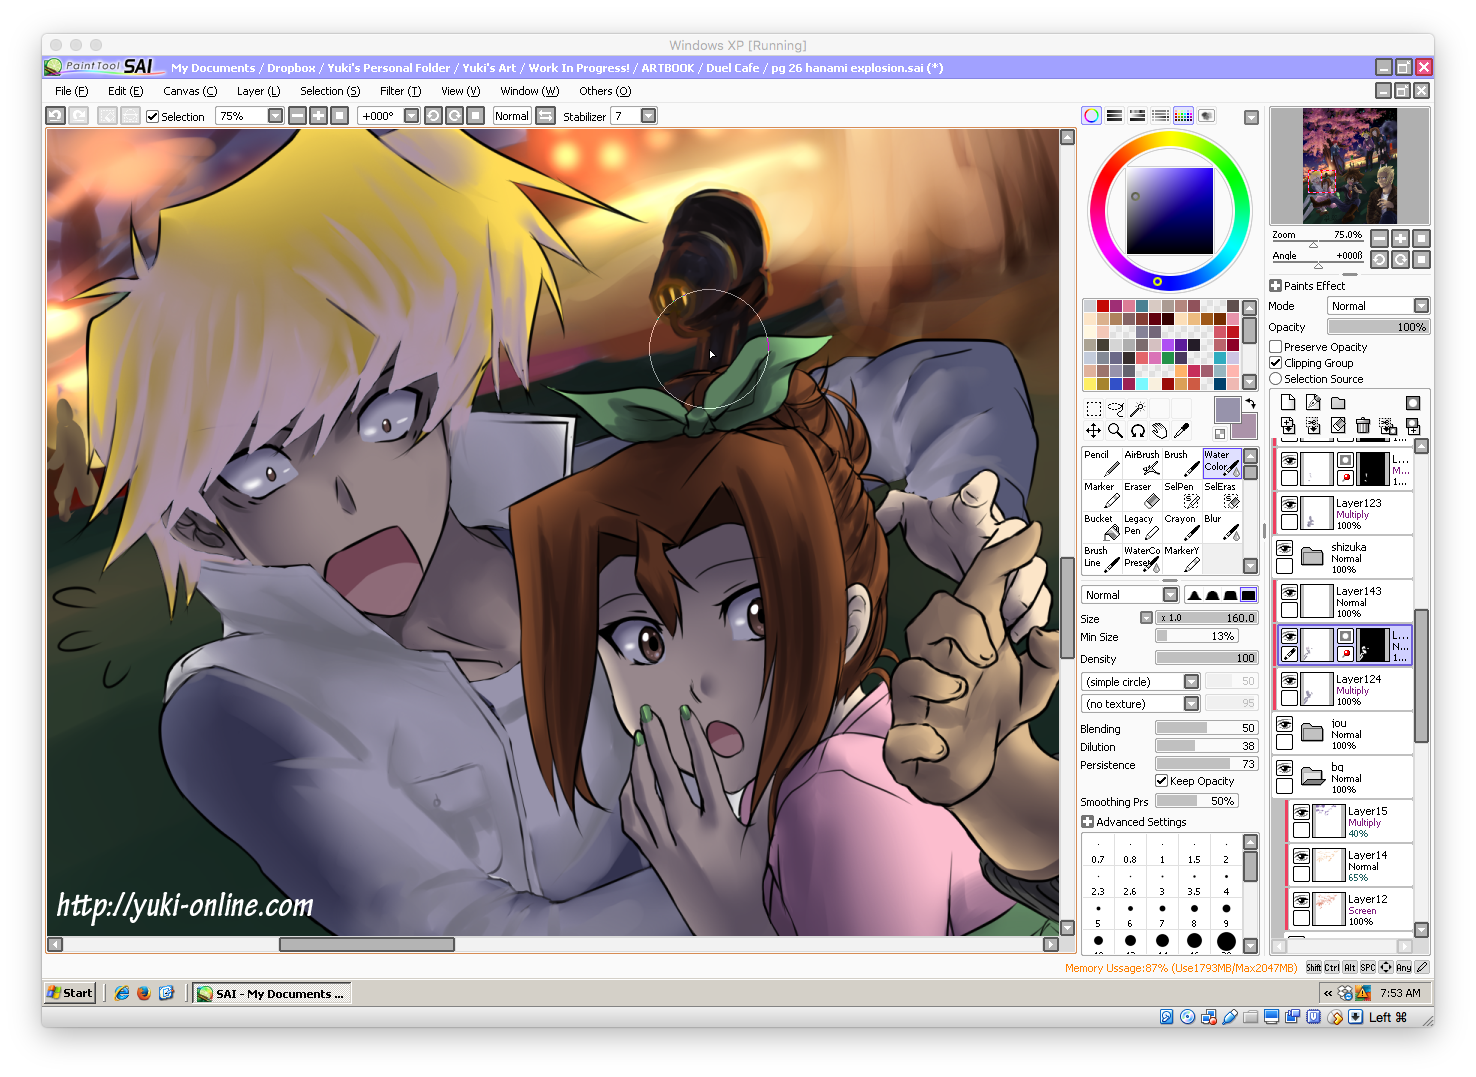
Here I switched the Multiply layer to Normal so you could see the true shading colors I was using. The darkest shadows are more of a true gray, while the lighter ones are bluish gray, and the shadows on Jounouchi’s hair are a reddish-gray. Notice how this layer of shading doesn’t affect the other layers because of the mask.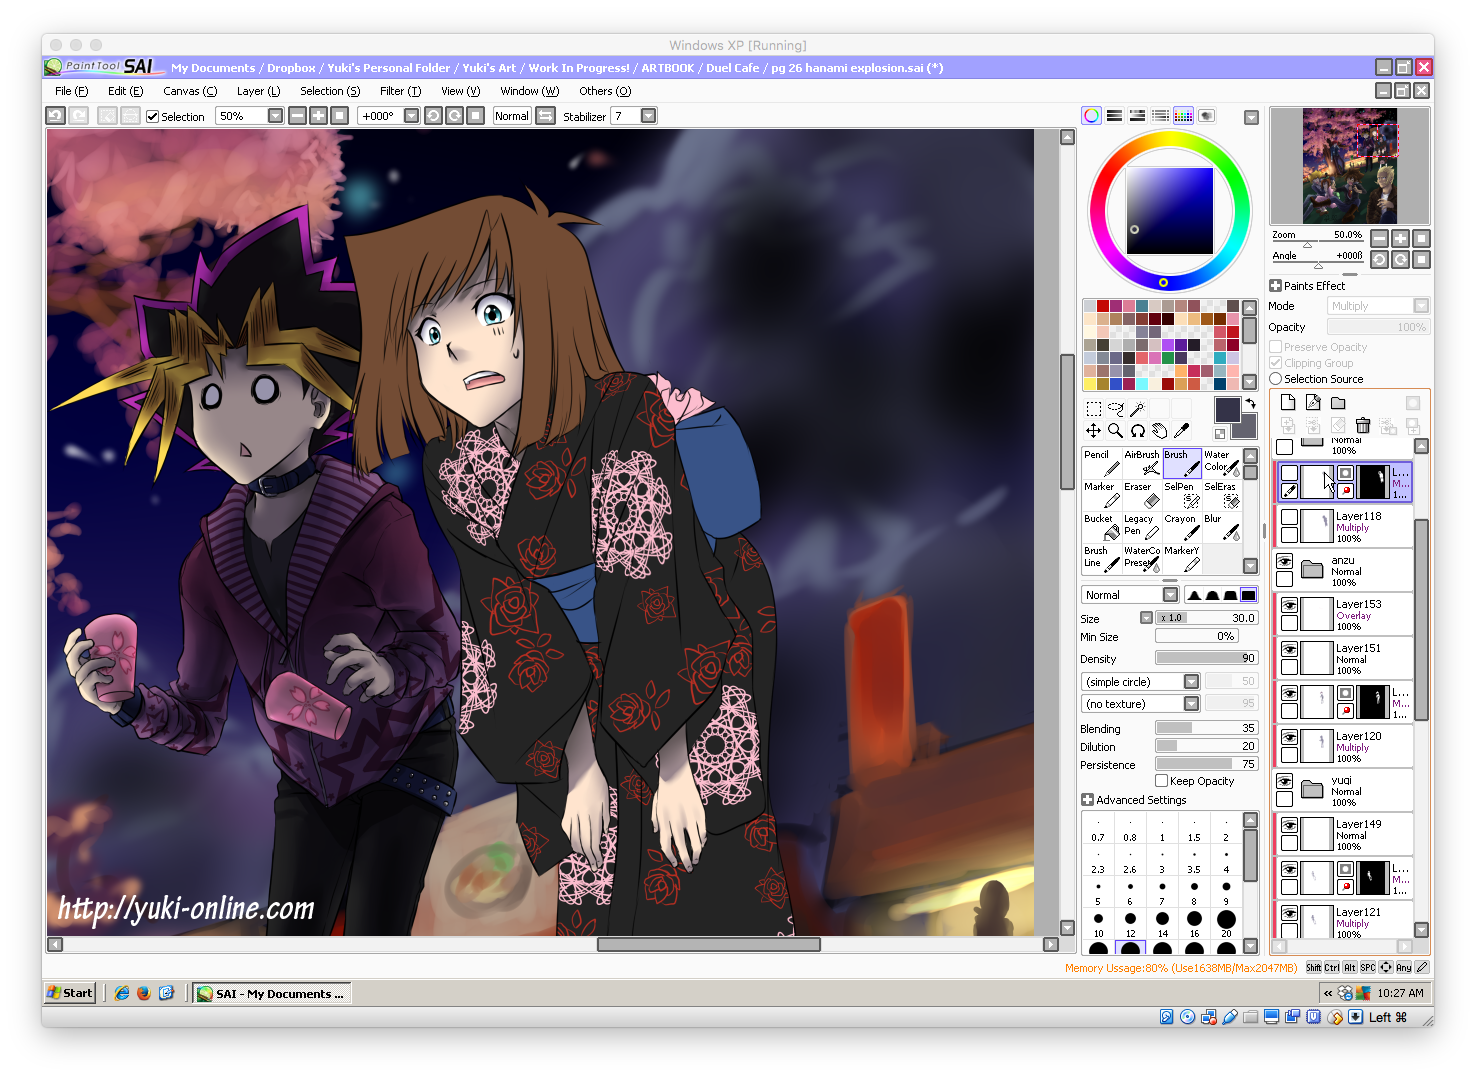
This was actually the first time I’ve tried to use layer masks! It’s clipped to Anzu’s set, and everything colored in white is what gets affected by your coloring, much like how you would mask out an area in painter’s tape if you were going to paint, so that the paint doesn’t go outside the mask. Here, the “painter’s tape” is the black area, and the active area is depicted in white.
As you can see, I have Anzu’s skin already colored separately (inside the set) so that I don’t have to go back over the main multiply layer (Layer 118).

Now, there is a large shadow over her whole figure, but the skin shading remains intact–just a little darker. This layer is clipped to the layer set “anzu”, so it doesn’t bleed out onto any layers outside of that set. 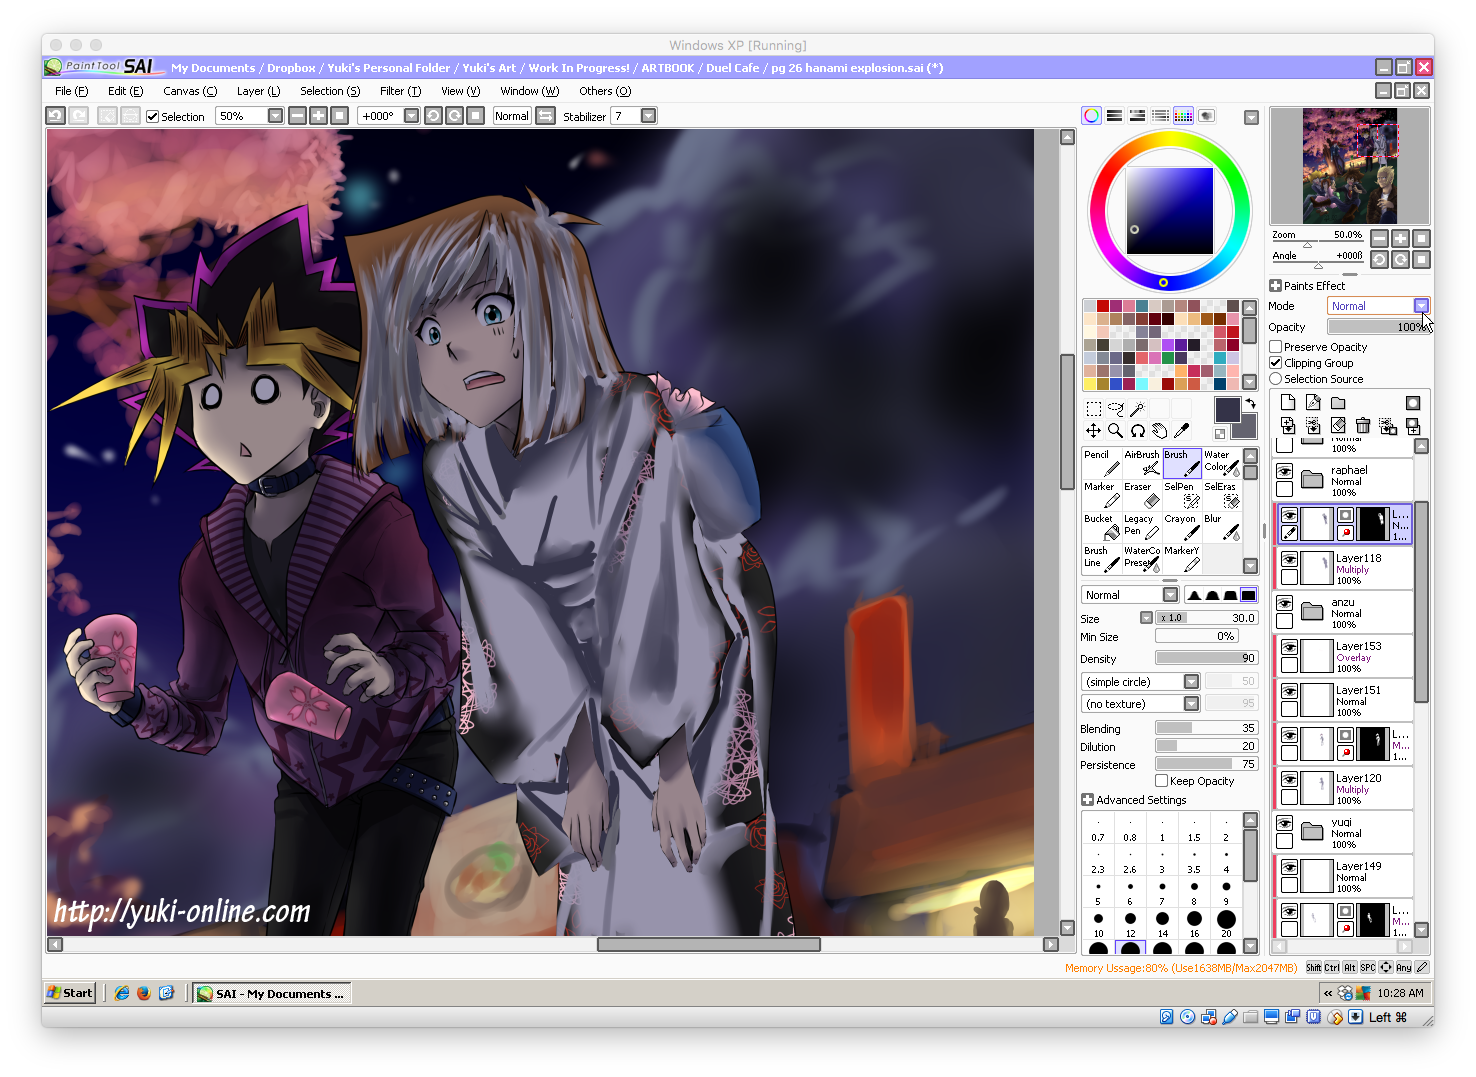
I added a layer masking all but the skin, and did darker shading. Here is the layer, set to Normal mode.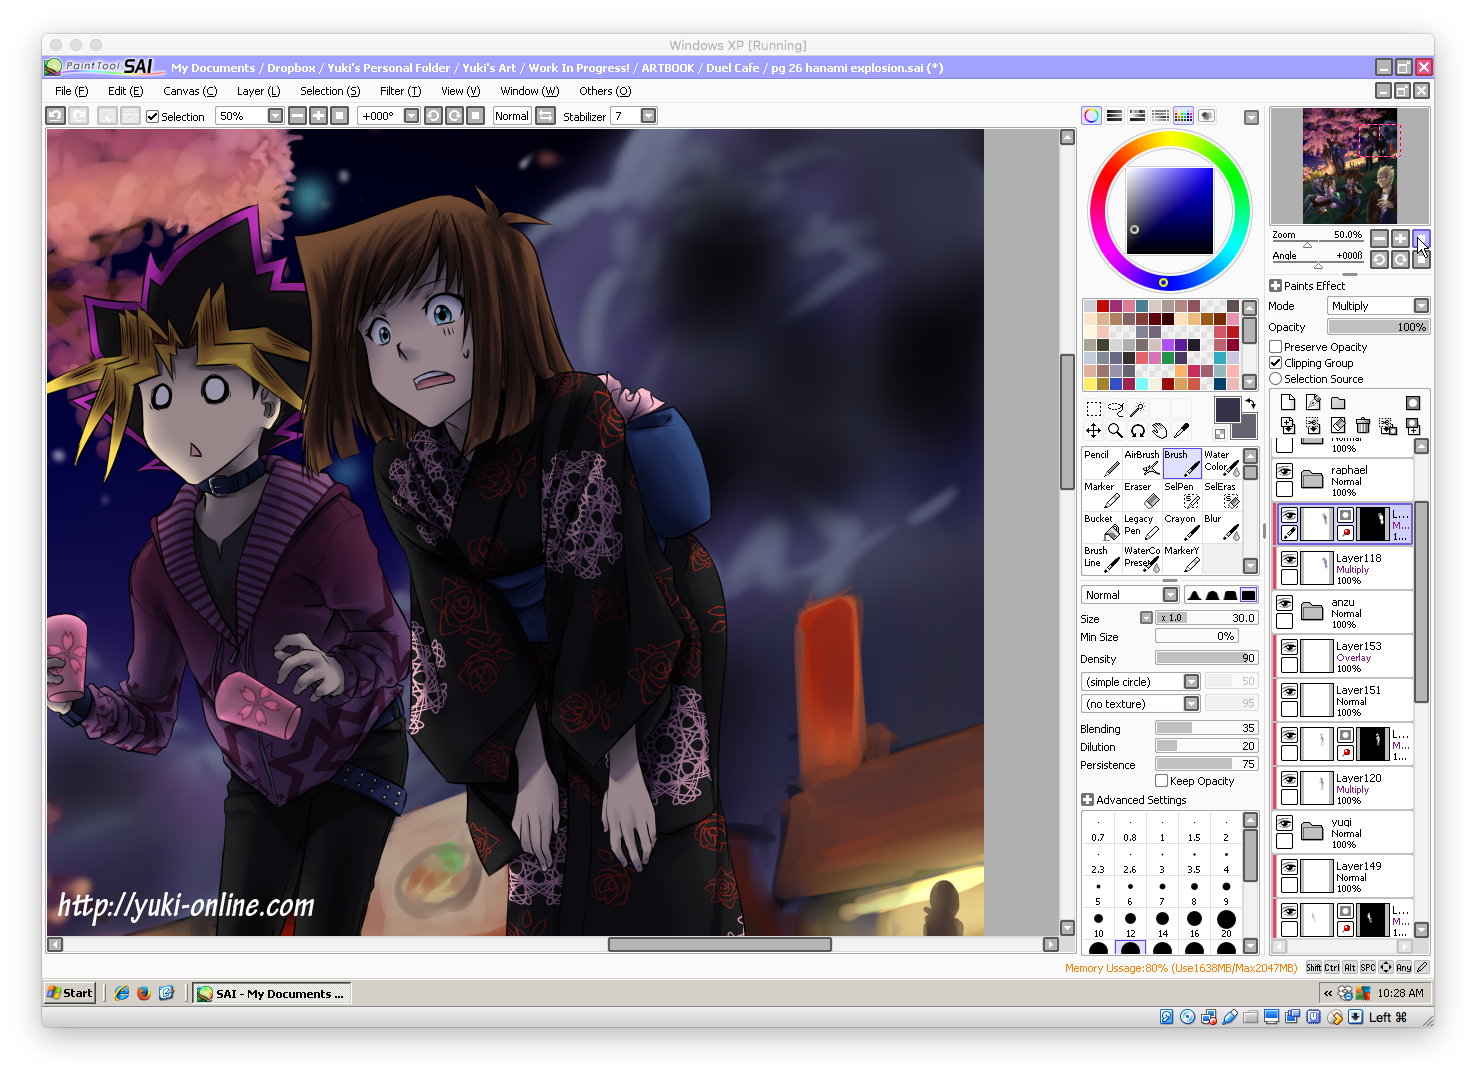
And the same layer set to Multiply.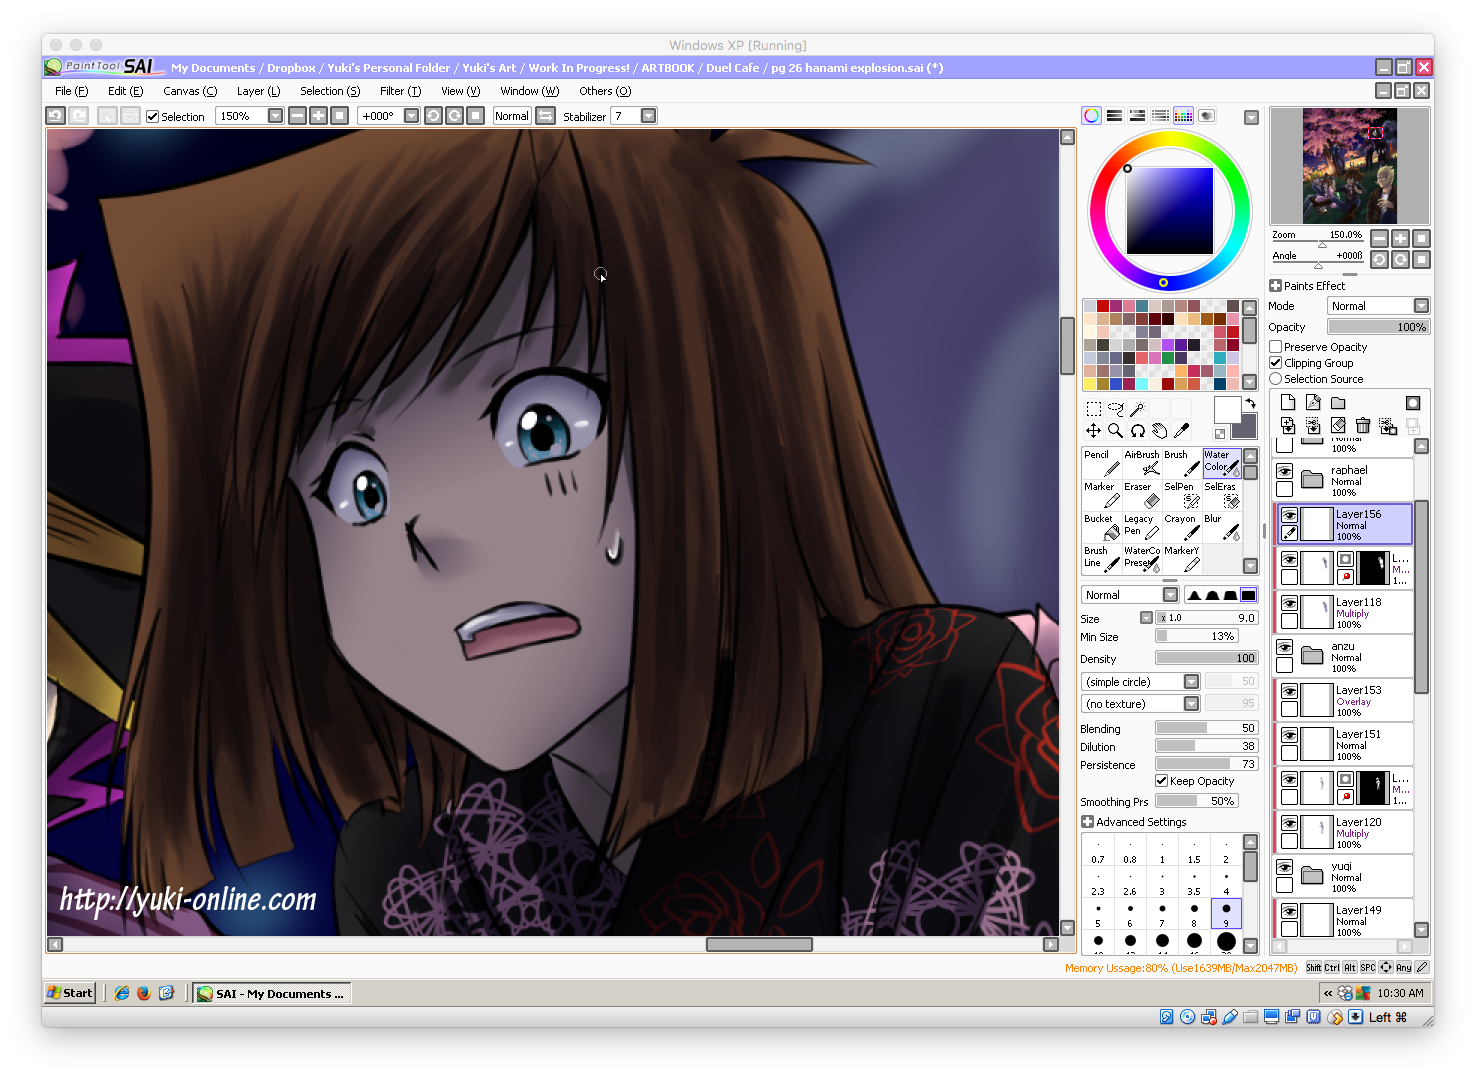
Next I added highlights on a new layer (eyes, teeth, sweatdrop).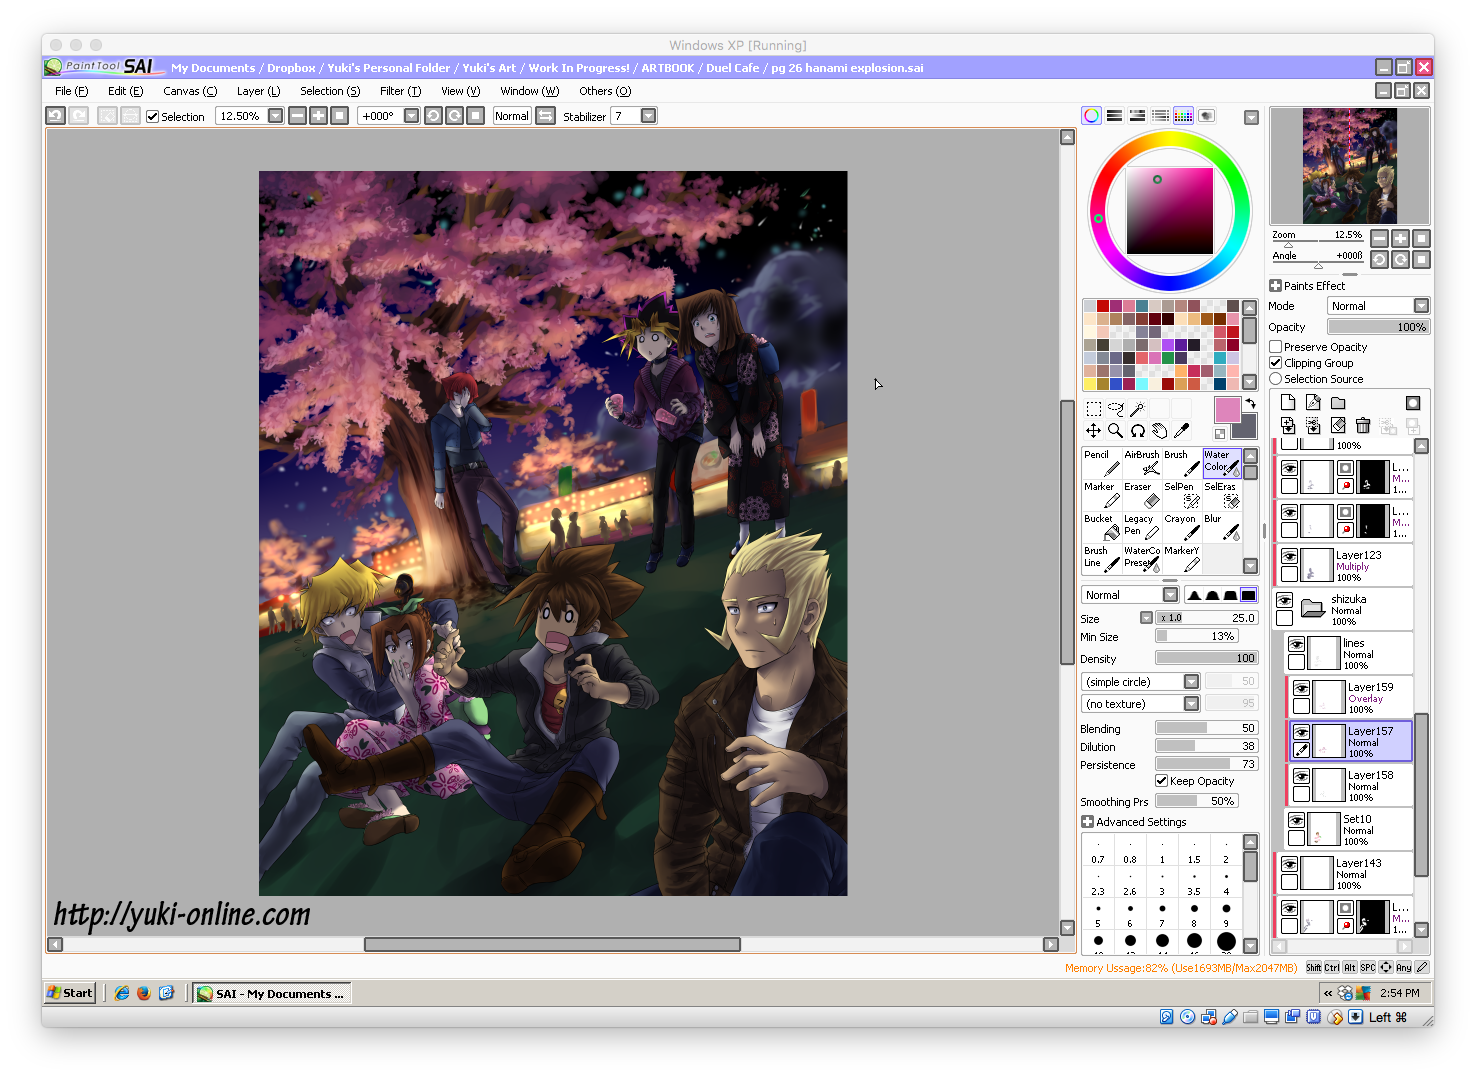
Here is the full picture before adding the final details! Most of the lighting comes from behind, but there is also some from the front because…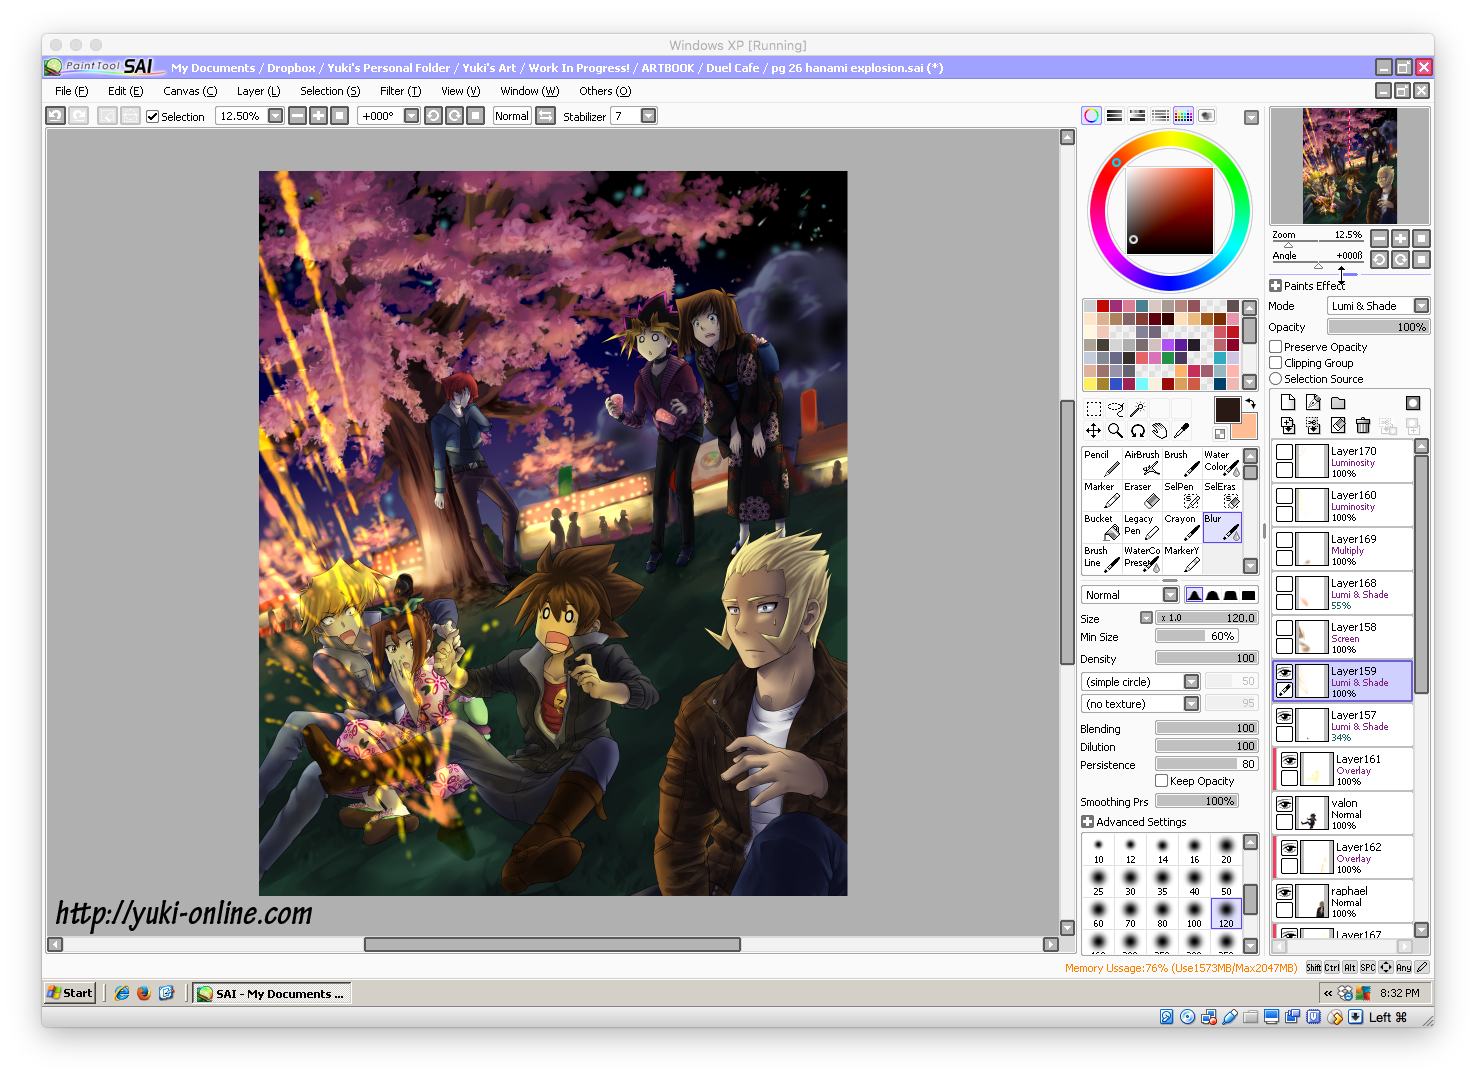
Valon has set off a firework, and I need to add that in now! For the sparks themselves I used mainly the airbrush tool set to Spread, and blurred where appropriate. The layers for this are set to Lumi & Shade.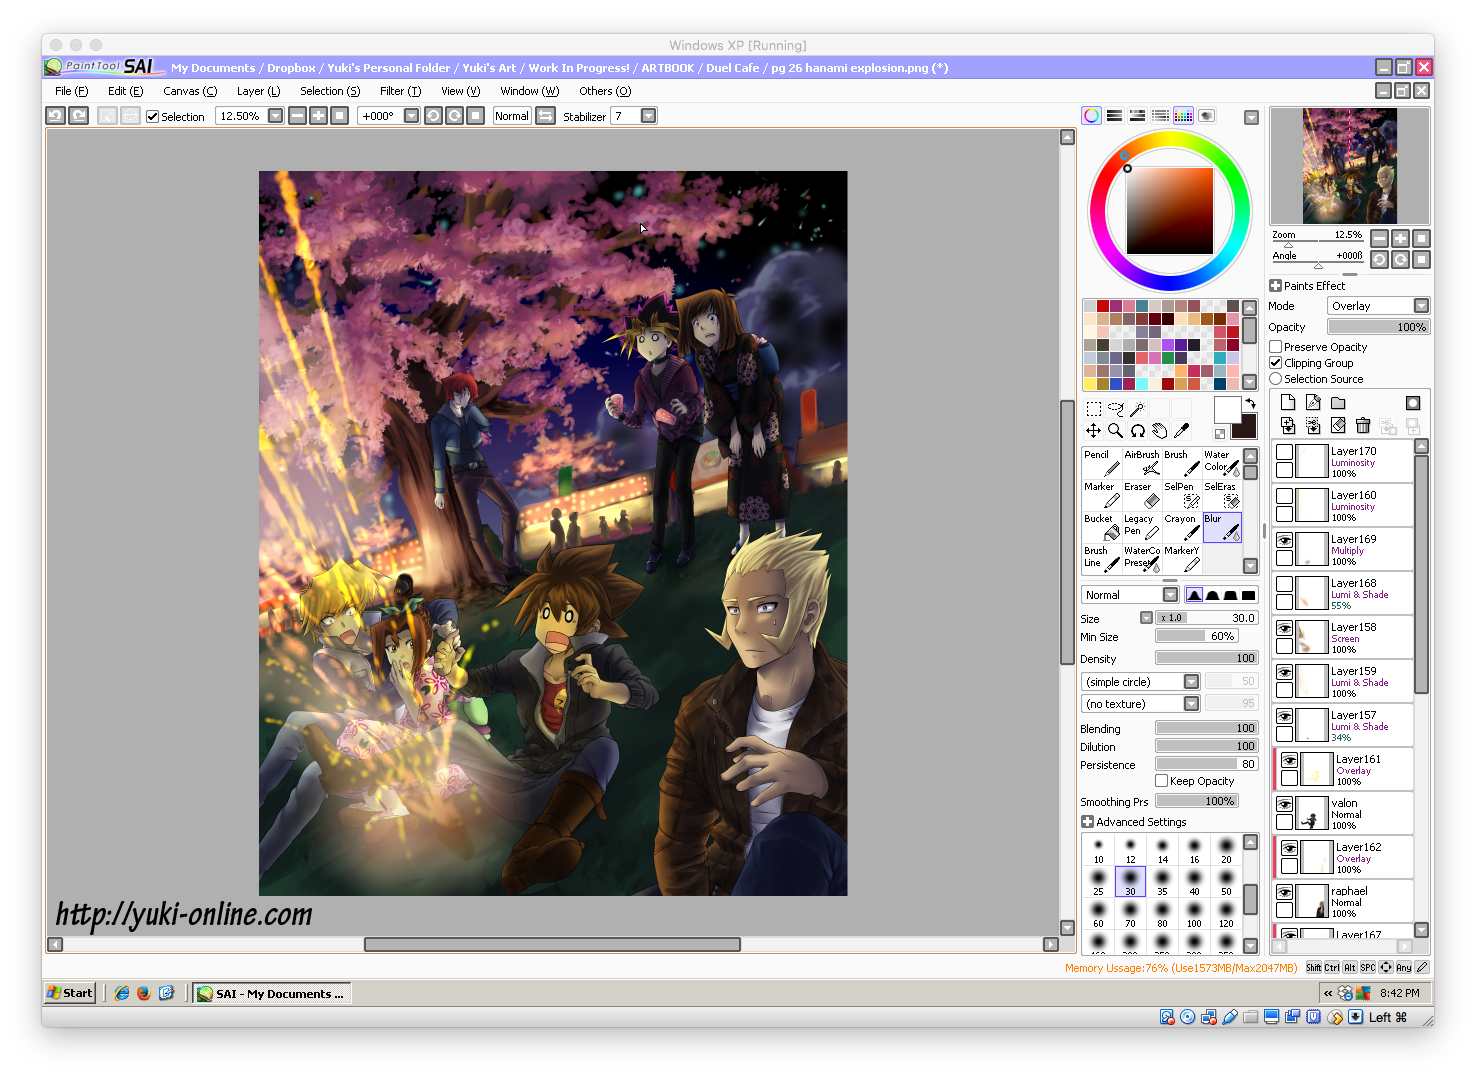
The smoke is set to Screen.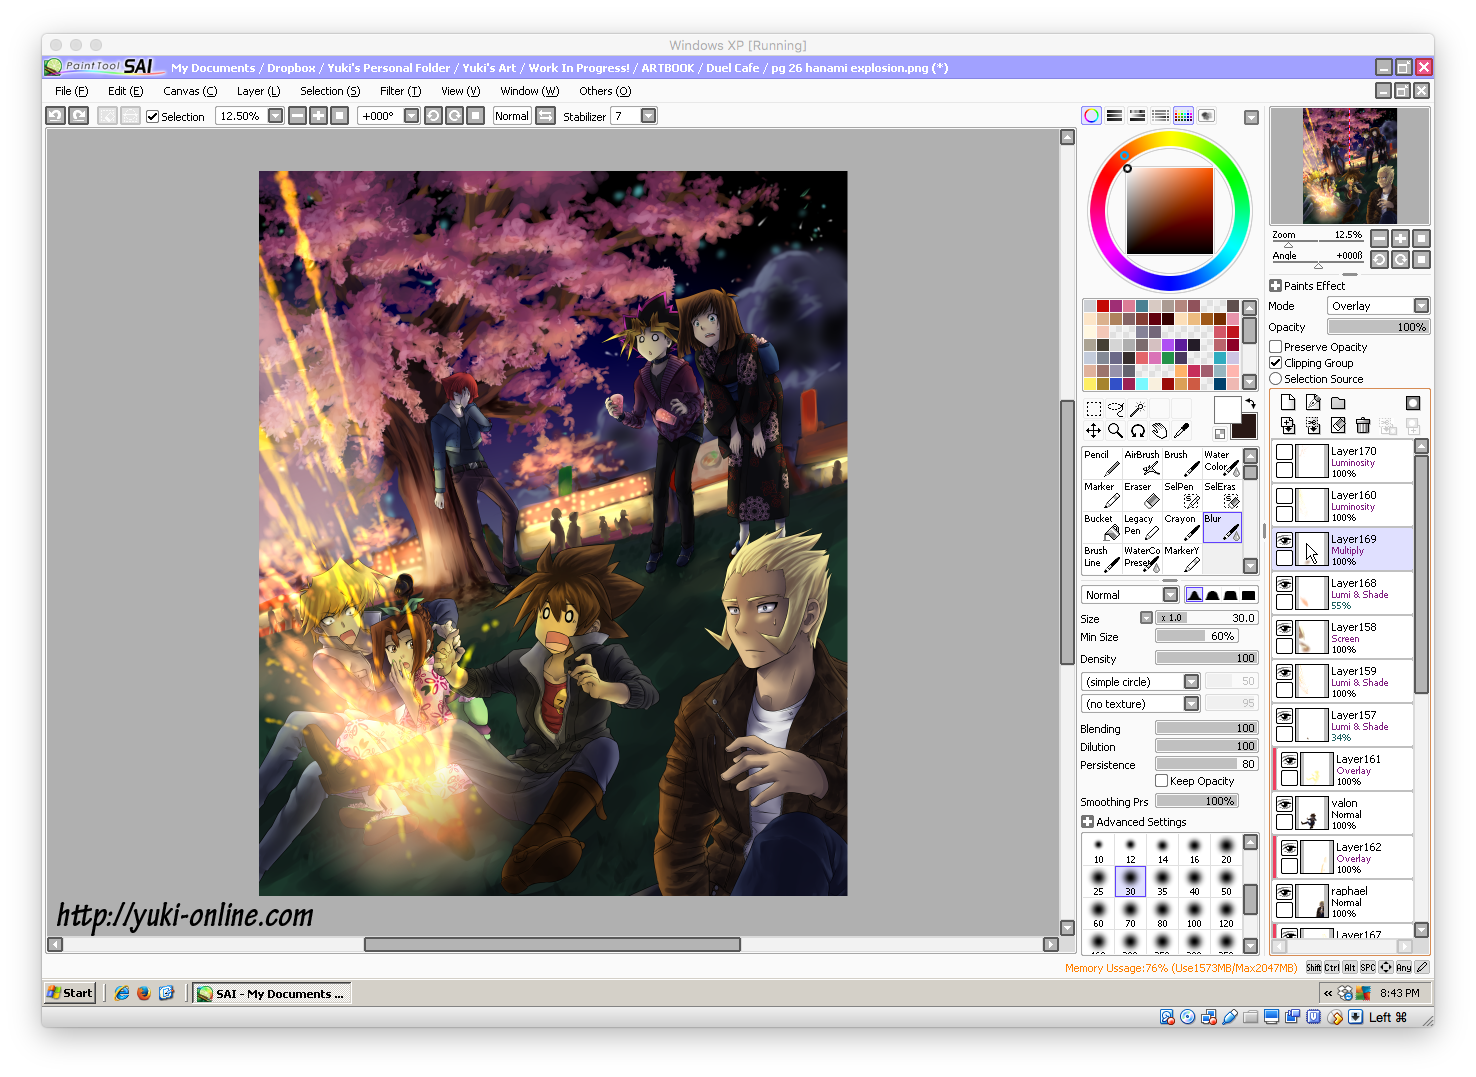
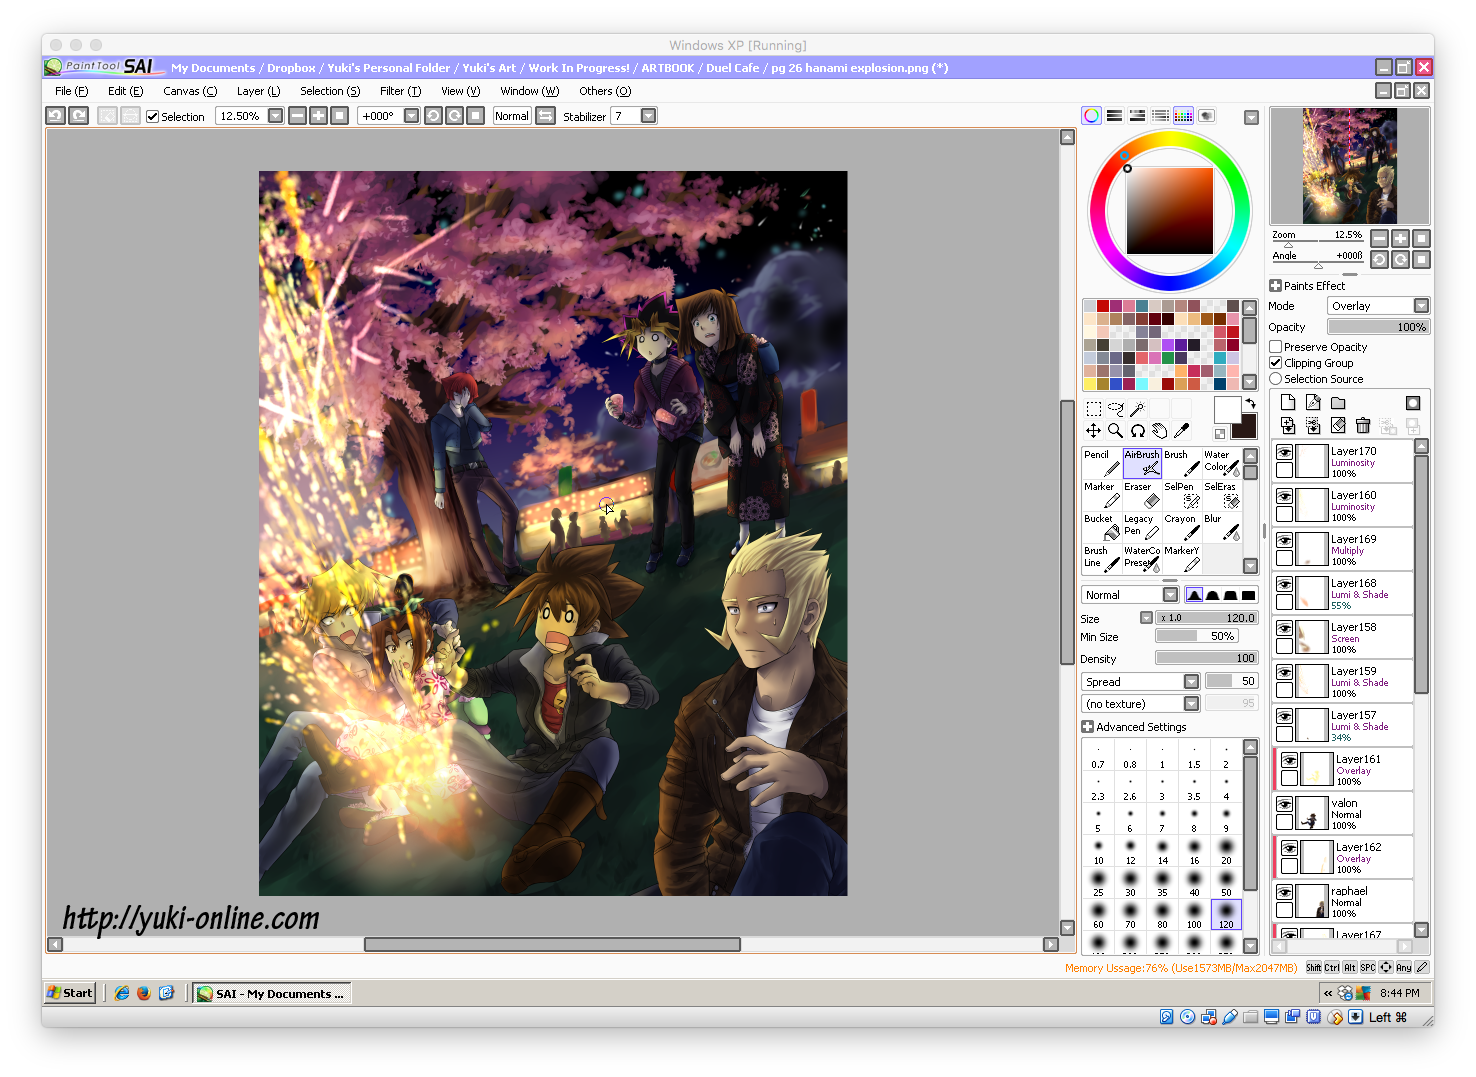
For effects like this, playing around with layer modes is one of the best ways to get cool results! I often use Overlay, Luminosity, and Lumi & Shade for glows of light as well as cast light, such as the orange-yellow glow on the characters in the front.
Tip: If I were doing this picture again, I would put a lot more direct light on Valon’s front. Lighting takes a lot of practice ;v;
That’s all! If you’re also an artist who draws digitally, let me know how you usually draw! What techniques do you use most often? Do you have any tips you’d like to share?
Want to see this picture and get access to this walkthrough offline? You can get this and more inside my artbook, Duel Cafe!
Visit Duel Cafe’s main location