
Here it is! This is my post covering the progress on our floors. It’s not a how-to or anything like that, but if you are going to install some new flooring, perhaps it might help you a little? (Image-heavy post, by the way!)
With that little disclaimer out of the way, let’s rewind back to last August, when I posted about the discovery of a water leak in our kitchen…

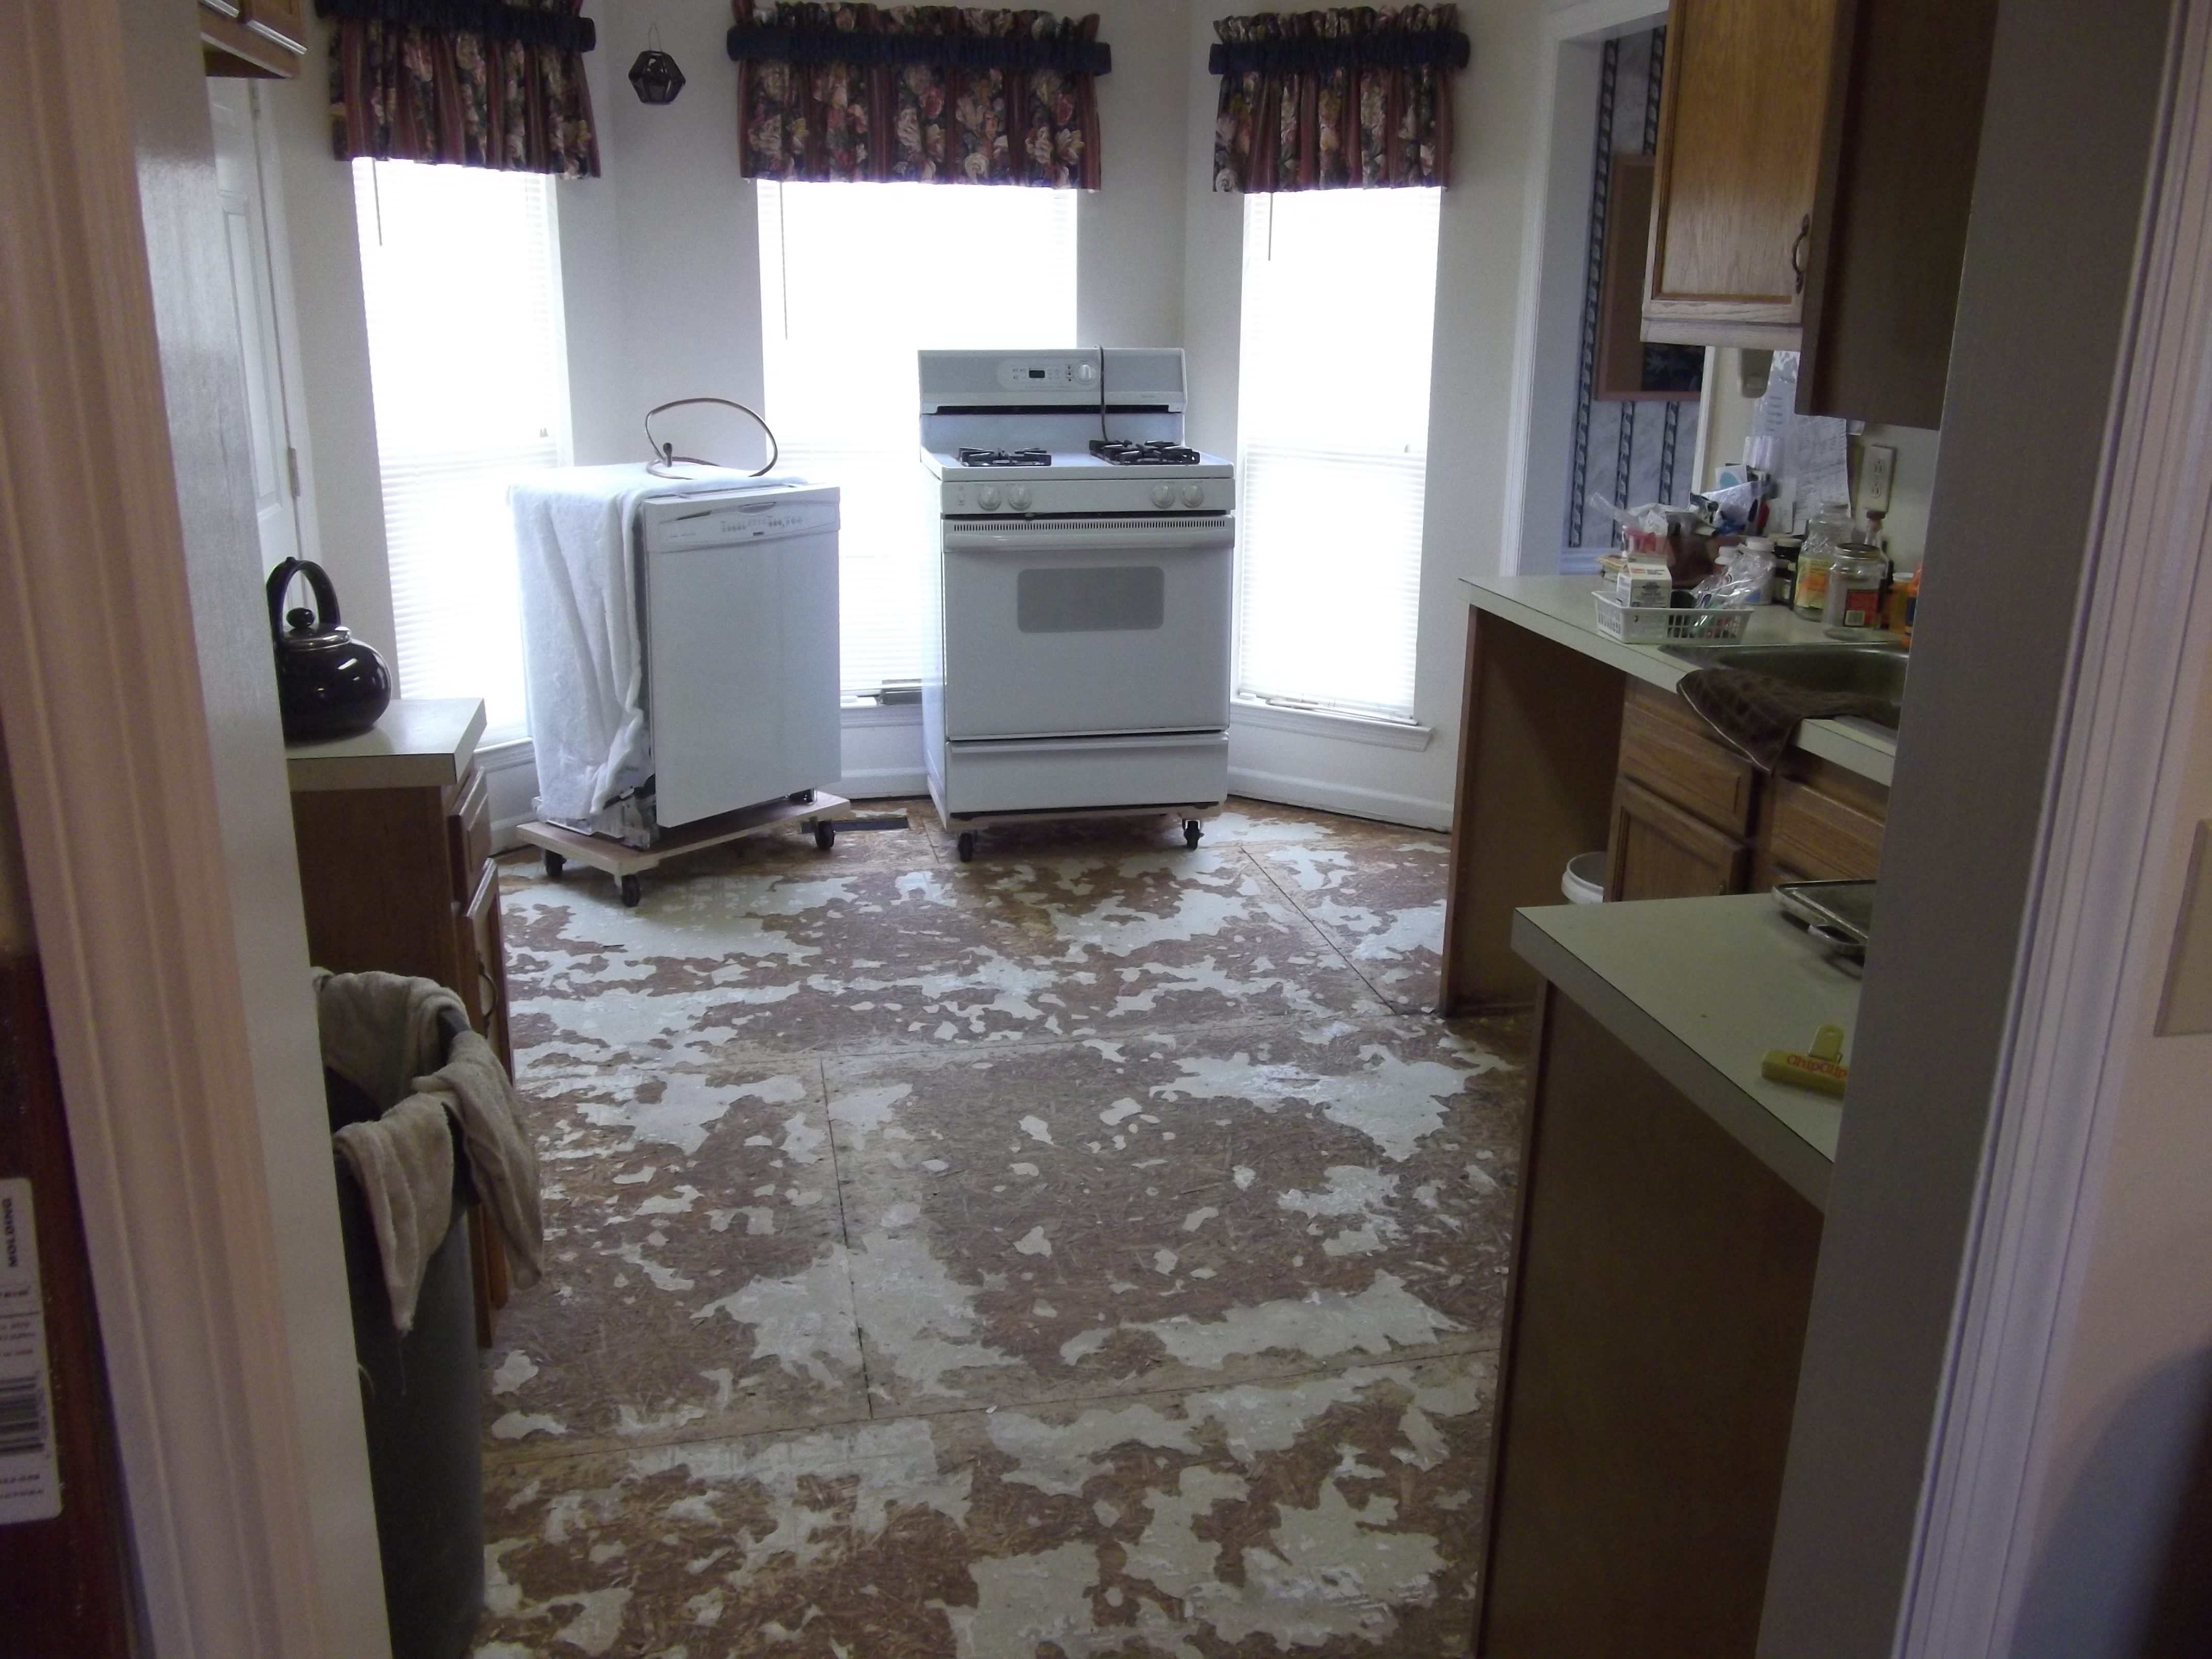
The next day we ripped up most of the remaining linoleum.
After a long time of getting quotes from flooring installation companies and wrestling with the insurance company, we finally got someone good to do the job thanks to some contacts. ^^ In January we were finally able to move forward with the process:
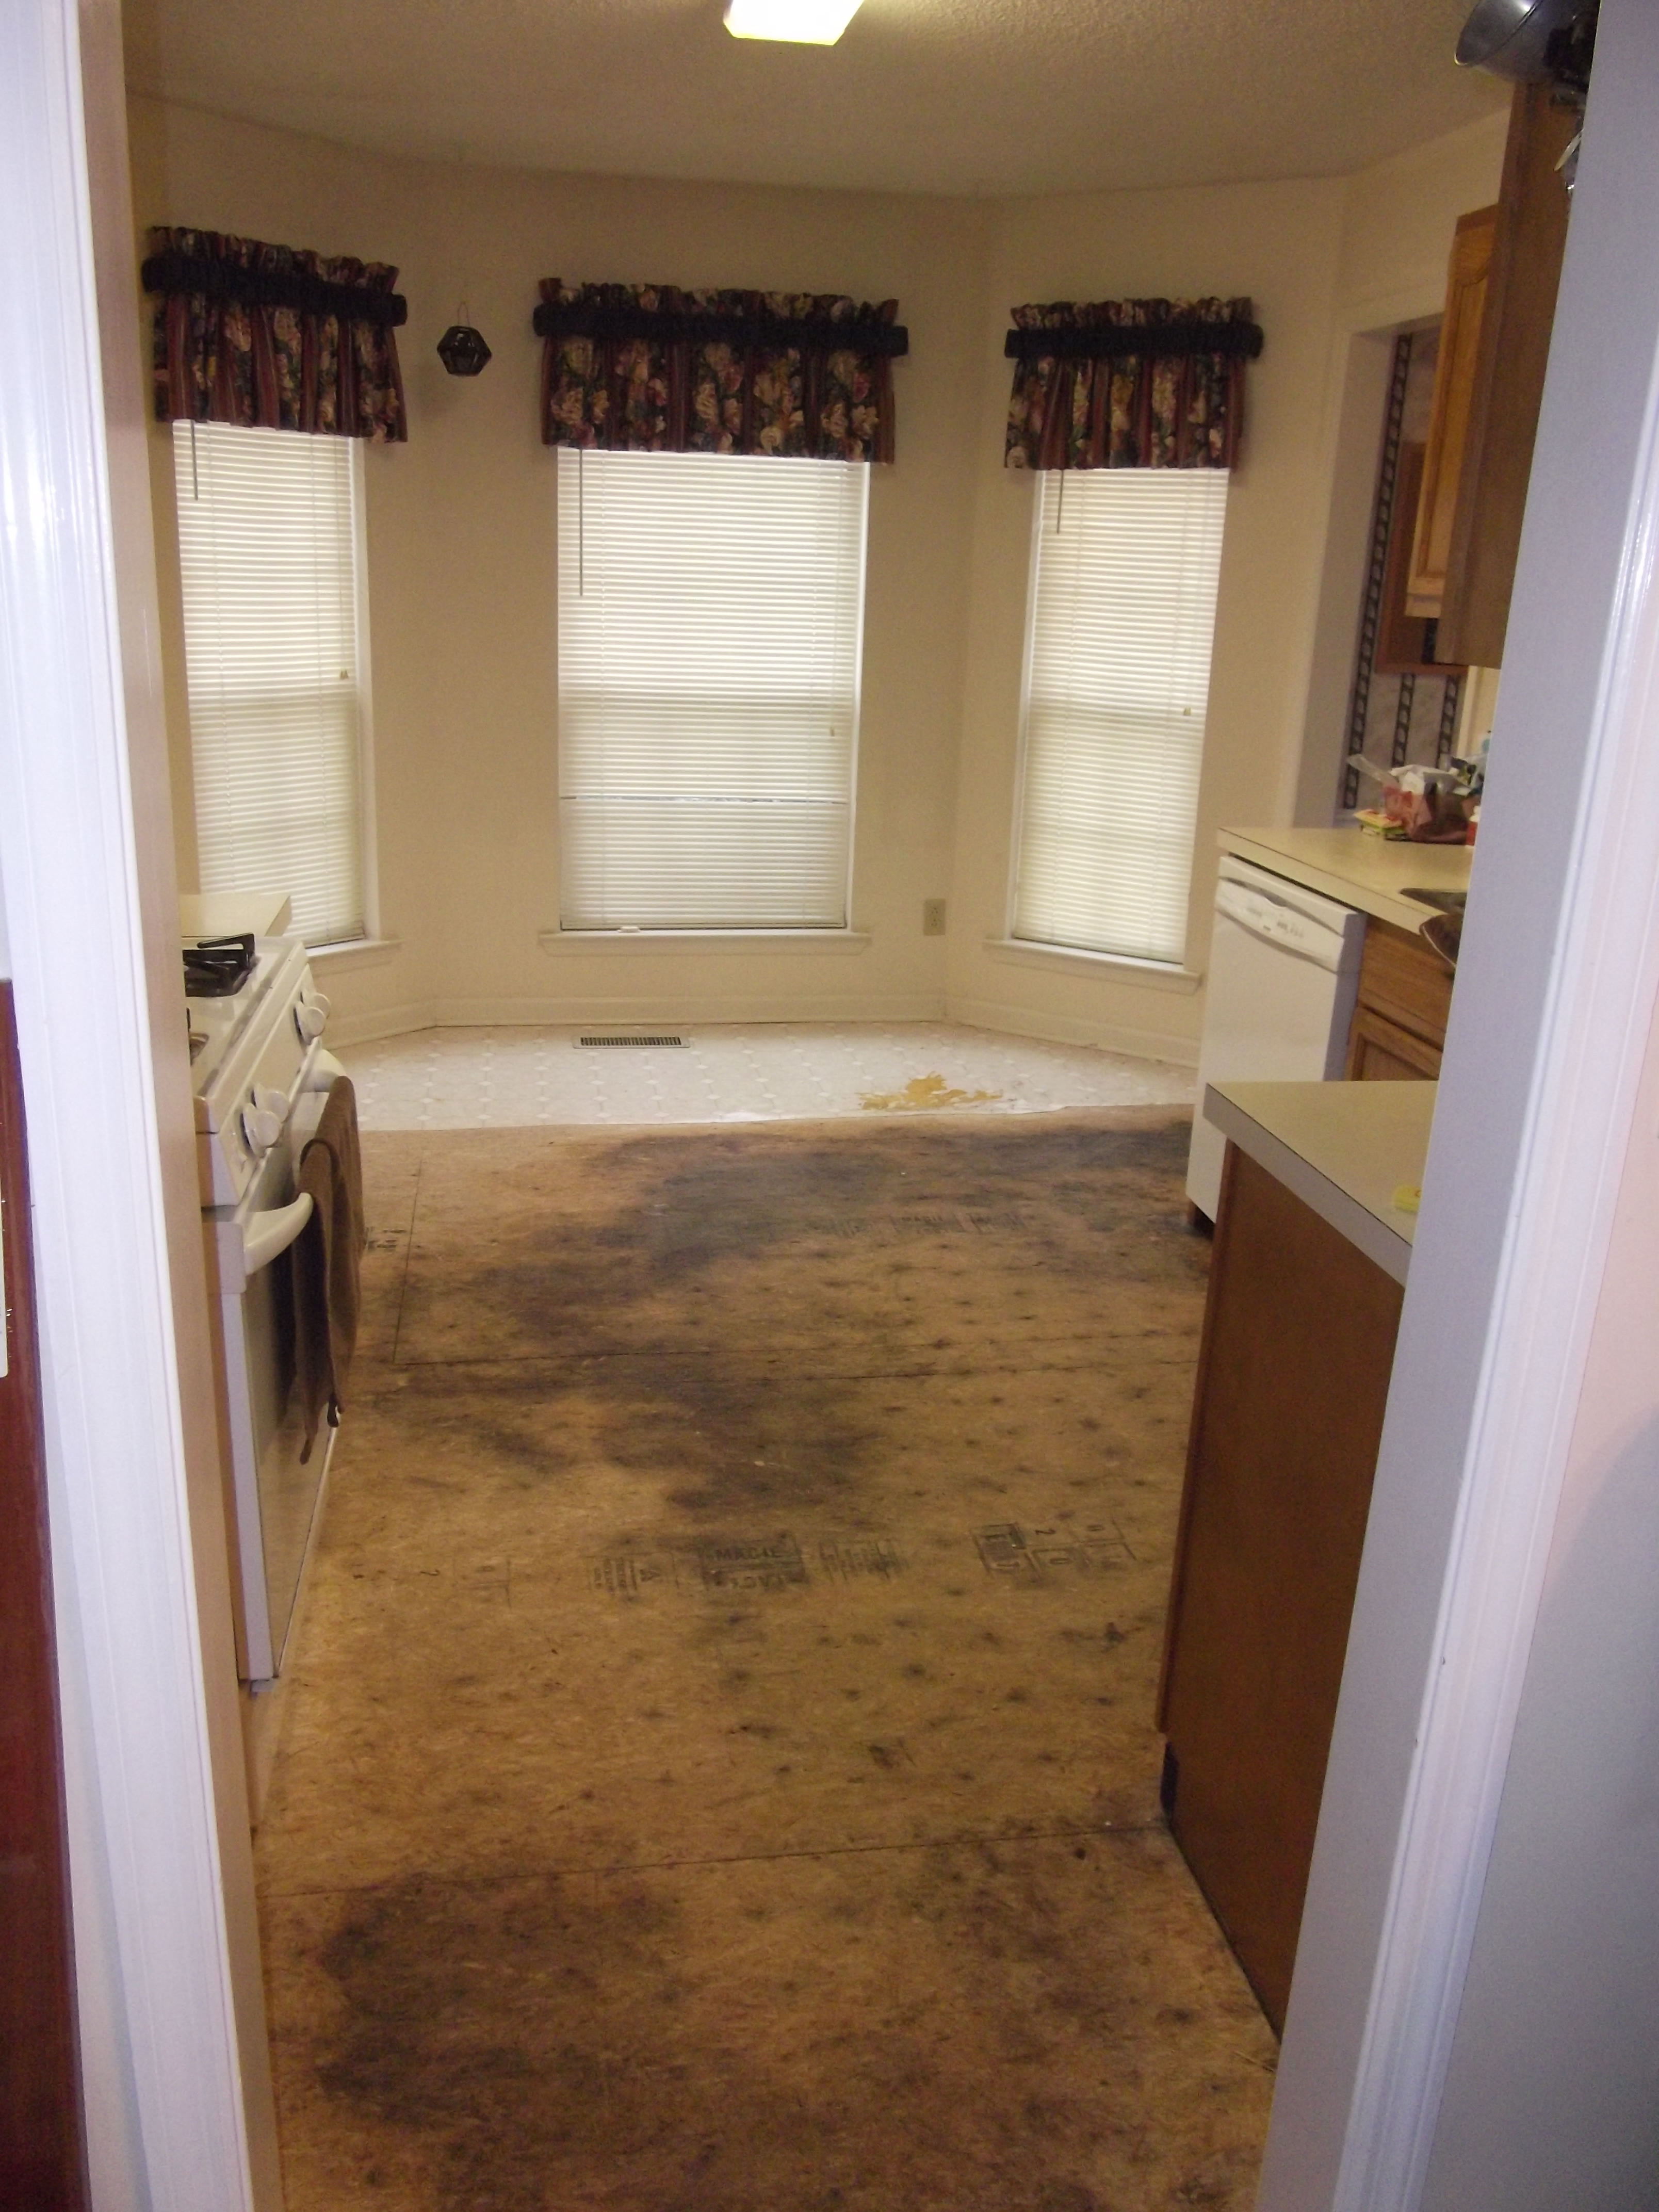
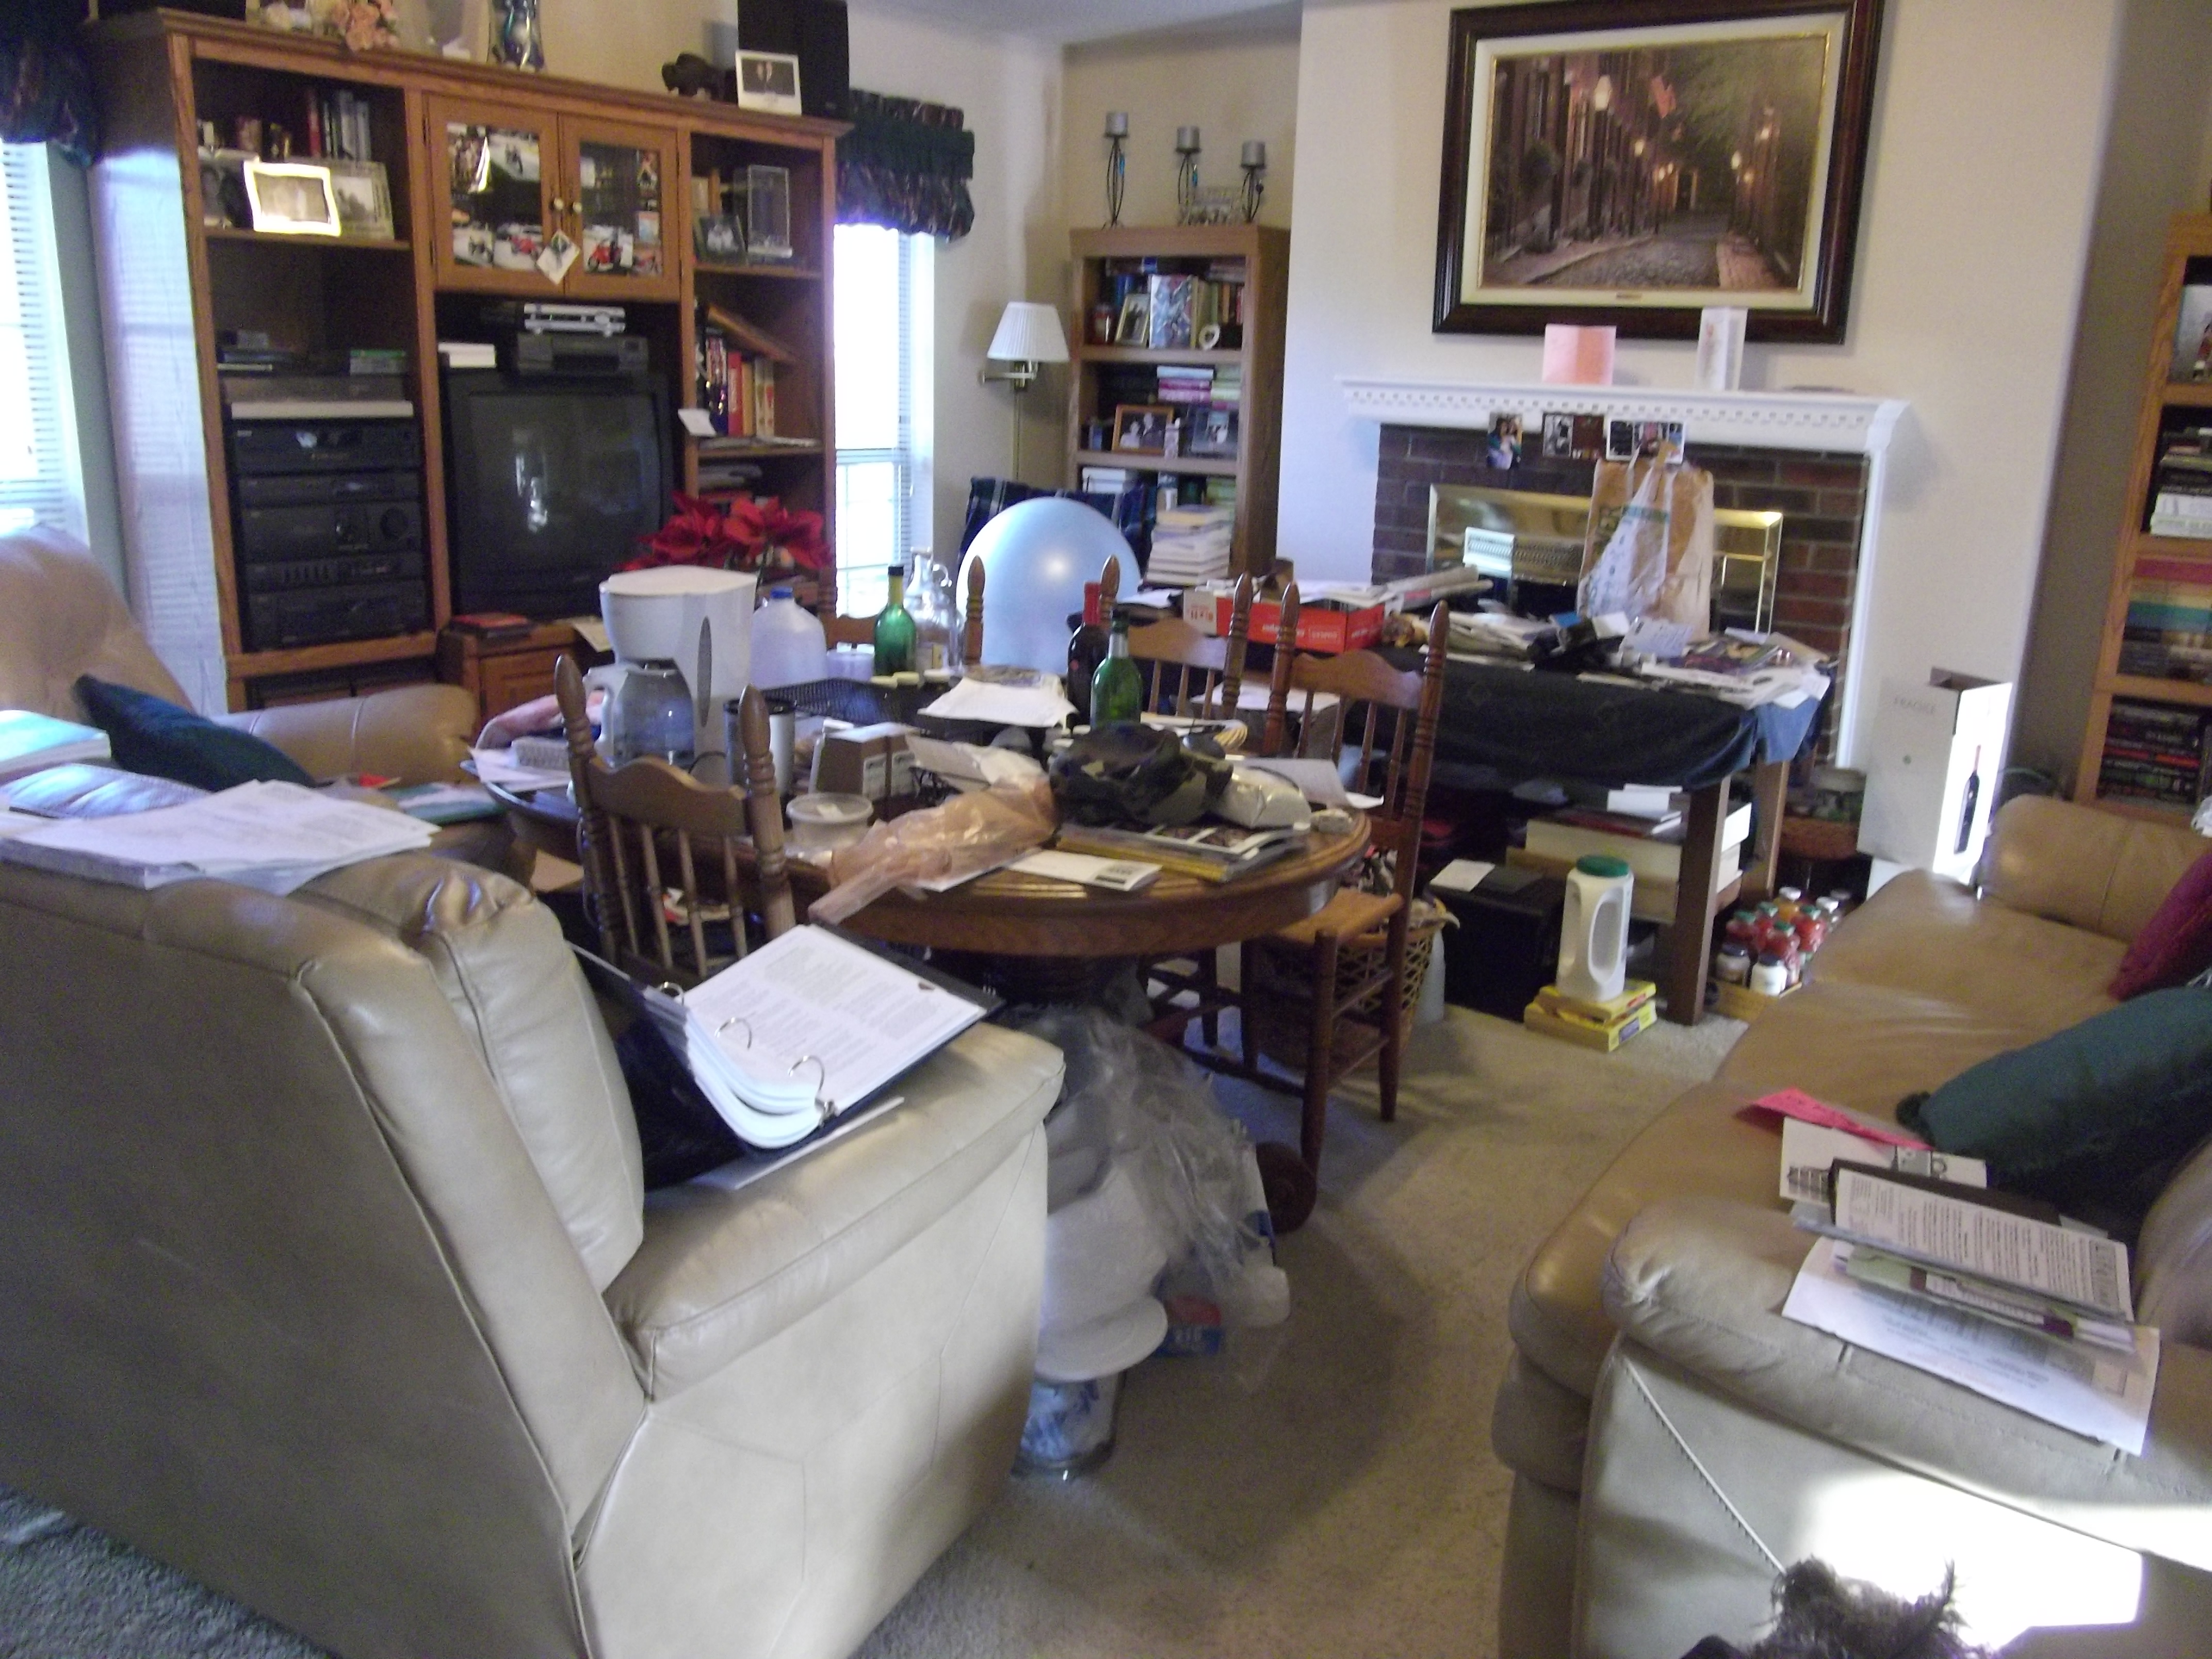
The stuff from the kitchen went into the living room and dining room. ^^;

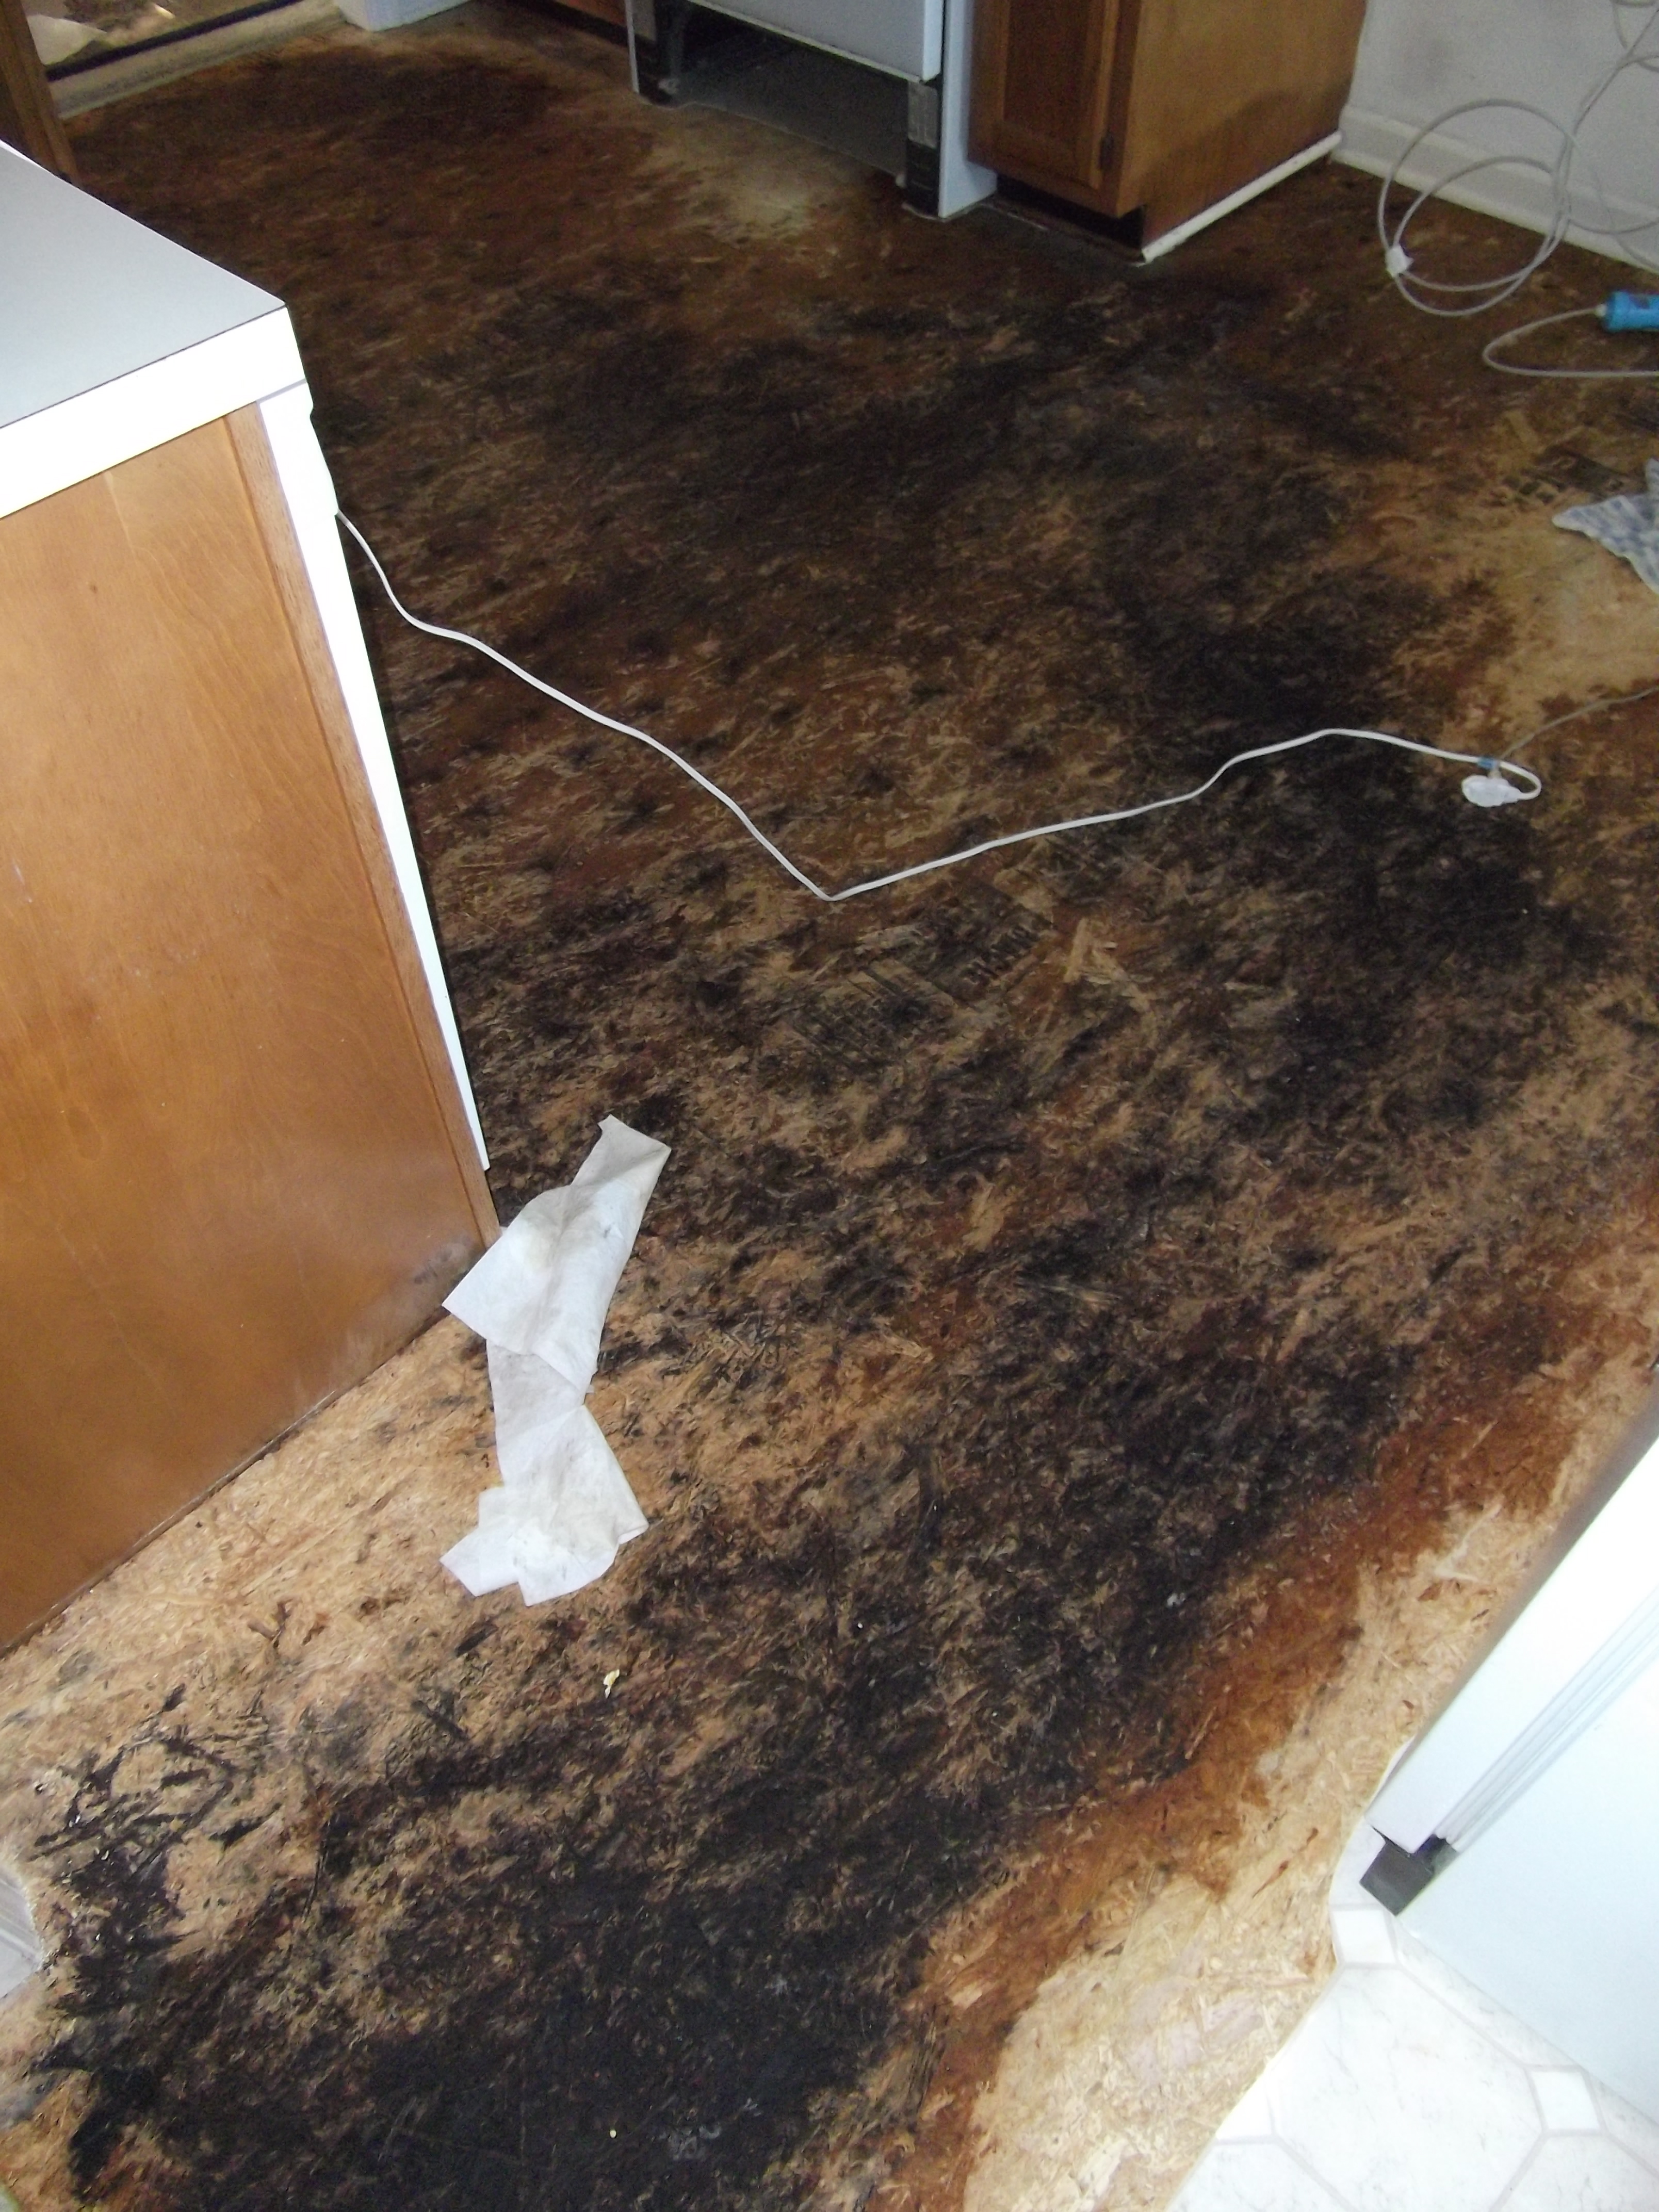
As it turns out, underneath what we had previously thought to be the subfloor was another layer of moldy linoleum that was even uglier than the one we’d had, which was of a somewhat-acceptable white pattern. I didn’t get a picture of the uglier one, but it was a yellowish color that could have never gone with anything in the kitchen even on a good day. Dx
Anyway, double layering linoleum like that is not up to code at all and should never be done! The black mold was just having a ball with all that moisture trapped between layers.
Most of the black mold was on that second layer of linoleum rather than the actual subfloor, so the subfloor was spared while the linoleum got ripped up and trashed. Blair (our floor guy) was going to come back and spray bleach on what mold had gotten onto the subfloor, but we enlightened him of the fact that bleach only bleaches mold; it doesn’t kill it. ^^; We used Thieves on it and I gave him a spray bottle with diluted Thieves in it and he sprayed it… Thieves kills it by breaking it down so it can’t grow back. If you use bleach or something like that, it might disappear but then come back later, and that’s not something anyone wants, I’m sure. (You can see from the previous pictures how black the floor was, and after using Thieves on it, how…well, not-black it was. This stuff really works.)
Soon after that, Blair came back and laid the backerboard that the tiles would go on top of. He had to put screws into the subfloor first because it was squeaky…because the builders had used nails rather than screws.

The floor was basically level because we had had the floors leveled earlier on, so that was really good–no major changes had to take place.
He started on the living room side so that he could move the appliances around more easily, and finished on the dining room side, so he never got backed into a corner. ^^

Tile spacers are very important. Another good thing to remember is that you need to leave the tiles to dry for twenty-four hours before you try to walk on it–both after you put it down and after you grout it. Once it’s been allowed to dry, it won’t go anywhere! You could even dance on it, apparently. XD (Though I would wait to do that until after it’s completely done.)
We had only one box of tiles left over, and it was opened. This meant much less waste~ What’s even better is we went with third-grade porcelain tile, one of the cheaper tiles only because they have a higher risk of having blemishes like spots of extra sealant or something, and basically NONE of our tiles had problems. One has a spot, but it’s the only one. The tile was also on sale when we purchased it, and it was the second tile we saw. God totally picked out that tile for us and orchestrated everything! 😀 I’m still amazed. ;v;
The next task was the grouting! First you plop on the grout and smooth it over the spaces between the tiles, and then you come back over it with a wet sponge to clean off the excess. After a little while you can wipe it again to clear up some of the haze left on the tiles.

Hardwood Installation
We moved our things back into the kitchen so we could move the dining room stuff into the living room and other areas of the house (in fact, my brother and I still have dining room stuff in our rooms ^^; ). However, we’ve had to live like that for a while due to the hardwood company Lumber Liquidators ordered a certain transition piece from didn’t have the part for several weeks…and we kept having bad weather whenever Blair would plan to come back to start ripping up the carpet and stuff… I had a dance studio for all that time, though. XD I recorded a few dances; one is on Youtube presently and the other one is a K~Y PV that is still being mixed.
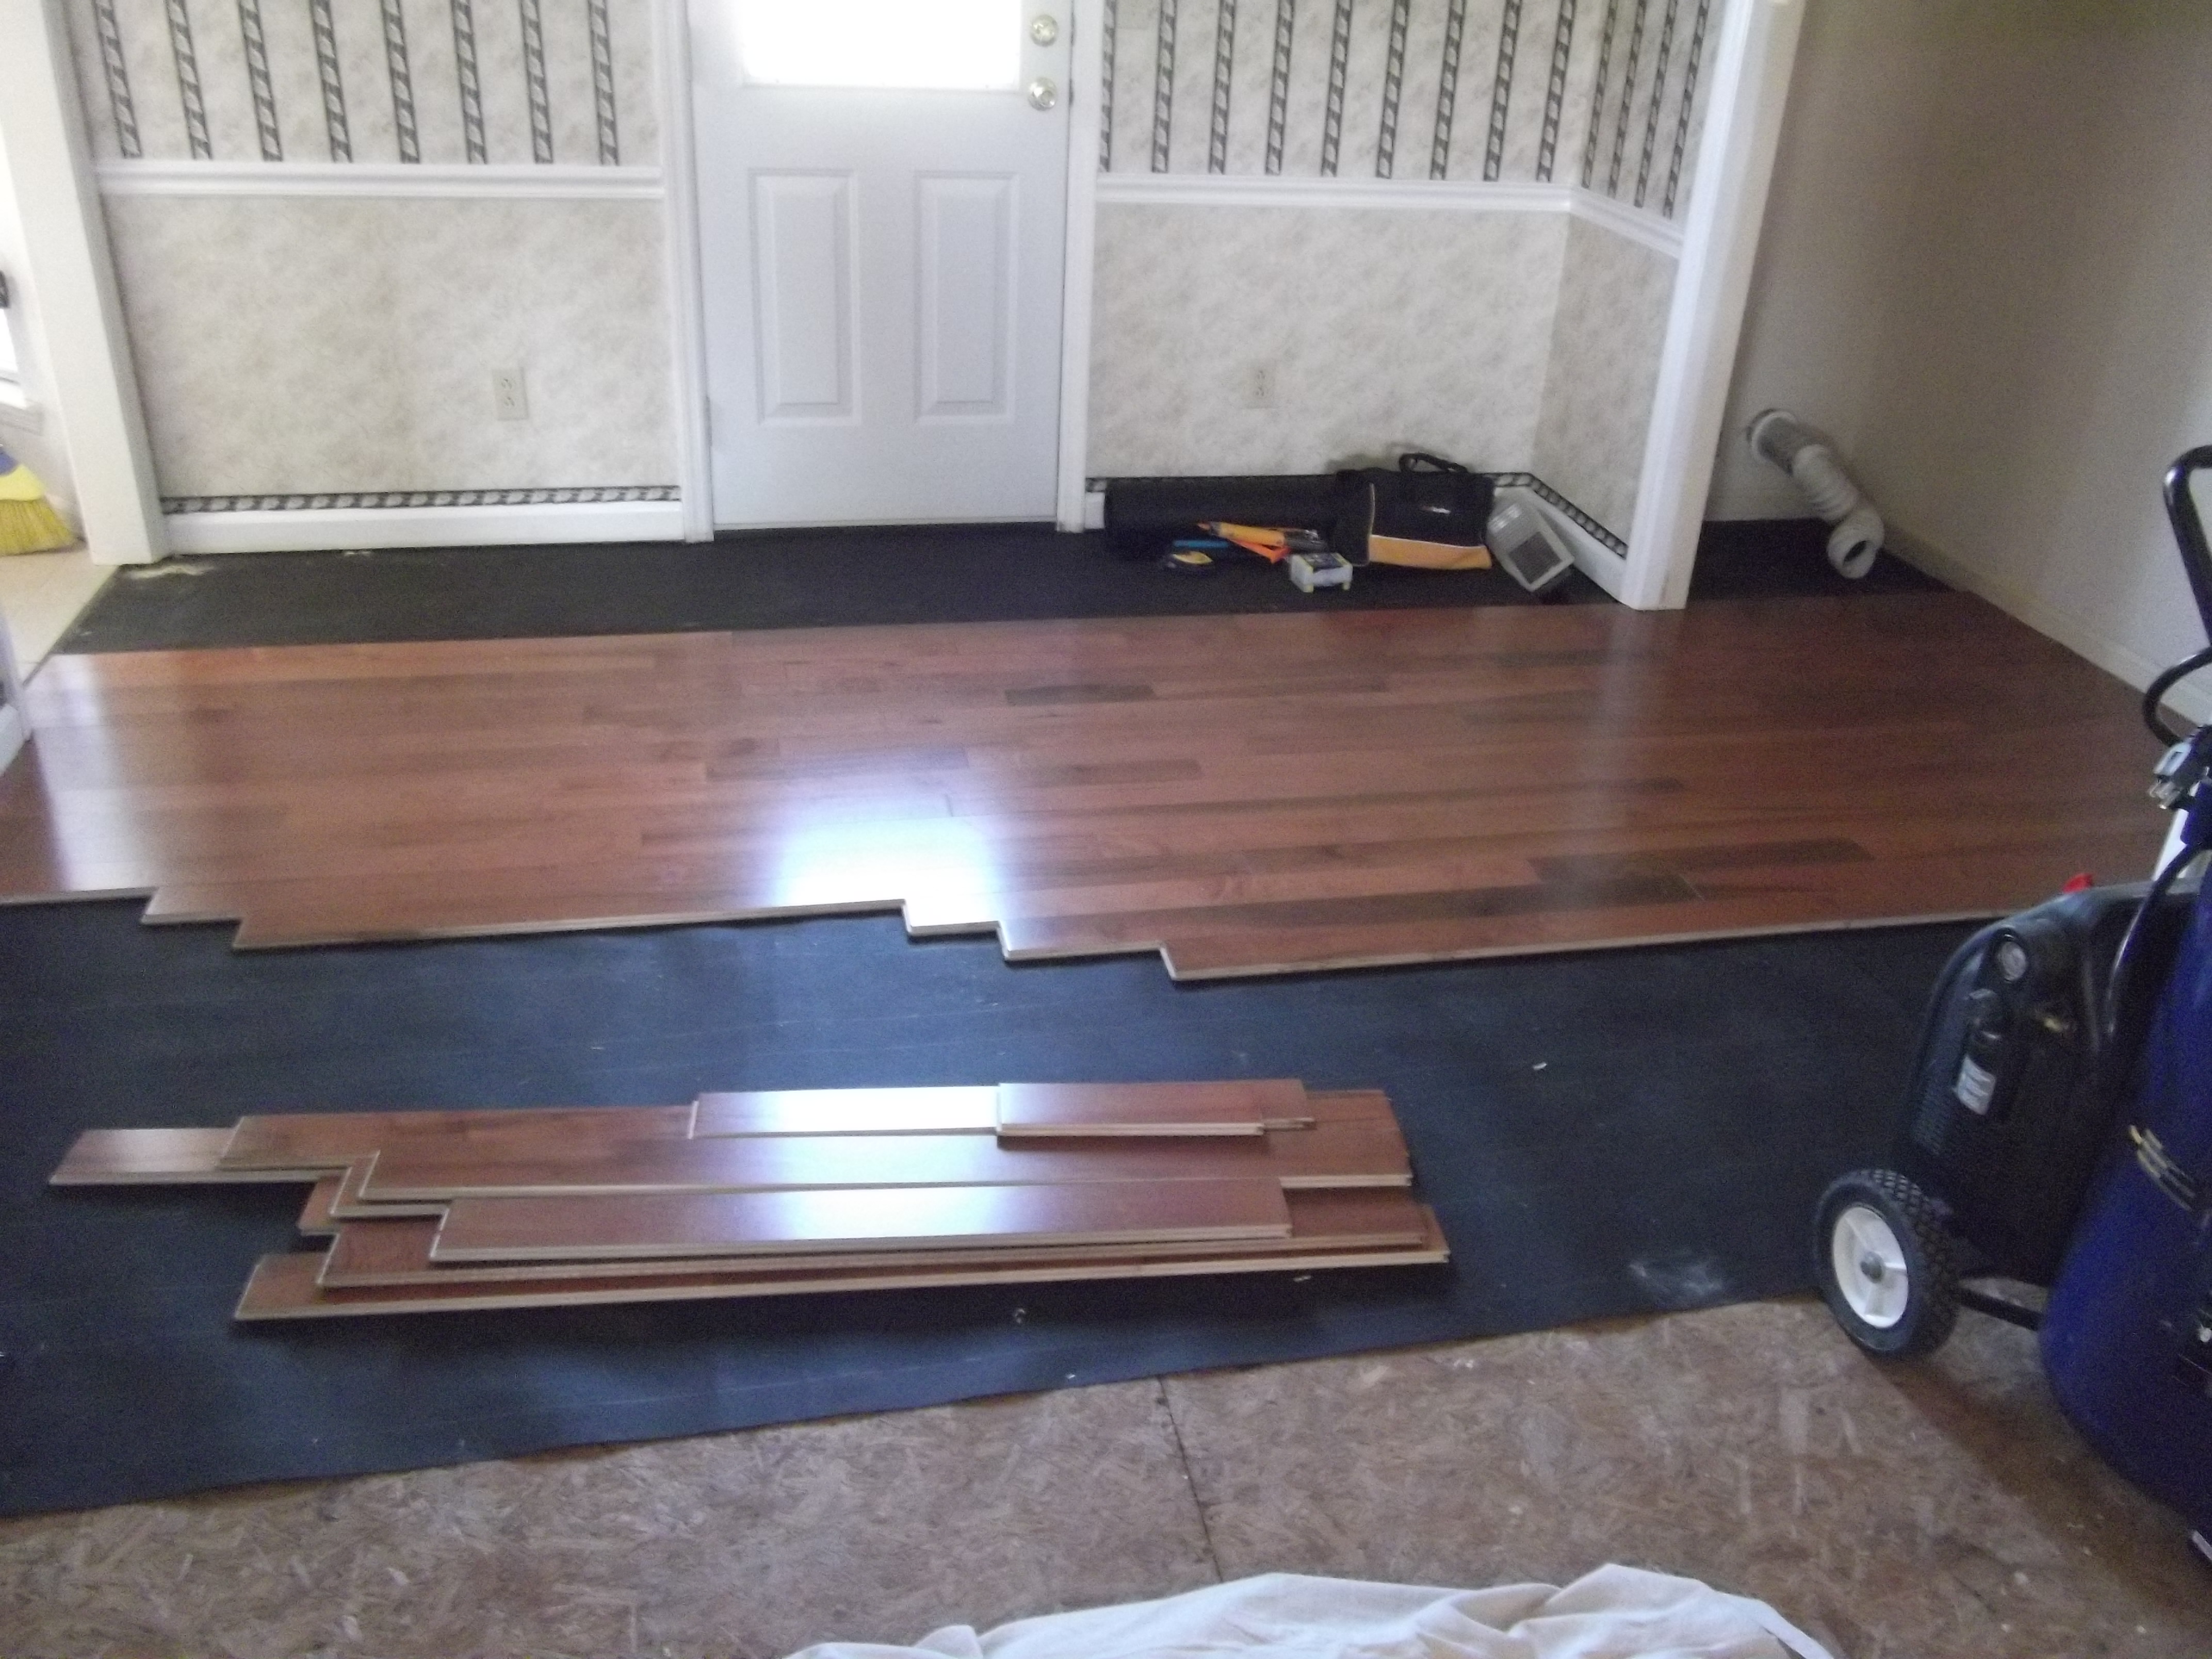
March 1st we finally were able to begin!
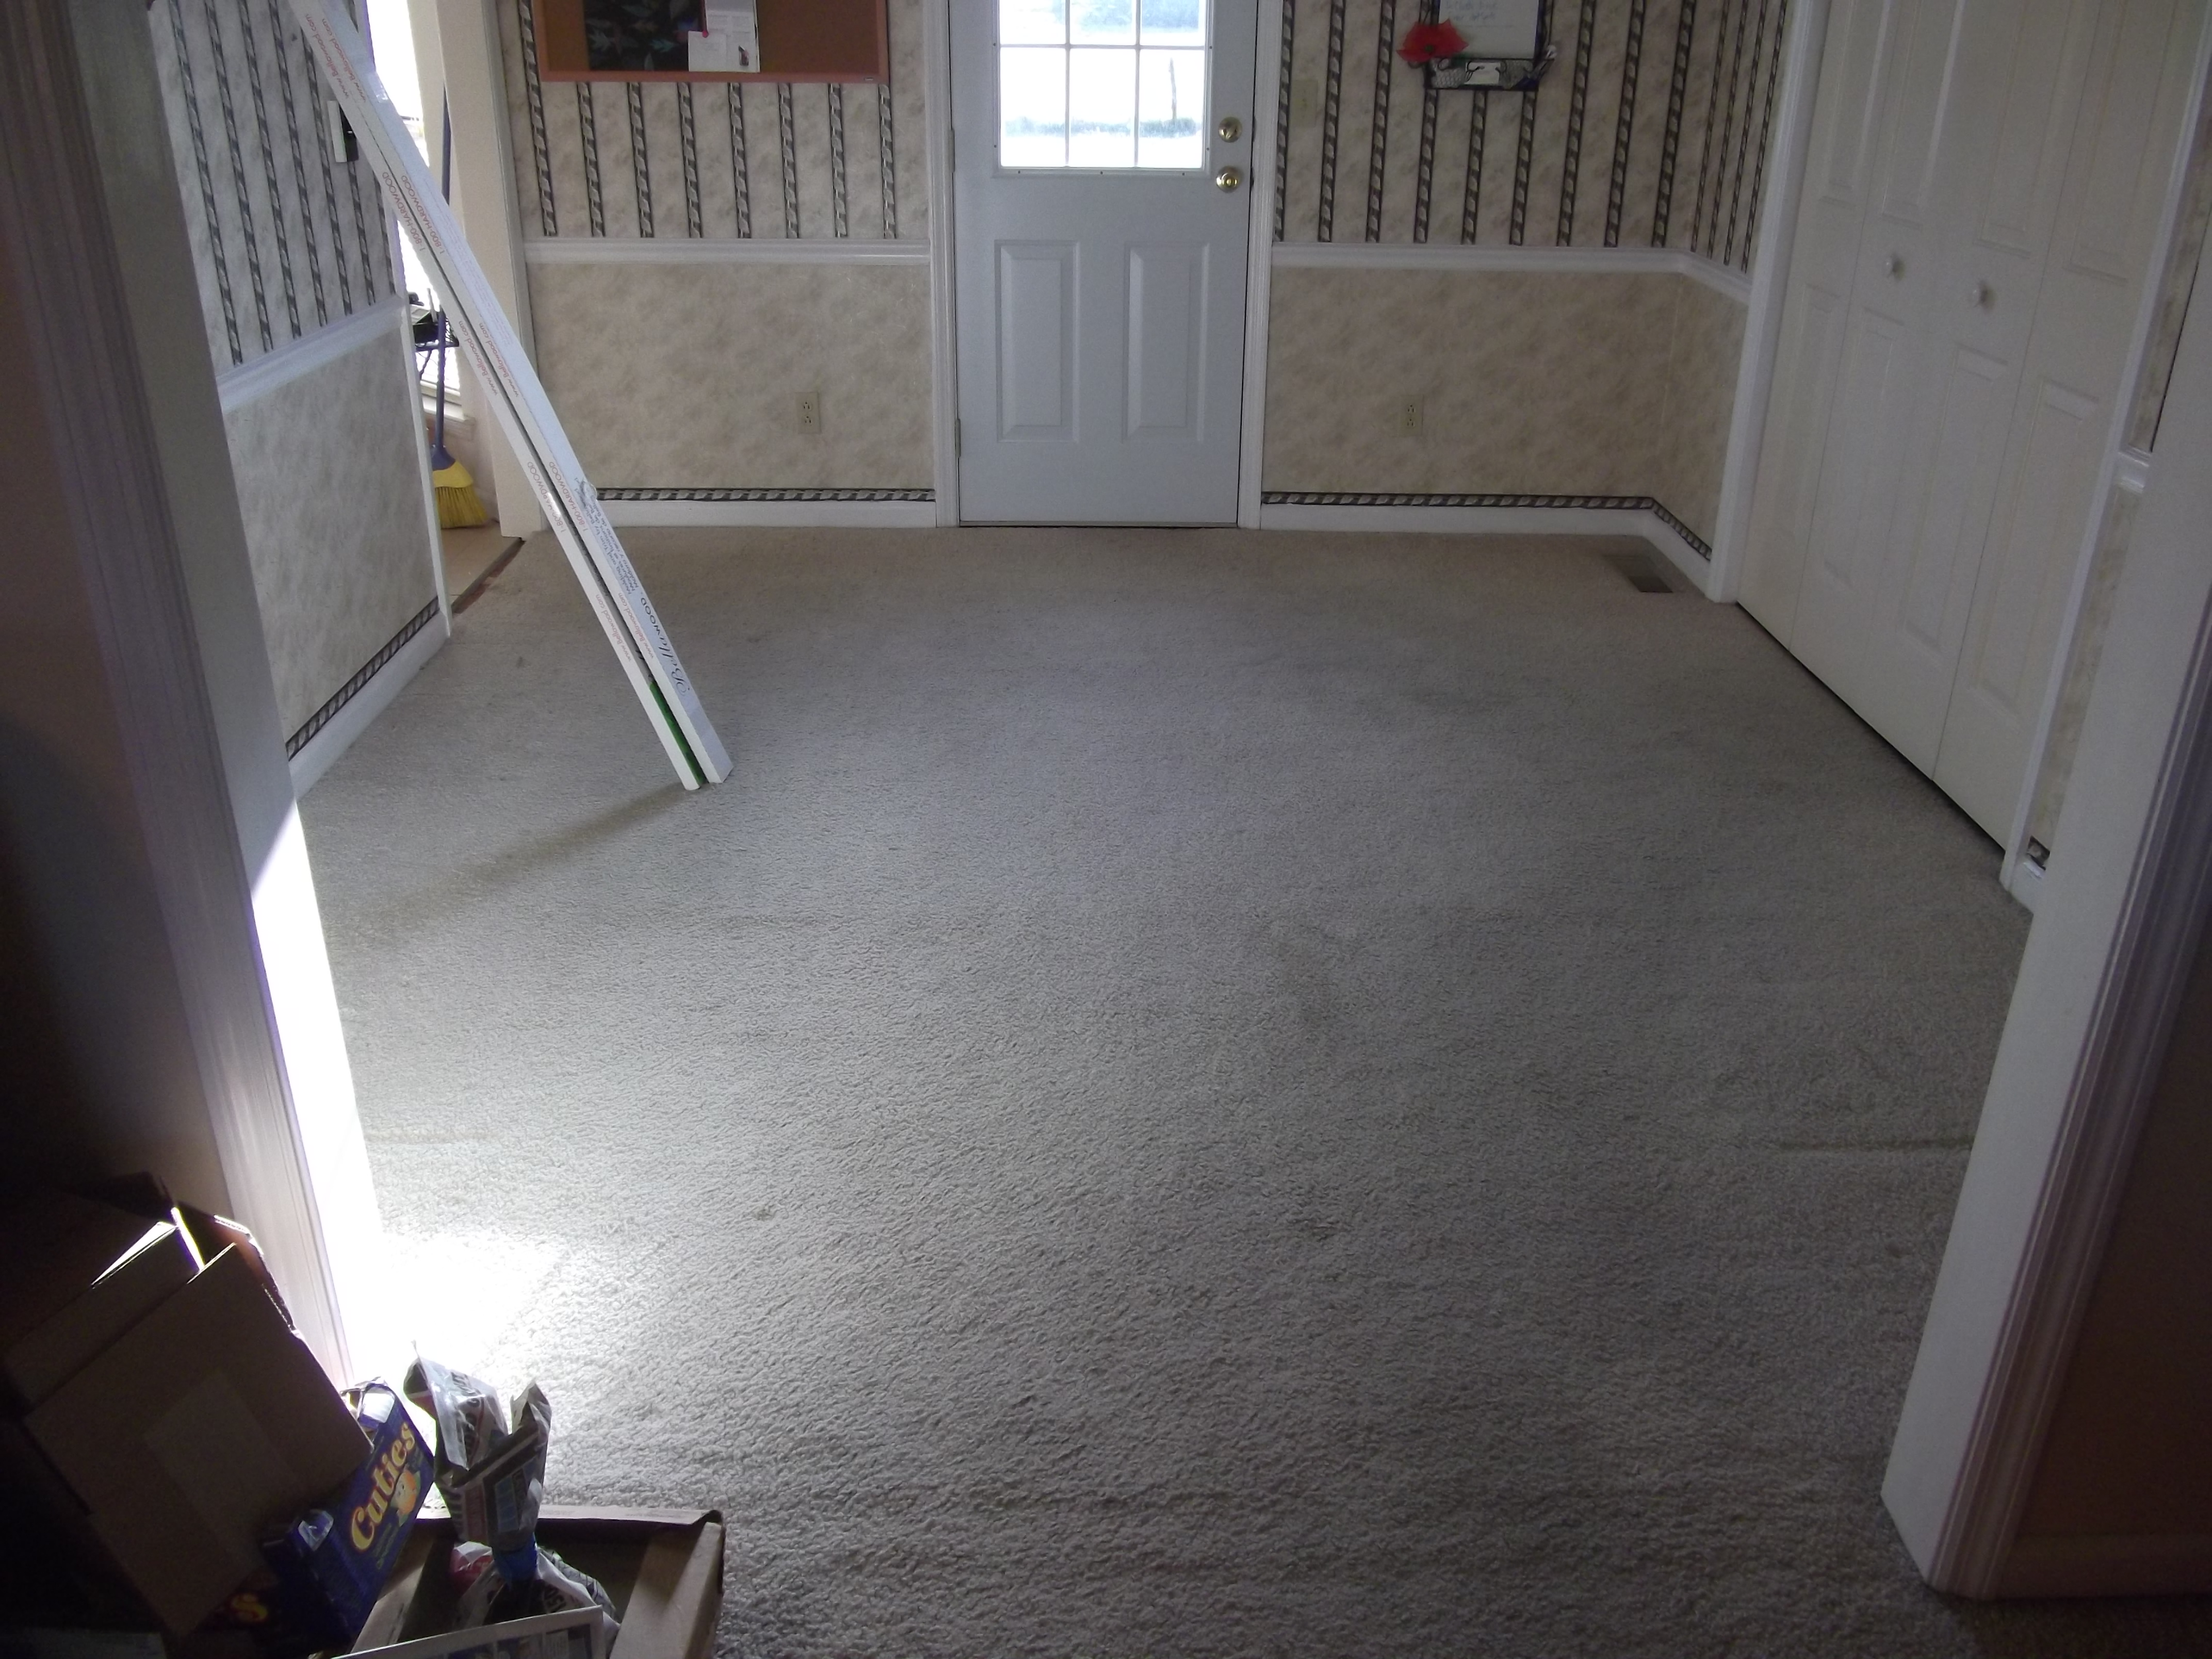
Our living room had to look like this…
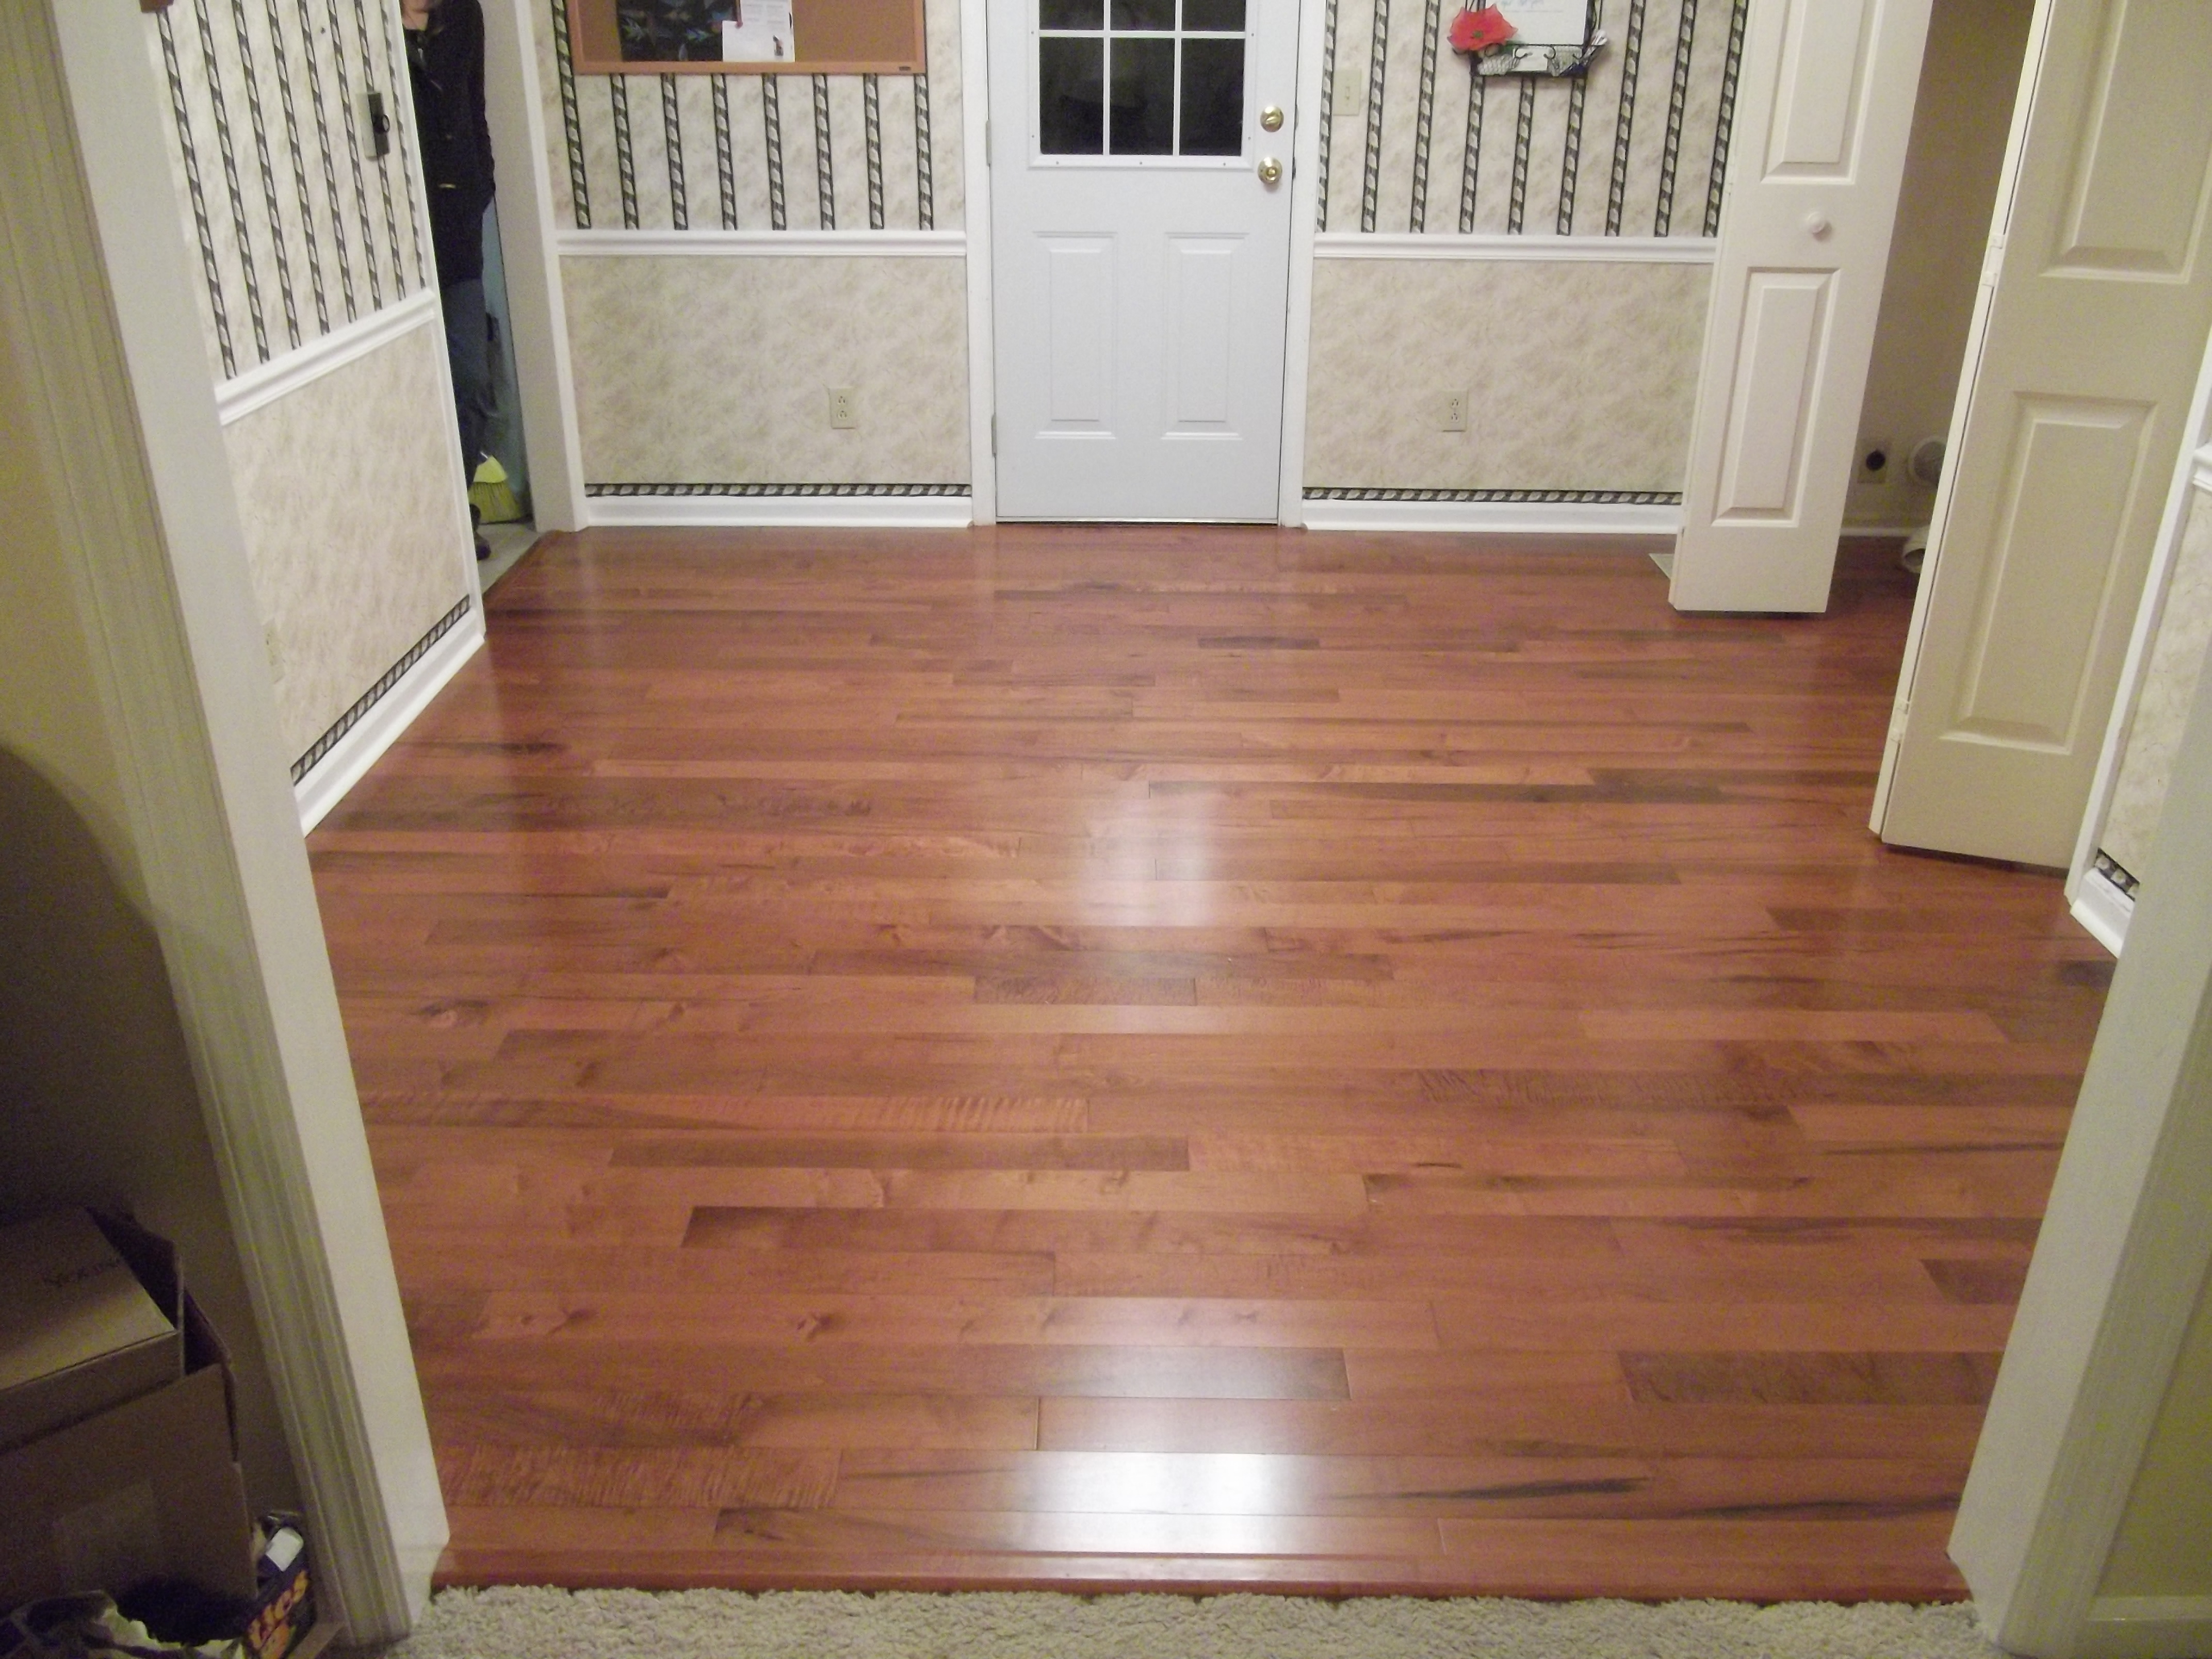
…in order for the dining room to look like this:
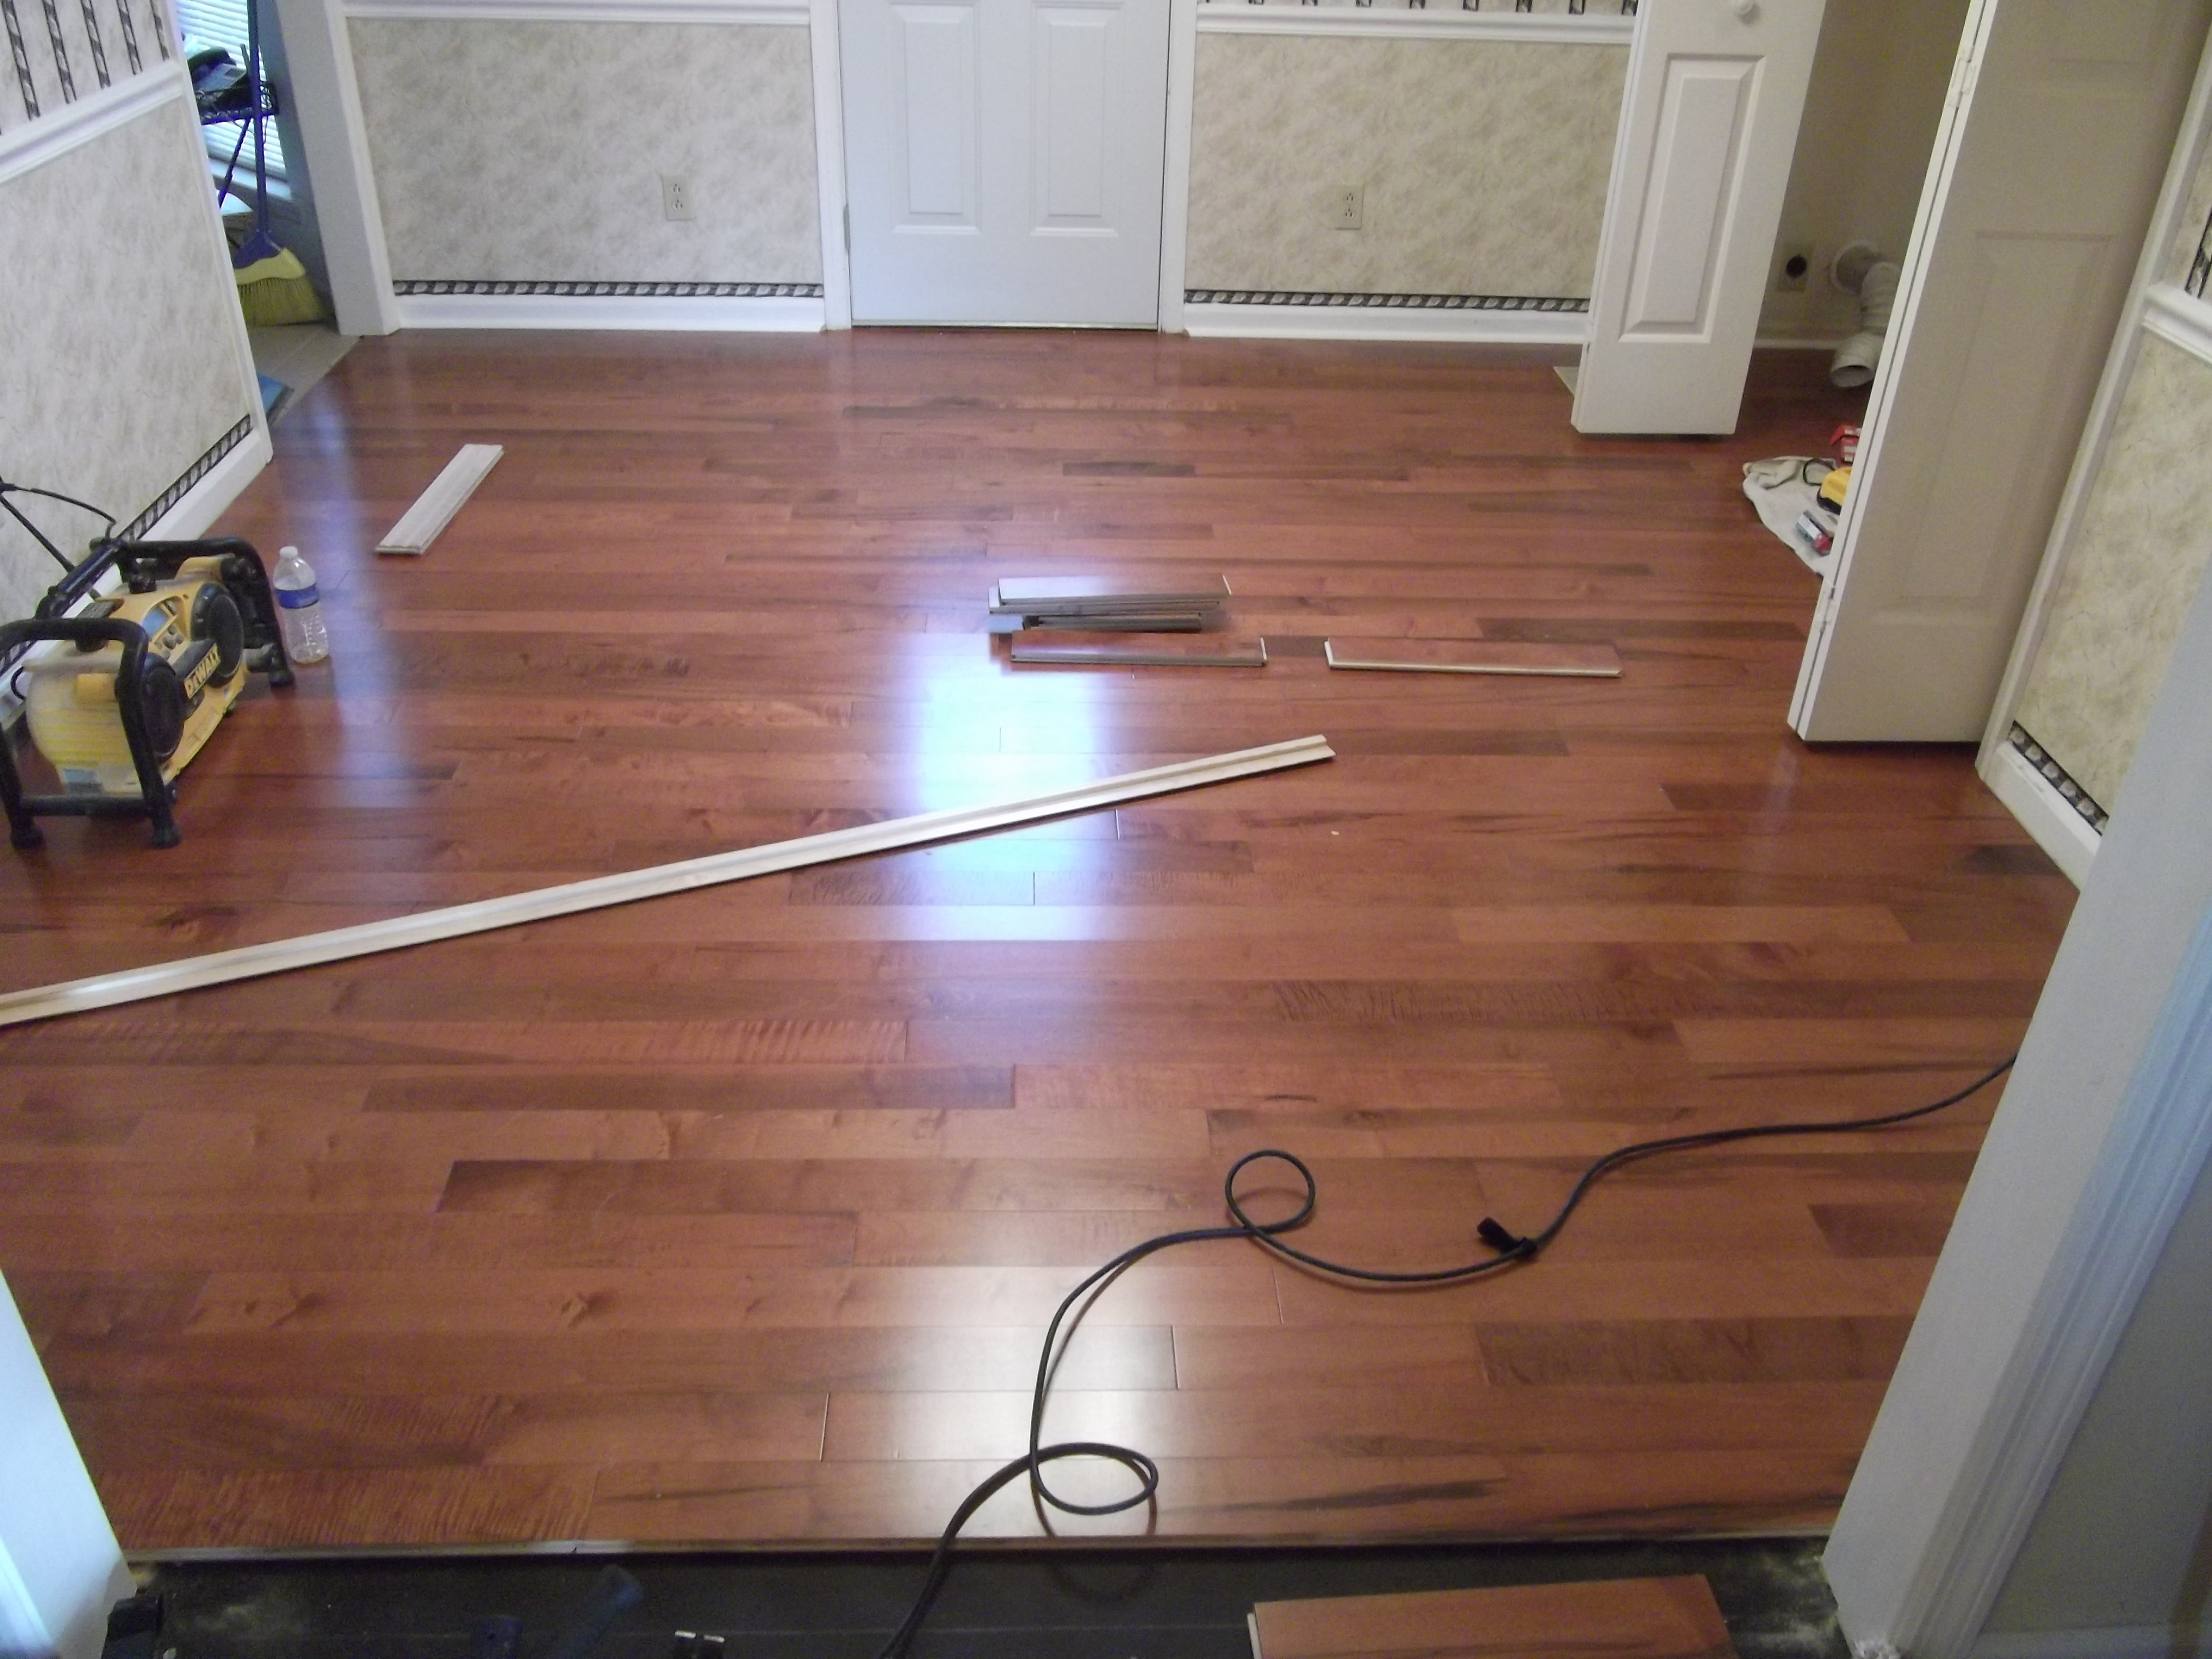
There were no problems with the subfloor, so there weren’t any more delays.

Blair wasn’t able to come on Friday because of storms, but since he really wanted to get the job done, he came early on Sunday and worked all day!
We even had hardwood put in the laundry room (er, closet):

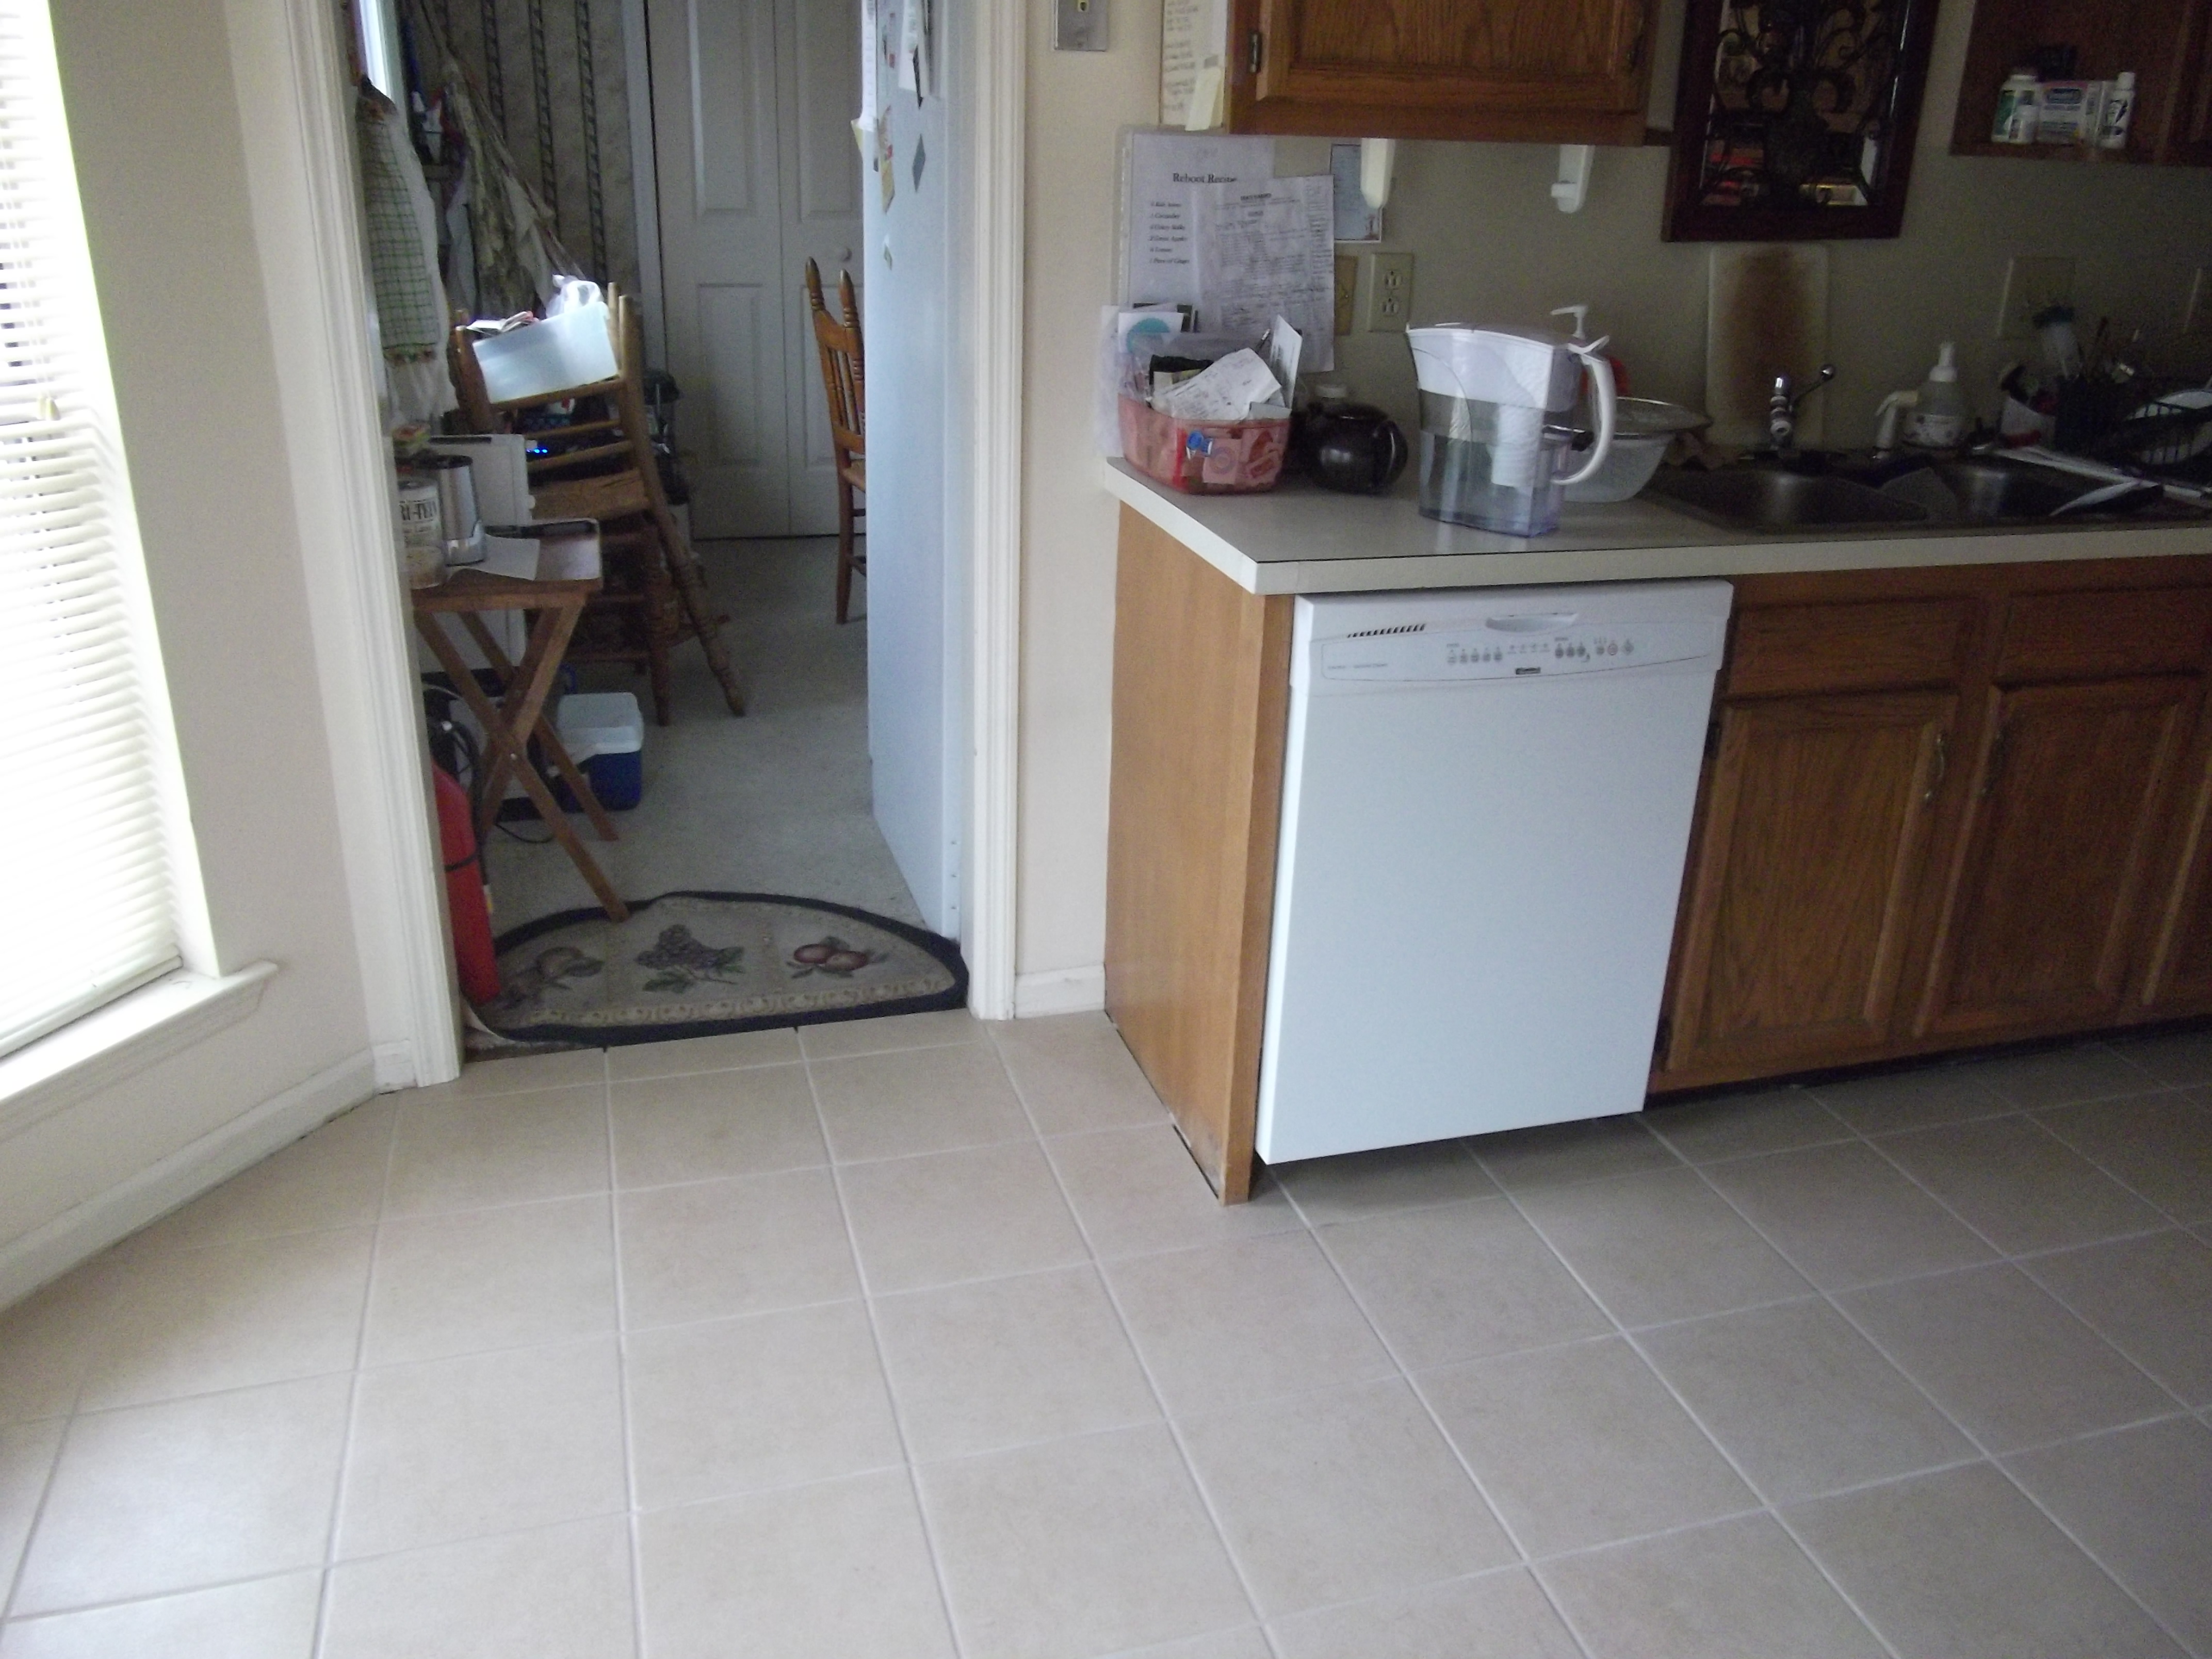
He still has to put toe molds on the baseboards in the kitchen, and do some touch-ups in both the kitchen and the dining room. Other than that, his job is pretty much done! It looks great, doesn’t it? He did a very good job, I think. :3
So there you have it! This was the installation process of our tile and hardwood floors, basically from start to finish. ^^ Hopefully it was somewhat interesting. It was really neat to see everything unfold; it was like what I’ve seen on HGTV, but “for real!” XD
That was awesome! i like how you took pictures for each process, that was a good idea and really cool. i love the end results it does look better and have a very beautiful house <3 too Yuki
Thank you!